Inside: Here are 7 amazing ways of making paper flowers with kids & grandkids. Artsy & colorful poppies, tulips, hyacinths, sunflowers, and more! Fun for everyone! Be sure and check out the Ancestor Tip at the end.
Making Paper Flowers with Kids & Grandkids
Earth laughs in flowers, Ralph Waldo Emerson
Nothing says spring like flowers! When the cold of winter disappears, flowers burst forth, covering the earth in a blaze of color!
It’s the perfect time to celebrate the season by making paper flowers of all kinds with your kids and grandkids.
We made flowers resembling hollyhocks, poppies, tulips, hyacinths, sunflowers, and other colorful unnamed flowers.
Here are some of our favorites…
#1 Hollyhocks & Springtime!
When I was a little girl, we knew Spring was in the air when the hollyhocks burst forth in bloom.
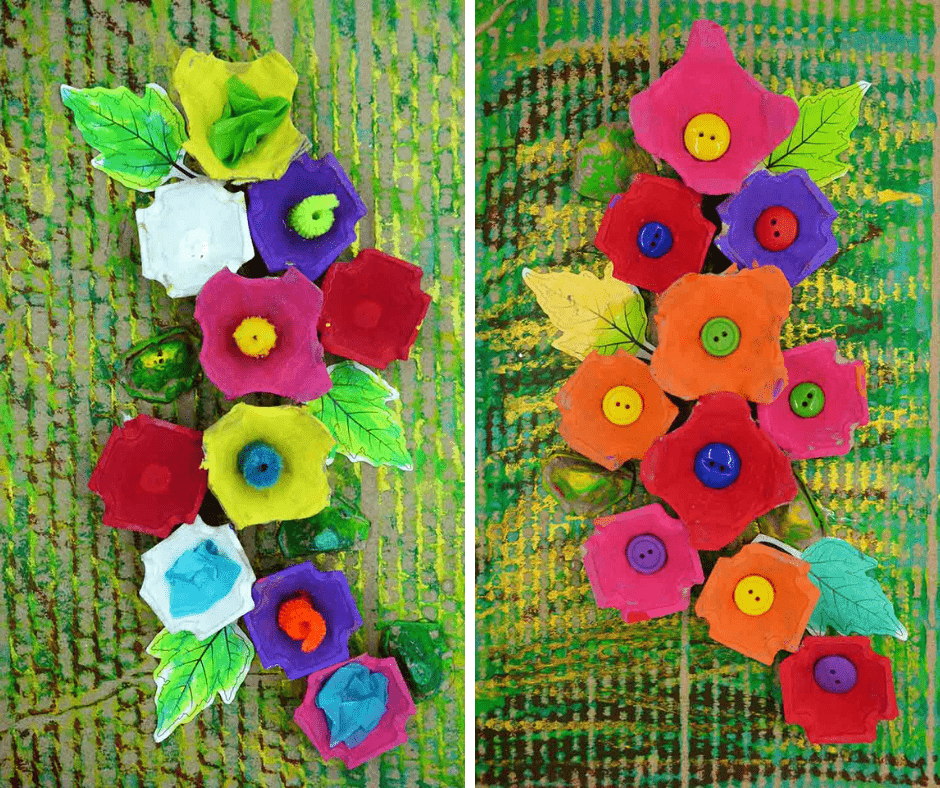
I showed pictures of hollyhocks to my grandkids but they did not want to use just one color of the flower on a stem—so we improvised and made them multiple colors using lots of cardboard egg cartons and paint.
That’s the beauty of making paper flowers—there’s always room for creativity and spontaneity.
Did you know that hollyhocks stand for “ambition?” Well, your kids and grandkids will certainly be ambitious when making paper flowers!
Supplies
- Cardboard 10×14”
- Egg cartons
- Leaf template
- Tempera paints
- Paintbrushes
- Kwik Stix markers
- Colored tissue paper; buttons, beads, or pompoms (for the centers of the flowers)
- Hot glue gun
Directions
- Cut out sections of the egg carton—each child should have 10-12 egg carton flowers
- Paint each egg carton flower with tempera paints. Let dry
- Color 3-5 leaves using Kwik Stix markers, cut out
- Using Kwik Stix markers, color a piece of cardboard 10×14.” We used greens, yellows, golds, and browns. Cardboard and markers create an interesting texture.
- Assemble your egg carton “flowers” and leaves on the cardboard. We made ours vertical—like hollyhocks.
- Add buttons, pompoms, crinkled tissue paper, etc., to the centers
- Hot glue everything in place
#2 Alice in Wonderland Flower Garden!
Do you have a favorite Disney movie? For two of my sons, it was “Alice in Wonderland”—a book that is filled with seemingly nonsensical happenings.
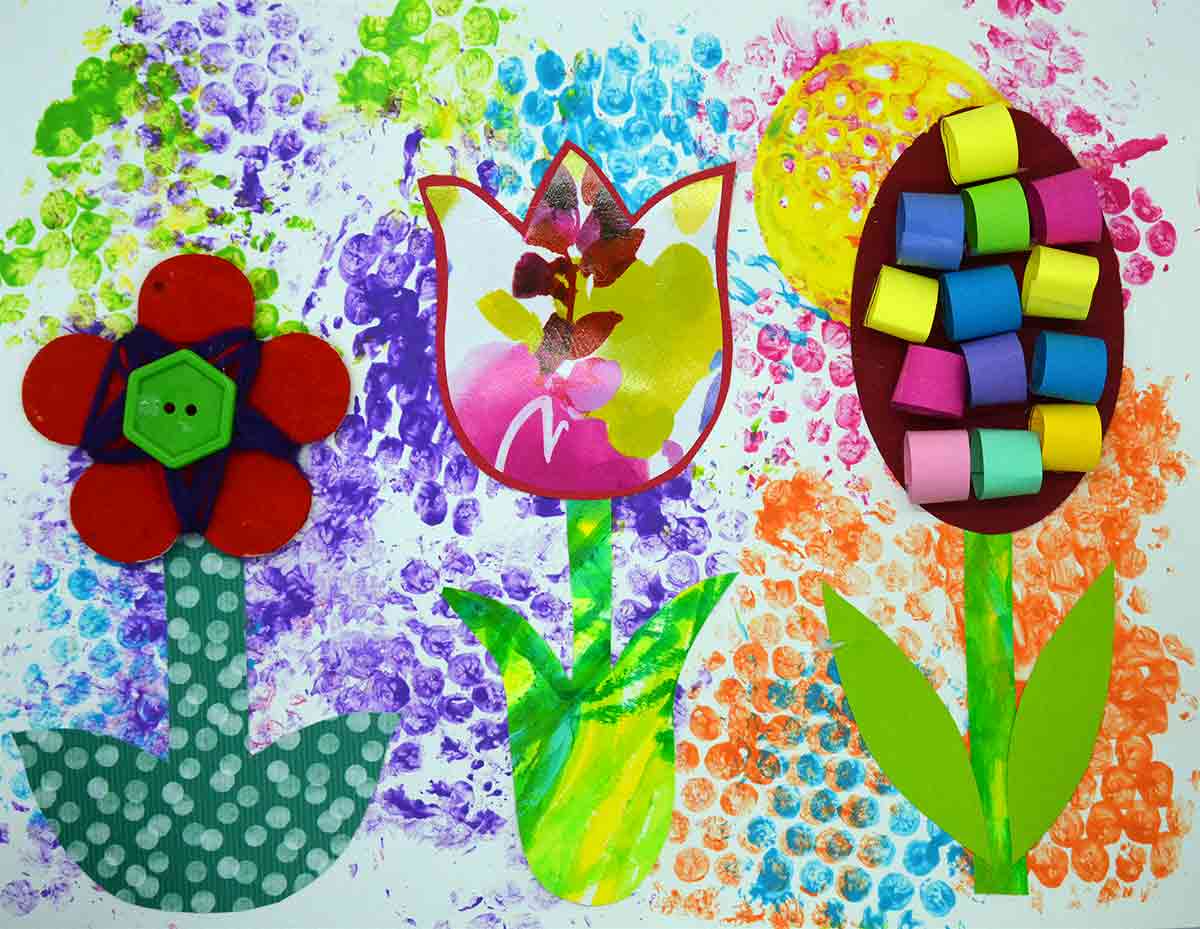
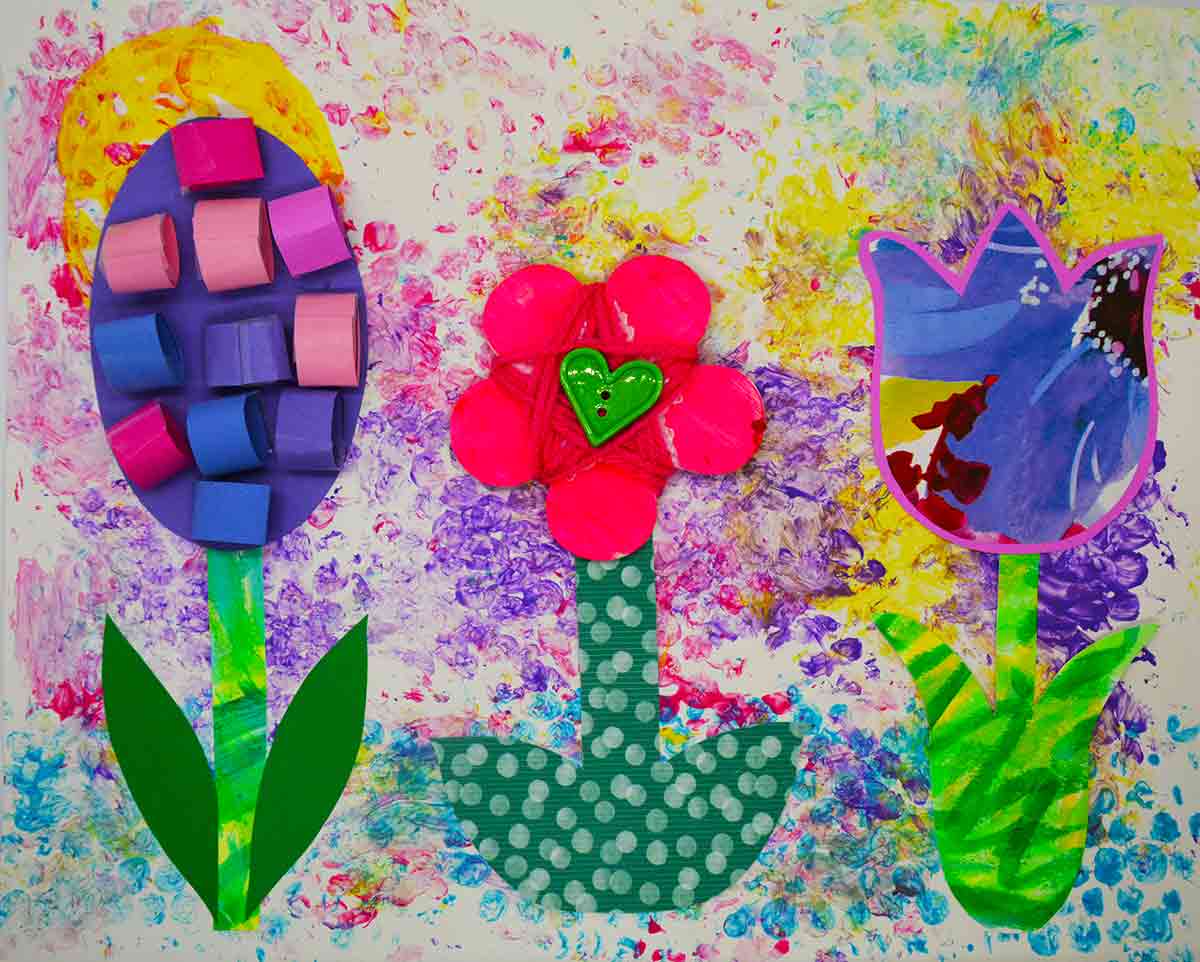
So, we created our own colorful and crazy “Alice in Wonderland” garden:
- Tulips made from recycled paper and wrapping paper
- Hyacinth flowers are made from colored cardstock and rolled paper
- Wooden flowers painted with Kwik Stix markers; wrapped with yarn and filled with button centers.
To make a colorful and interesting background, the grandkids painted bubble wrap and printed it on the poster board. Next, they added the flowers. I think the Mad Hatter would approve!
Supplies
- 11×14” white posterboard
- Tulip template
- Hyacinth template
- Wooden flowers (Dollar Store)
- Kwik Stix markers
- Different colors of yarn
- Buttons
- Printed cardstock paper (for stems for the hyacinth flower)
- Cardstock paper that you’ve colored using greens & yellows markers (for the tulip stems)
- Wrapping paper (for the tulip petals)
- Bubble wrap
- Tempera paints
- Glue
Directions
- Cut bubble wrap into 5” squares (easier for little kids to handle)
- To make the background: paint the bubble wrap in different colors and press down on an 11×14” white poster board. Print each piece of painted bubble wrap more than once on the paper.
- Cut out the tulip template using wrapping paper.
- Using Kwik Stix markers (greens & yellows), randomly color a poster board. Then cut out the stems and leaves of the tulip from the poster board.
- Cut out the hyacinth template in different cardstock colors and green cardstock for the stems and leaves.
- Take small pieces (1”) of cardstock; roll each piece into a tube-like shape and tape to secure. Glue onto the hyacinth flower. These should just be the same color, but our grandkids wanted to use different colors—so we did!
- Color the wooden flower using Kwik Stix markers. Then wrap 2 different colors of yarn around the flower. Add a colorful button. Using printed paper; cut out a stem
- Glue everything in place.
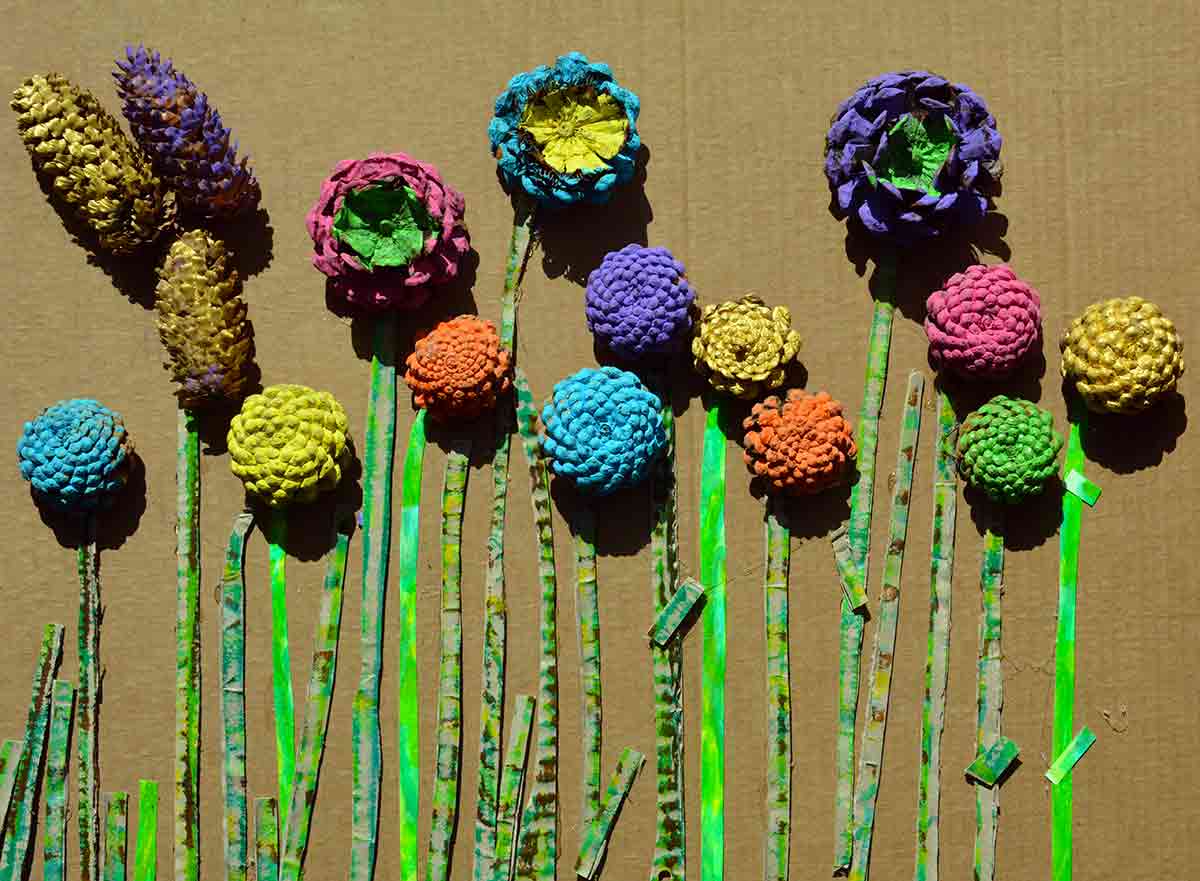
#3 Making Paper Flowers from Painted Pinecones
These were interesting to make. We had to use an electric saw to cut the pinecones in half so they would lay flat on the paper. I tried using a very sharp knife—didn’t work—you need the electric saw.
After the pinecones were cut, the grandkids painted them with tempera paints. Using Kwik Stix markers, they colored cardboard that we cut up to make stems and grass for the flower garden.
Lots of time and creativity were involved with this project—and the end result was suitable for framing!
Thank you, @yuvalzommer for your amazing inspiration!
Supplies
- Pinecones of different shapes and sizes
- Tempera paints
- Paintbrushes
- Cardboard: 20×24” for the backing and extra to make stems & grass
- Kwik Stix markers
- Scissors
- Electric saw
Directions
- Cut a piece of cardboard for each child approximately 20×24”
- Gather 10-13 pinecones per child. We found both traditional pinecones and long-shaped pinecones.
- Cut the pinecones in half with an electric saw, but not the long pinecones. You need to do this step so the pinecones will lay flat on the cardboard.
- Paint the pinecones with tempera paints; let dry
- Color long cardboard pieces using Kwik Stix markers. This is your grass so use colors of green, yellow, brown, and gold. Cut in different sizes of long strips (like grass).
- Arrange the pinecones on the 20×24” cardboard.
- Add the stems & grass
- Hot glue everything in place
- Optional: 2 of our grandkids wanted to make a sun so they colored pieces of cardboard in reds, oranges, and yellows; cut out the sections and hot glued them in place
#4 Poppies: Flowers of Remembrance
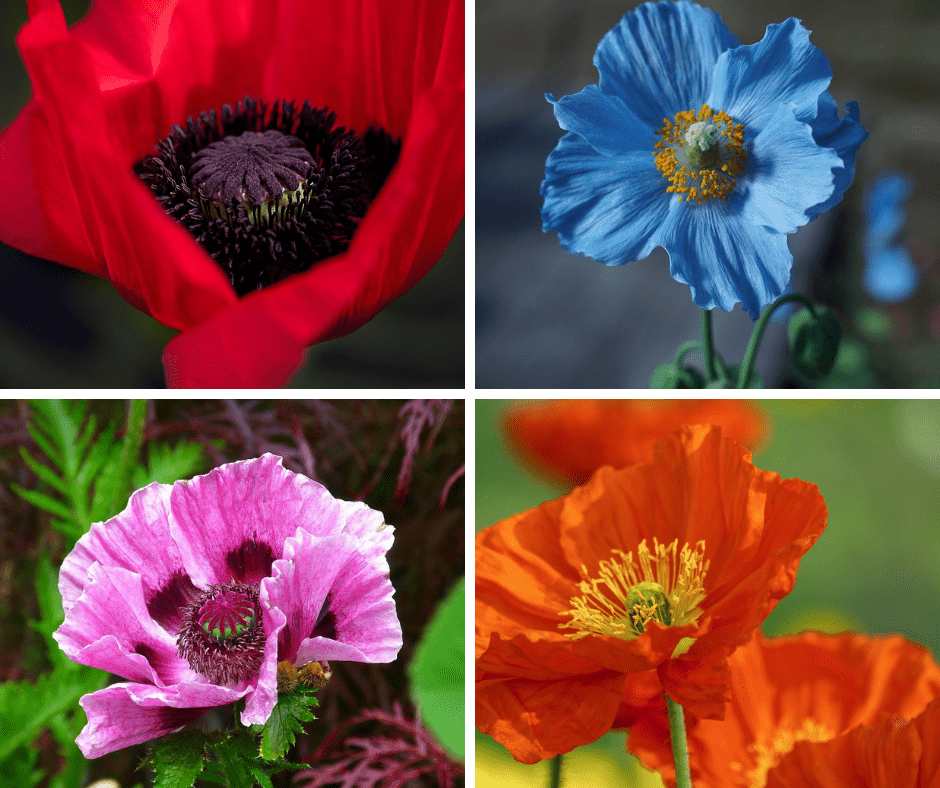
Do you love red poppies? Did you know that poppies are one of the world’s most popular wildflowers? And, they come in more colors than red. You can find Himalayan blue, orange, yellow, and pink poppies, too.
Red poppies are a symbol of death and remembrance. In the 19th century, after the Napoleonic wars and the land was destroyed, red poppies miraculously appeared around the bodies of the fallen soldiers.
Then in 1914, after World War I, in the fields of France, the only plants to regrow after the devastation of war were red poppy flowers.
Today, throughout the world, the red poppy is recognized as a memorial for fallen soldiers.
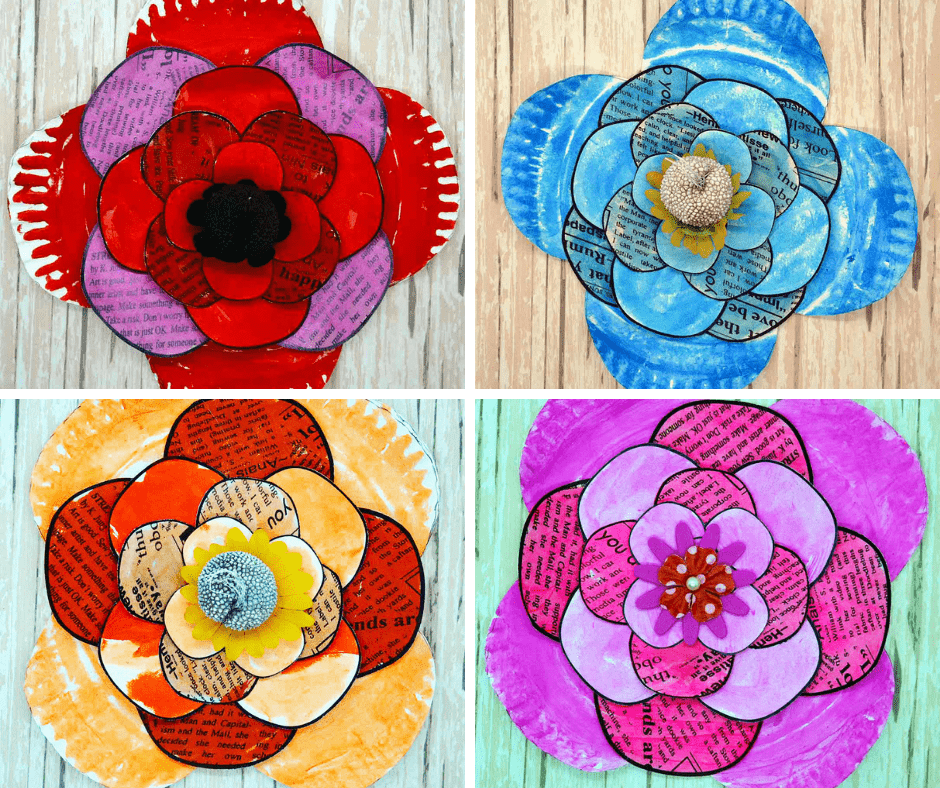
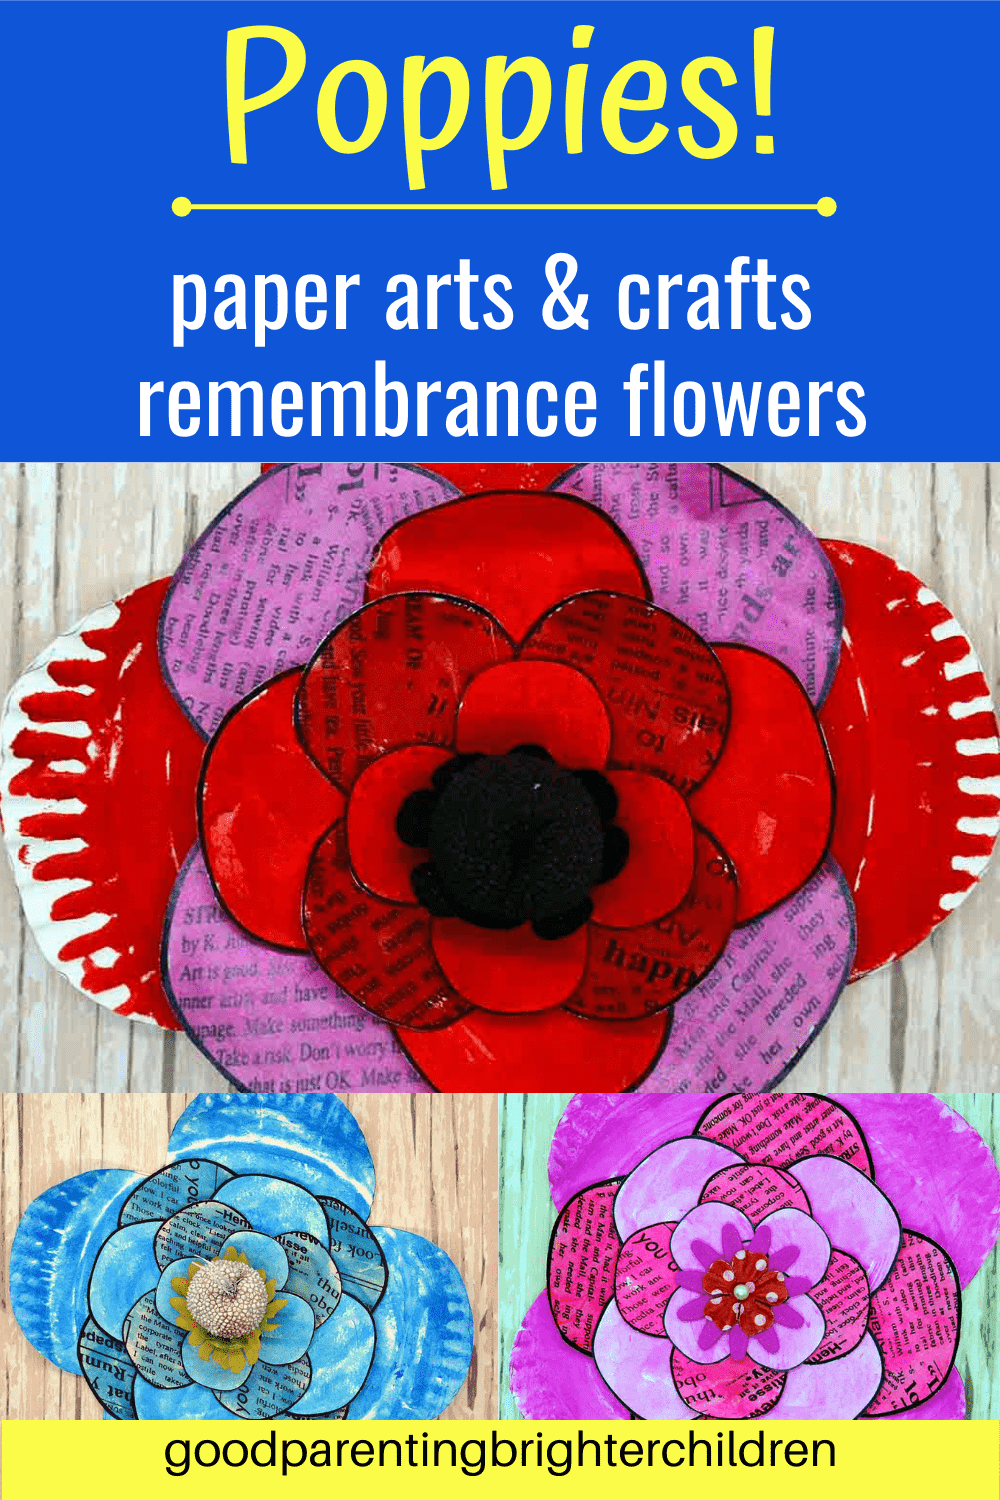
We made these poppies of red, blue, pink, and orange from cardstock paper and newsprint colored with Kwik Stix markers. Then we added different pods we found in nature to the center.
Supplies
- Poppy template
- White cardstock
- Newsprint
- Kwik Stix markers
- Pods or crushed paper for the centers
- Spray paint (for the centers—we used black & white)
Directions
- Print off different sizes of the poppy template
- Trace the poppy template onto white cardstock and newsprint. You want to end up with 5 different size poppies to layer
- Color the poppy with the colors of REAL poppies—red, pink, orange, and blue.
- Layer the poppies—one white cardstock, one newsprint, etc.
- Glue each section in the middle. You want the petals to be free from glue
- Add a pod to the center or crushed paper; glue in place.
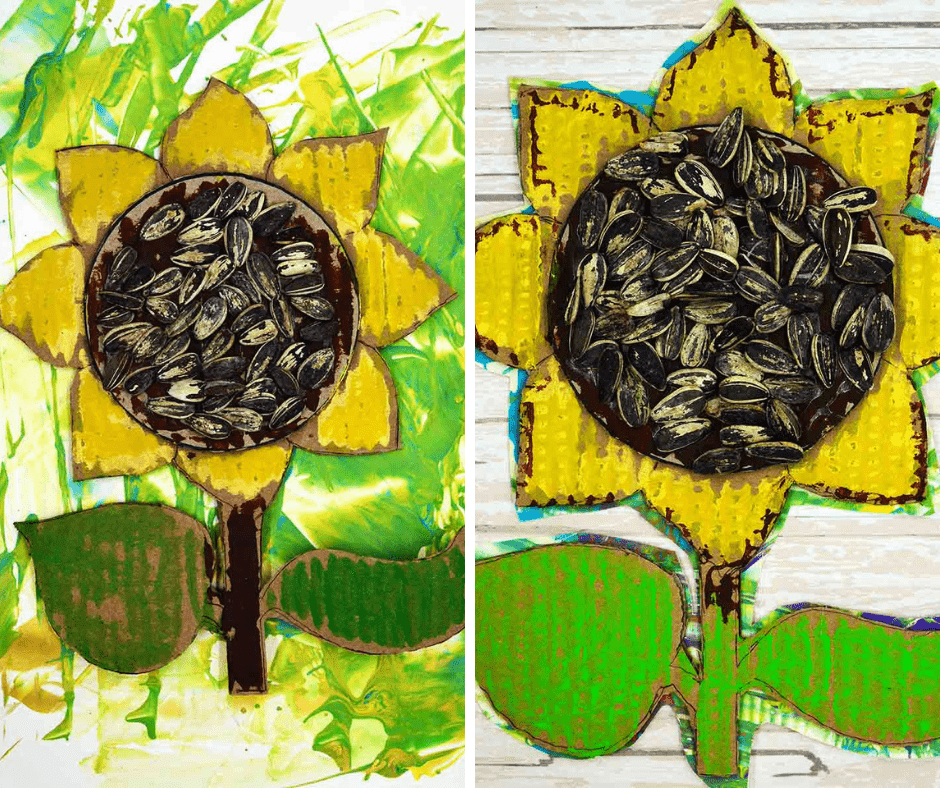
#5 Making Paper Flowers: Sunflowers!
Sunflowers symbolize “adoration,” and I don’t know about you—but I adore sunflowers! They are bright, and cheerful and bring a whiff of summer to any setting!
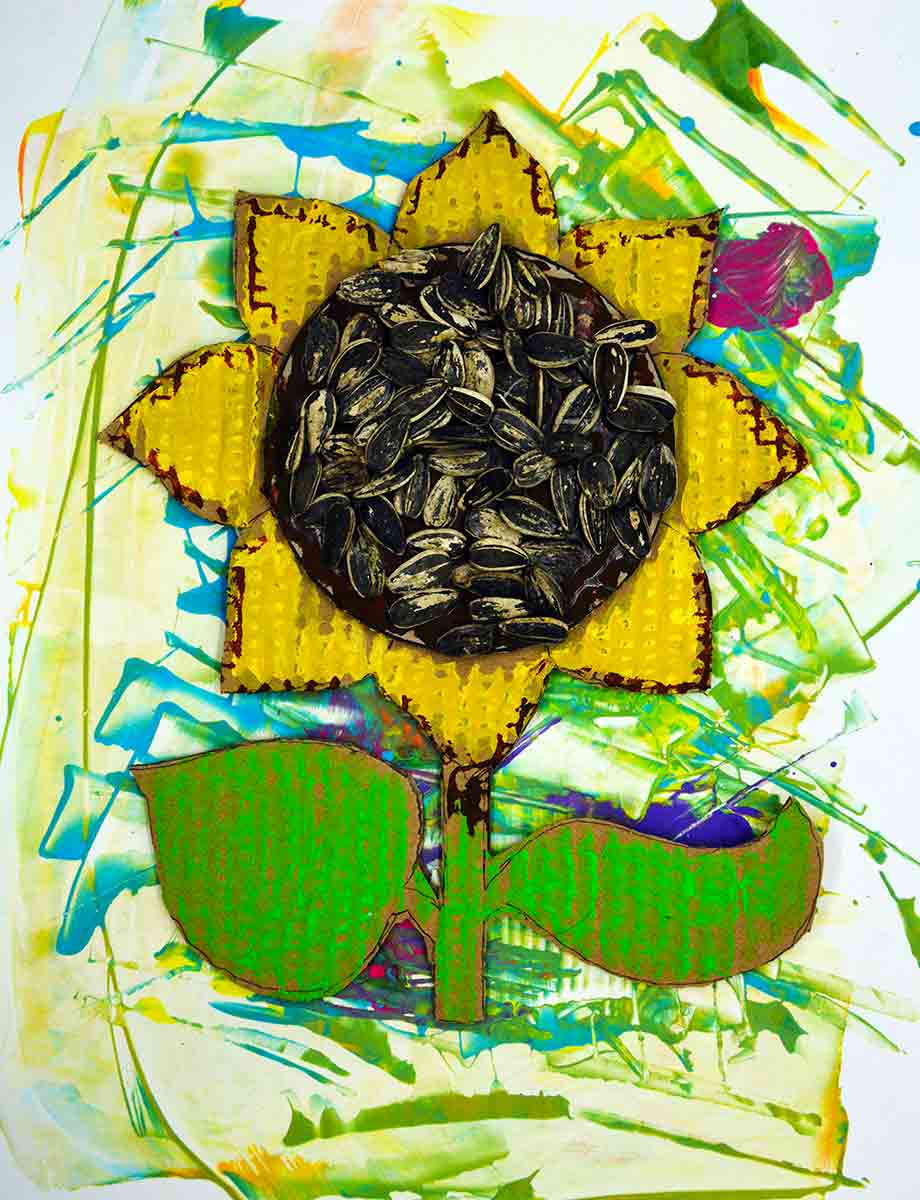
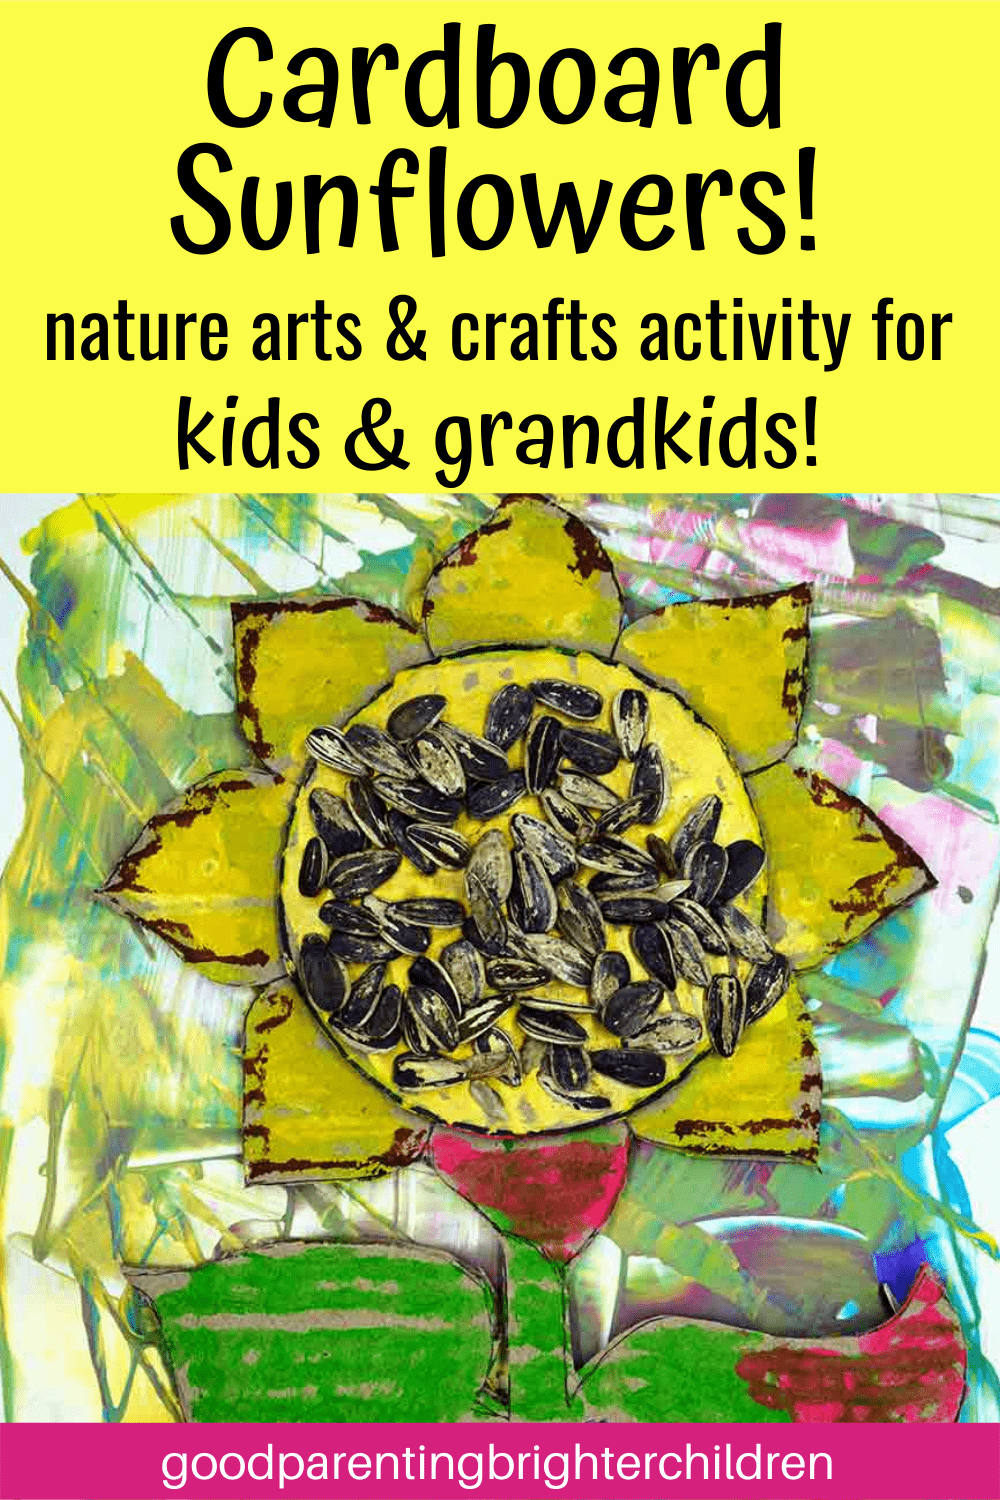
We made these sunflowers from cardboard; painted them with Kwik Stix markers and filled the centers with what else—sunflower seeds! To add color to the background, the grandkids took credit cards and drips of orange, green, yellow, and gold paint and spread it across the posterboard creating a Georges Braque effect as a background.
This is such a fun flower—make sure when you’re making paper flowers—don’t forget to add sunflowers!
Supplies
- Sunflower template
- Cardboard
- White posterboard
- Kwik Stix markers
- Sunflower seeds
- Tempera paints—orange, yellow, gold, green
- Credit cards
Directions
- Using a sunflower template and cardboard; cut out the template
- Take Kwik Stix markers and color your sunflower. We used greens and browns on the stems, yellows, and golds for the petals.
- Glue real sunflower seeds in the middle
- On an 11×14 sheet of posterboard, drop dots of paint (orange, green, yellow, gold) on the top of the paper. With a credit card, smear the paint around the paper. Let dry.
- Glue the sunflower onto the colored poster board. Or, you can cut out around the edges so just a small portion of the background shows. This will give an added dimension to your sunflowers
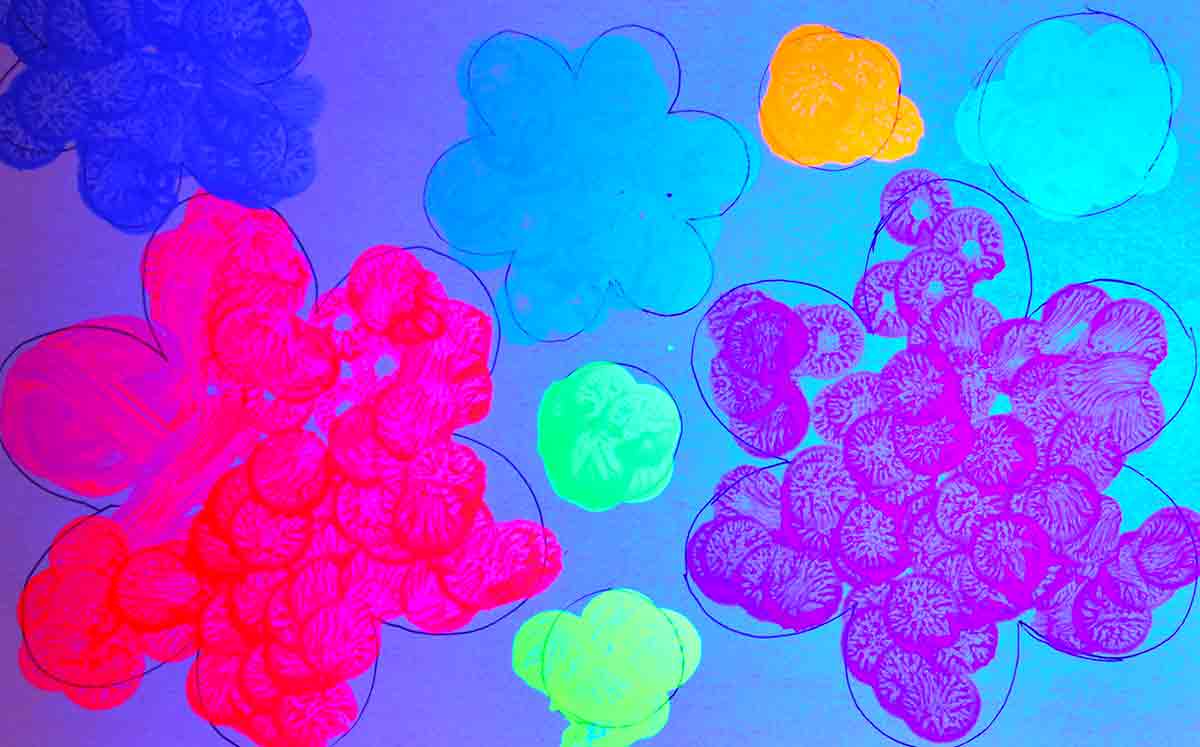
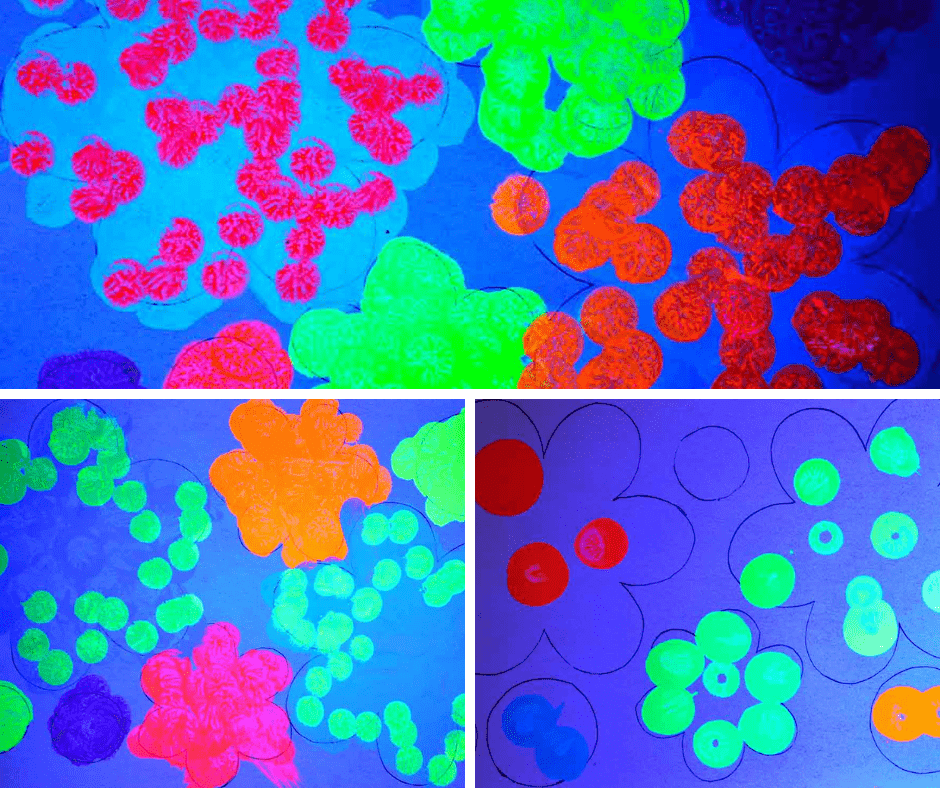
#6 Fluorescent Flowers
There is something magical when you turn off the lights and your painting starts to glow!
That’s what happened when we made these fluorescent flowers!
You just need fluorescent paint, a poster board, and a blacklight to let the magic begin!
Supplies
- Fluorescent daubers
- White posterboard
- Blacklight flashlight
Directions
- Using the dauber paints, paint flowers on a sheet of poster paper. One tip: the blue doesn’t show up very well once you shine the black light on it. The oranges, yellows, and pinks are amazing, however
- Turn off the lights and using a blacklight flashlight, shine it on your painted flowers. They will glow in the dark!
Just for fun, we shined the blacklight on our other projects hanging on the walls—it surprised us to see that other paint mediums we have used show up fluorescent!
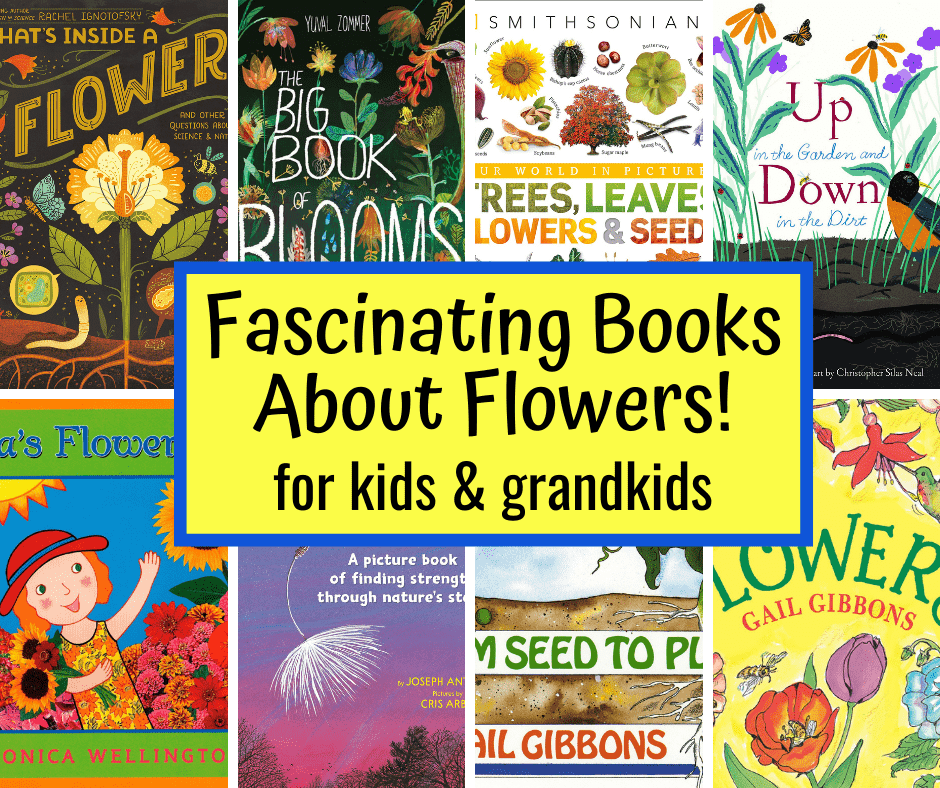
#7 Books About Flowers
Making paper flowers just isn’t the same without reading a few books about flowers and nature. Here is a fun list—check them out on Amazon or at your local library!
- The Dandelion Seed by Joseph Anthony
- Flowers by Gail Gibbons
- Big Book of Blooms by Yuval Zommer
- From Seed to Plant by Gail Gibbons
- Zinnia’s Flower Garden by Monica Wellington
- Trees, Leaves, Flowers & Seeds by DK Our World in Pictures
- What’s Inside a Flower: Part of “What’s Inside
- Up in the Garden and Down in the Dirt: Part of Over and Under series
“Get to Know Your Ancestors” Tip
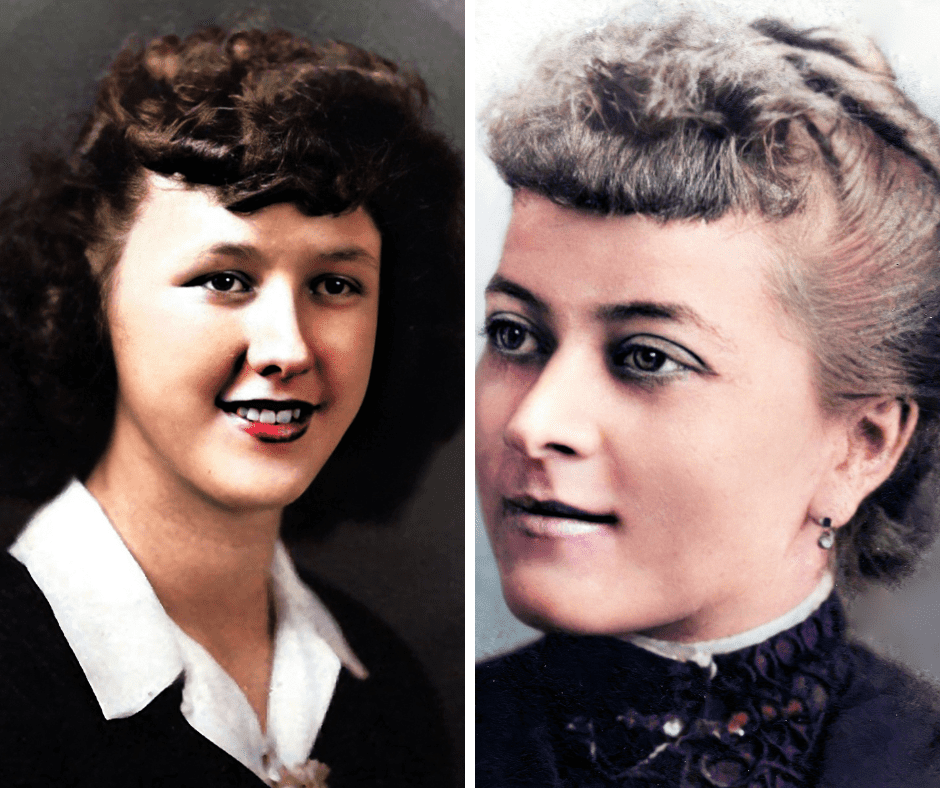
Believe it or not, kids and grandkids LOVE learning about their ancestors–and the fun and interesting stories they have left behind about their lives. If you research your family tree, you will most likely find you have ancestors who loved to plant flower gardens. Copy off their pictures and when you are making these paper flowers, share with your children/grandchildren different family members from the past that created beautiful flower gardens. Here are pictures we shared with our grandkids of their ancestors who loved to plant flower gardens:
Have you made paper flowers with your kids or grandkids? Please tell us about your experiences in the comment section below.
Want to remember this post? Post, “Here are 7 Amazing Ways of Making Paper Flowers with Kids” to your favorite Pinterest board!






Leave a Reply