Inside: Here are 5 exciting activities when teaching fiber arts to kids and grandkids. An easy introduction to spinning, dyeing, and weaving while emulating your ancestors and learning skills of yesteryear!
Teaching Fiber Arts to Kids: Dyeing, Spinning & Weaving
Have you ever tried teaching fiber arts to kids or grandkids to remind them of their ancestors? For example—have you ever woven on a loom or spun wool on a spinning wheel? Ever tried dyeing fabrics using natural dyes extracted from plants or herbs?
I learned all these skills in my undergrad program in college while pursuing a double major in Fiber Arts/Interior Design.
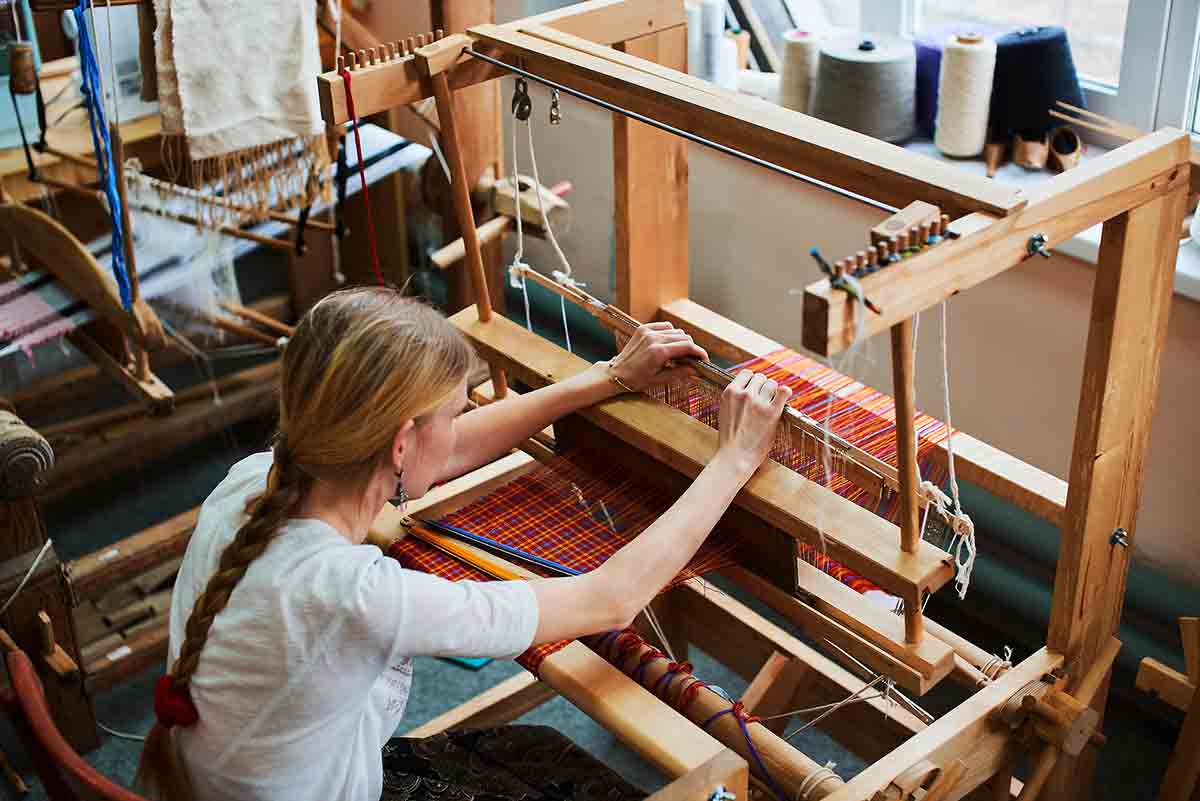
After graduation, I purchased a 6-harness Leclerc floor loom (it’s big) and a spinning wheel. Over the years, I’ve hauled my loom and spinning wheel to my sons’ school classes; teaching fiber arts to kids while showing them how to spin and weave.
These activities gave me a new appreciation for my ancestors and the tedious, time-consuming work of spinning, dyeing, and weaving cloth for their families.
Cultures all over the world have carted wool from sheared sheep, dyed it with plants; spun the wool into yarn, and wove it into cloth. They are creative ways our ancestors nurtured and cared for their families.
Even though creating fiber arts takes time, there are ways to simplify these skills and teach fiber arts to your kids and grandkids while remembering and reminiscing about your ancestors. These so-called “ancient” skills are back in vogue—for many people, it’s a hobby, and for some—their life’s work.
Here are some fun and educational ideas for teaching fiber arts to kids and grandkids
#1 Teaching Fiber Arts to Kids: Dye Your Yarn
Dyeing yarn takes time. You need special equipment that you use ONLY for dyeing and a heat source. It’s also a good idea to have a shed or garage to dye in since it can be messy.
However, if you just want your children or grandchildren to have the experience of dyeing wool roving, you can simplify the process while remembering your ancestors. The mess is minimal, your children/grandchildren will learn about dyeing and the result will be amazing!
Our secret? Kool-Aid! You know—that stuff that we drank by the gallons as kids and contains hundreds of dangerous dyes. It’s perfect for dyeing wool! The colors will be vibrant and bright.
By the way—wool roving is sheep’s wool. They shear the sheep, clean the wool of debris, cart it with a machine (I used to do it by hand) and the final product is white, clean wool that is ready to be spun into yarn and dyed.
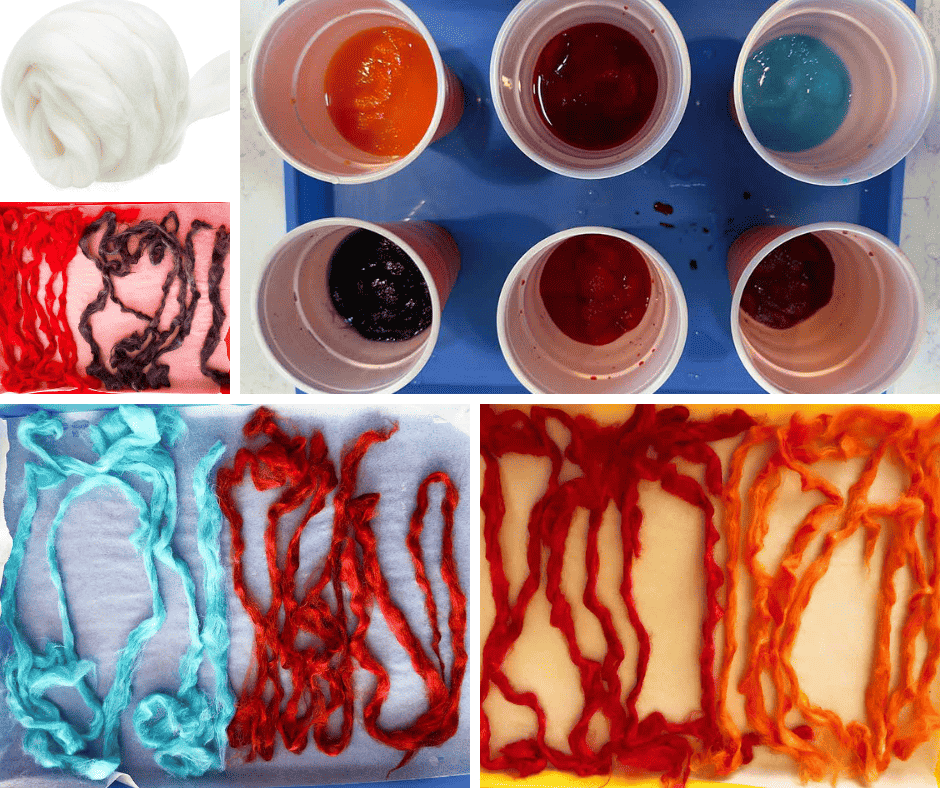
It’s difficult to see the wool roving in the cups–but it’s in there. At the top left side is a picture of wool roving. The pictures below are after we rinsed them; put them on the cookie sheets and set them out in the sun to dry
Here is a simple supply list and directions for dyeing wool roving:
Supplies
- Wool Roving (it must be 100% wool or your colors will not be as vibrant)
- Kool-Aid in different colors
- Warm water
- Containers for each Kool-Aid color
Directions
- Thoroughly mix one package of Kool-Aid in 1 cup of warm water
- Pull off a bunch of wool roving and immerse completely into the Kool-Aid
- Let it sit for 30 minutes to 1 hour
- Rinse the wool roving under cold water and wring out
- Lay the dyed wool roving on a cookie sheet covered in parchment. Put outside in the sun to dry.
Now you’re ready to weave with the wool roving or spin it into yarn. We used our wool roving to weave and left it bulky rather than spinning it into yarn.
#2 A Fiber Arts Basic: Spinning Wool into Yarn
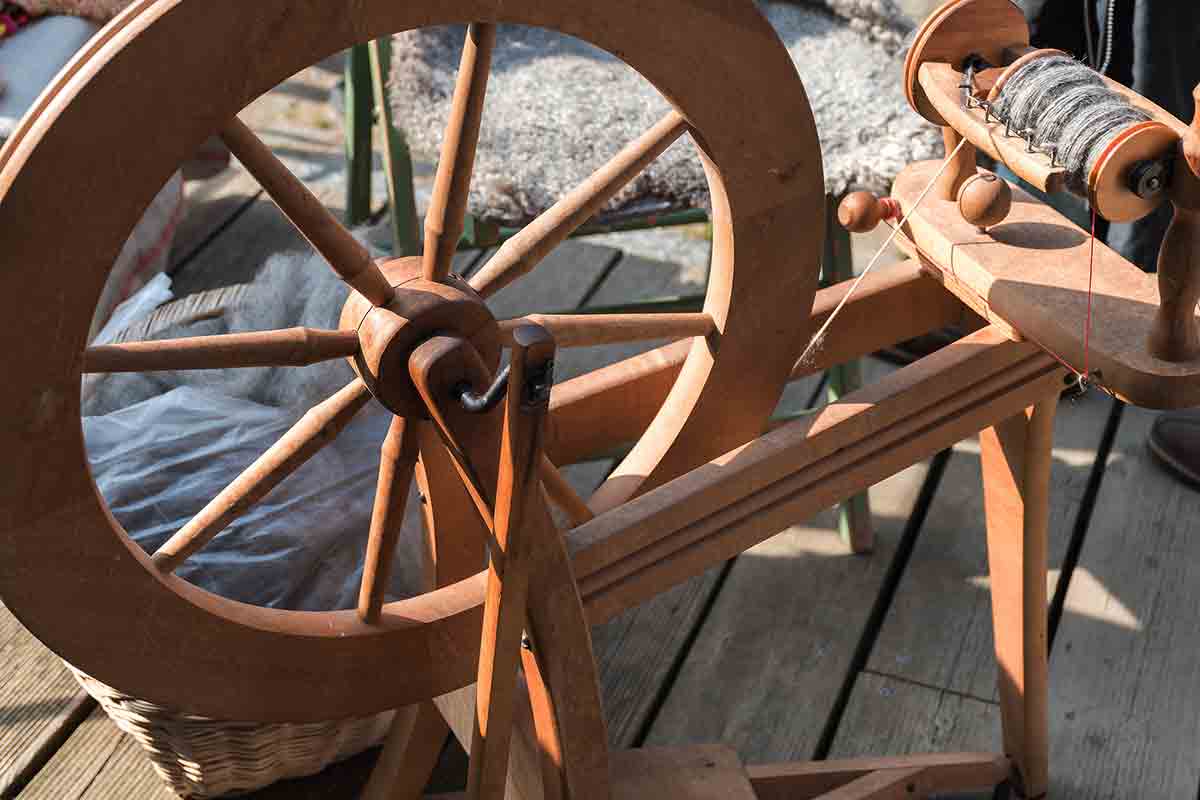
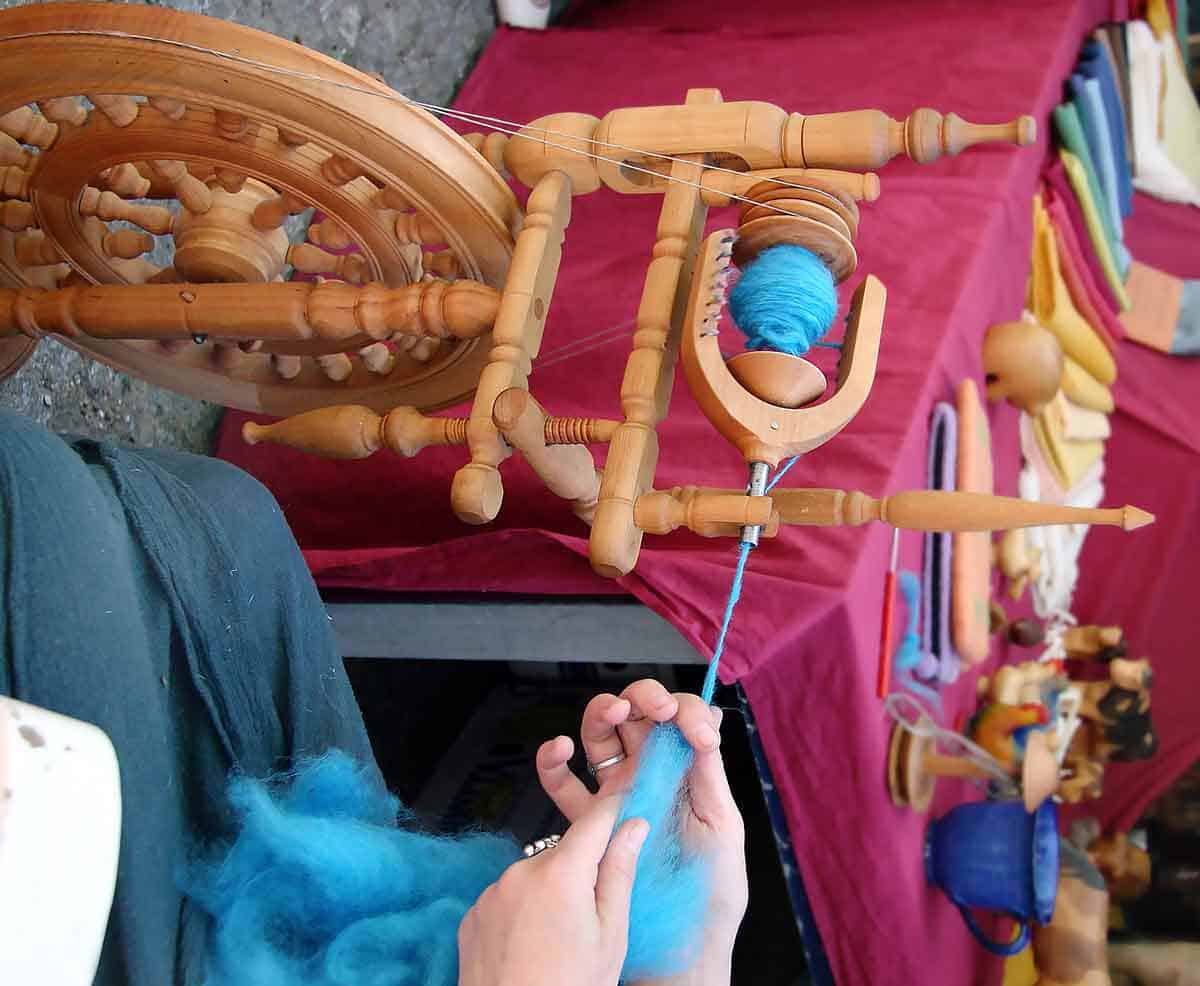
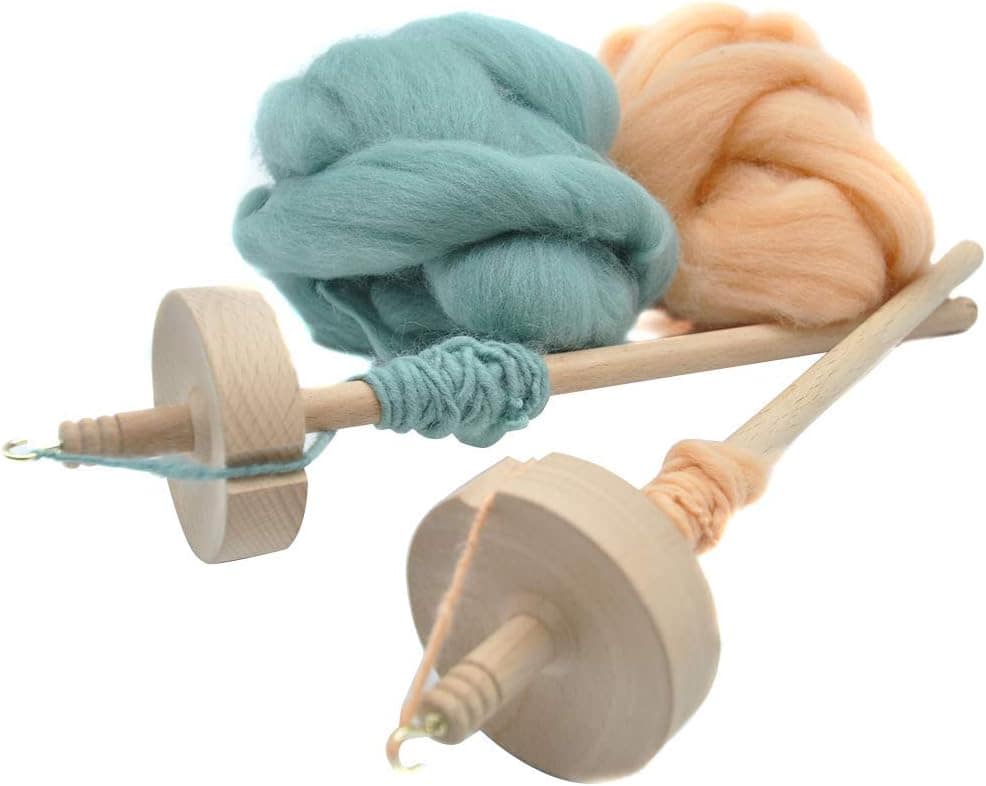
Unfortunately, this post won’t teach you how to spin “straw into gold” like Rumpelstiltskin (darn)—but it will teach you how to spin wool roving into yarn! I’ve spun on a spinning wheel, Drop Spindle and Navajo Spindle.
Click here to watch an excellent video that will take you through the step-by-step directions of spinning wool roving using a drop spindle.
If your children or grandchildren end up loving the process, then you can advance to a spinning wheel or Navajo spindle to create beautiful yarn. And check out the book Respect the Spindle by Abby Franquemont to help you on your journey.
Supplies
- Dyed wool roving (that you made above)
- Drop spindle or Navajo spindle
Directions
Please watch the video above for all the step-by-step directions for spinning your wool roving into yarn using a drop spindle
#3 Teaching Fiber Arts to Kids with Simple Weavings
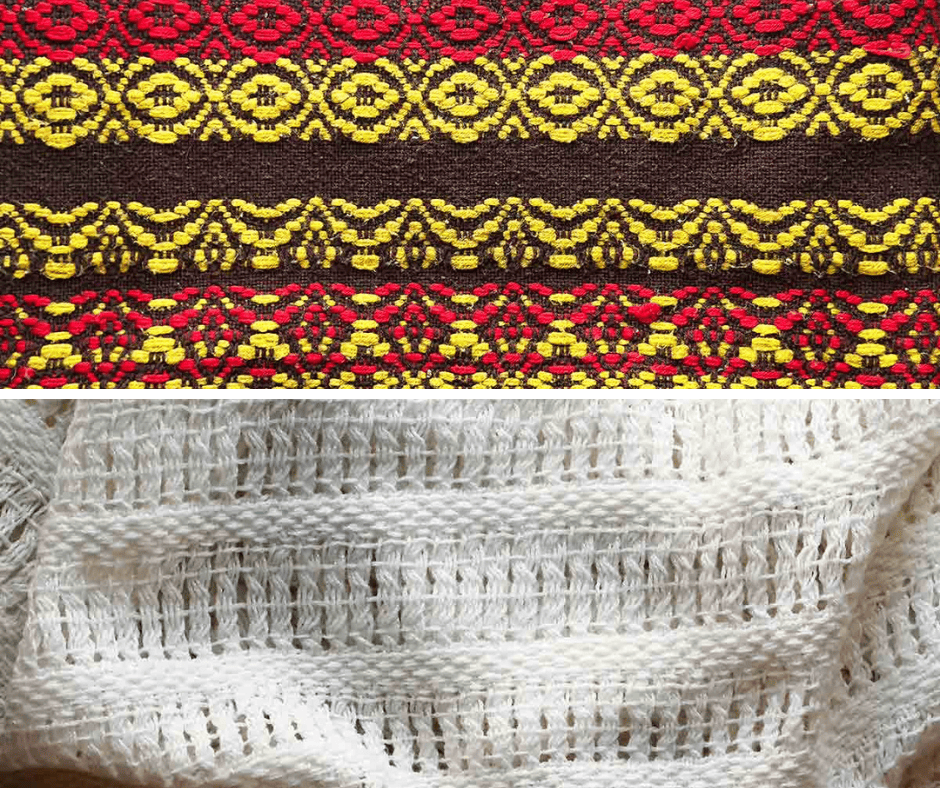
The top afghan is one I wove on my loom and the bottom one is a baby shawl I wove using Leno (lace) weaving
In college, I wove on different-sized looms—a floor loom, a table loom, an upright loom, and an Inkle loom. I made Afghans, shawls, rugs, and yards of cloth that I later sewed into clothes. A girl in my class wove the fabric for her wedding dress—very interesting and unique!
The most time-consuming part of weaving is preparing your loom by threading the warp threads through the heddles and harnesses to create 100s of different patterns. I also created double weaves and Leno (hand-manipulated lacy weave using your fingers).
There were many times, I thought of my 7th great-grandmother and the weaving she did for her family. I admire her strength and energy as she took care of her husband and 7 children. (Her husband was a Lieutenant in the Revolutionary War and was one of the Minute Men)
Let’s simplify the process because weaving can be so much fun and a great way to appreciate your ancestors!
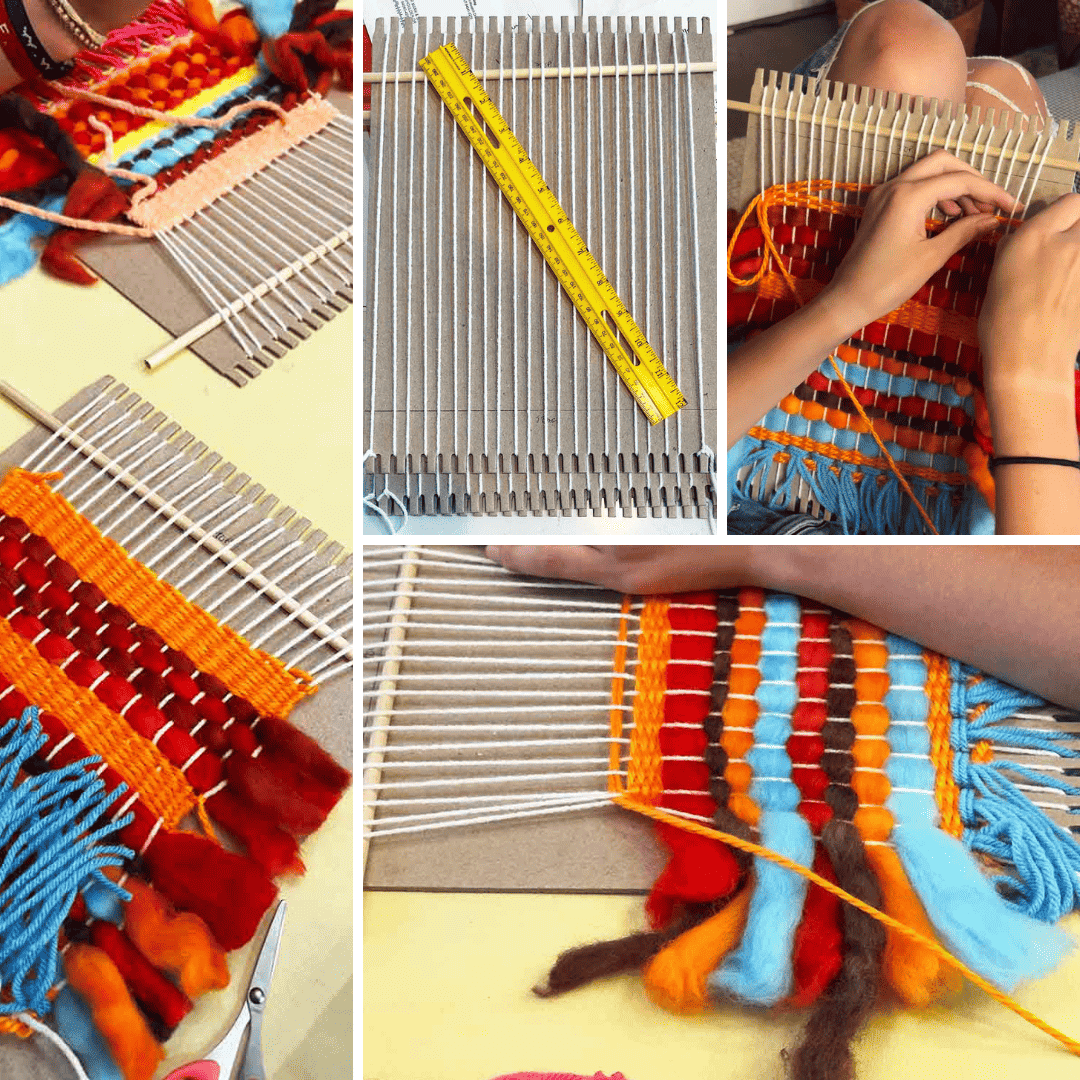
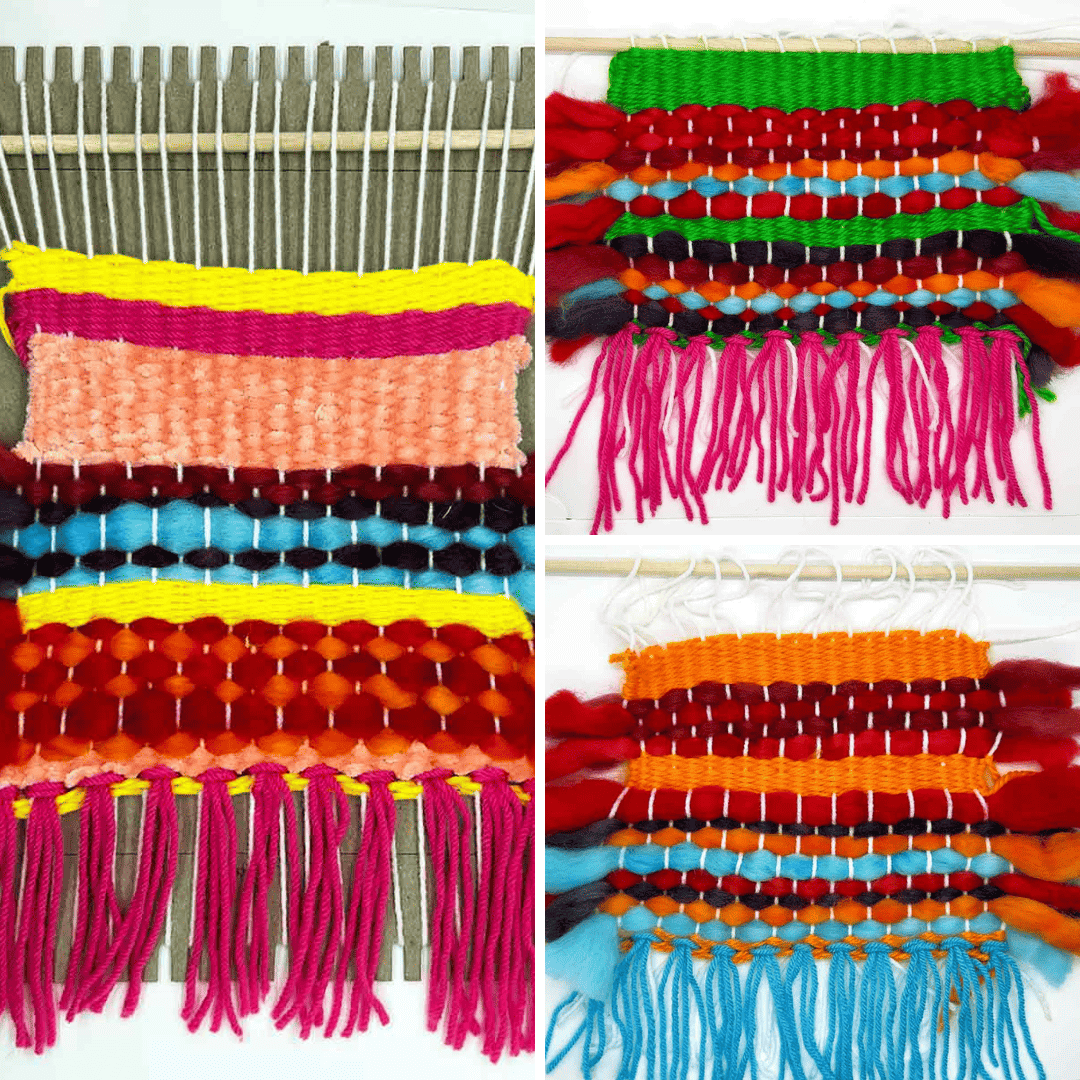
I had my little grandkids (ages 3-8) weave paper to create mats and other art projects and I had my teenage granddaughters (14-17) weave a simple wall hanging using cardboard looms, wool roving, and yarn.
They used the wool roving they had dyed with Kool-Aid and their results were out-of-this-world colorful!
Here’s what you need:
Supplies
- Stiff cardboard looms. Purchase these—easier than making a loom from cardboard for everyone and you can use these over and over again.
- Ruler and pencil
- Durable Loom Warp Thread
- Yarn in different colors
- Wool Roving you have dyed with Kool-Aid
Directions
- Because “seeing in believing,” please watch this video on how to string your cardboard loom using warping thread. It also shows you how to make a loom. But, stick with the cardboard ones you purchased on Amazon.
- Second, watch this video to see how to make a simple weaving.
- You will be using both yarn and wool roving. She uses just yarn, but make certain you are using your wool roving along with your yarn. Again, you are NOT spinning your dyed wool roving into wool this time. Chunky wool roving creates an interesting woven wall hanging.
Afterward, ask your children/grandchildren:
- Did you enjoy the weaving process?
- What did you learn?
- What do you think makes your ancestors special or unique?
Teaching fiber arts to kids is a wonderful way to illustrate that our ancestors laid a foundation of ease that we enjoy today. They wove cloth—we buy our cloth at a fabric store. They hunted for food—we buy our food at a grocery store. Everything they did was accomplished through “time-consuming effort” but because of their inventions and curious minds, we enjoy a life relatively filled with ease.
Thank you, Ancestors!
#4 Tie Dye—Another Fun Way of Teaching Fiber Arts to Kids!
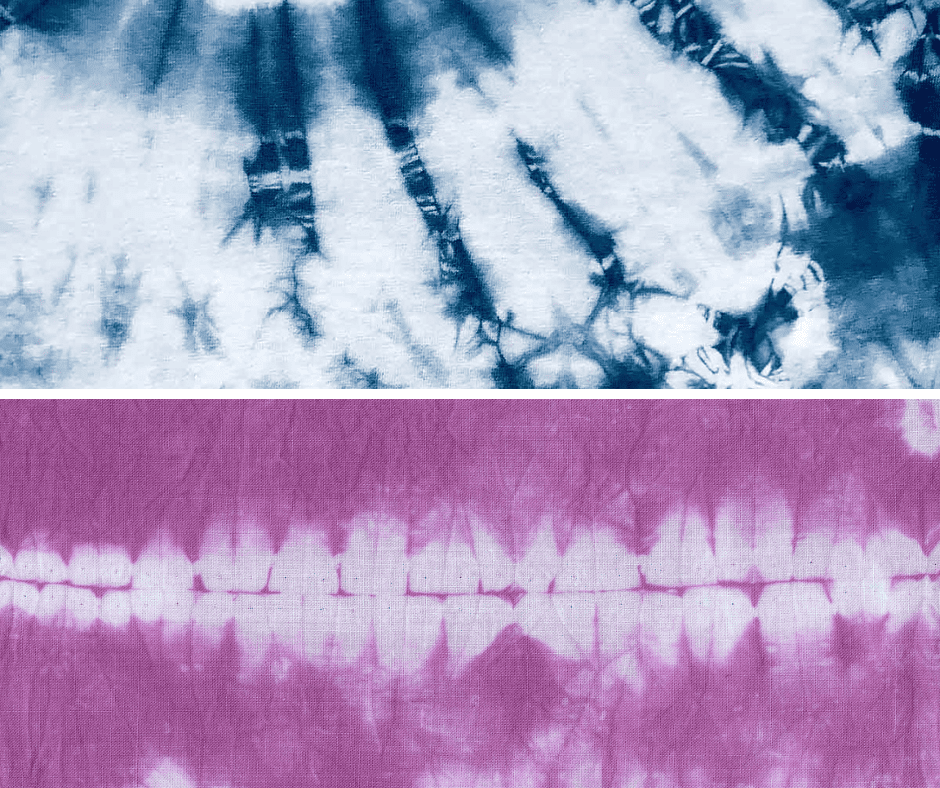
Tie-dying is another way to dye cloth. This process originated in China and Japan and gained quite a following in the United States in the 1960s. In the last 10 years, it’s made a comeback and many young people are using tie-dye techniques to tie-dye shirts, pants, tote bags, or other things.
The process of fabric dying in Japan is called, “shibori” which means to wring, squeeze, or press. The main difference between shibori and tie-dye is tie-dye requires tying the cloth with rubber bands before dying and shibori uses thread to create patterns before dying the cloth. Traditional shibori uses indigo dye made from soaked and fermented leaves of “Indigofera tinctoria” –a bean plant found in Asia, Africa, Indonesia, and Malaysia.
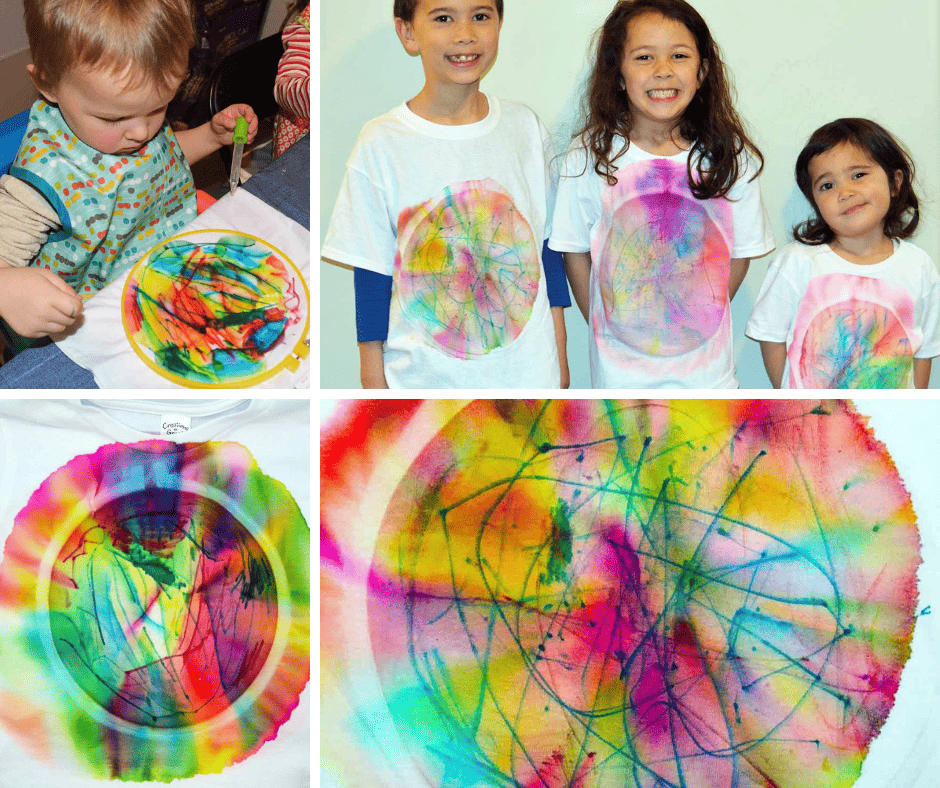
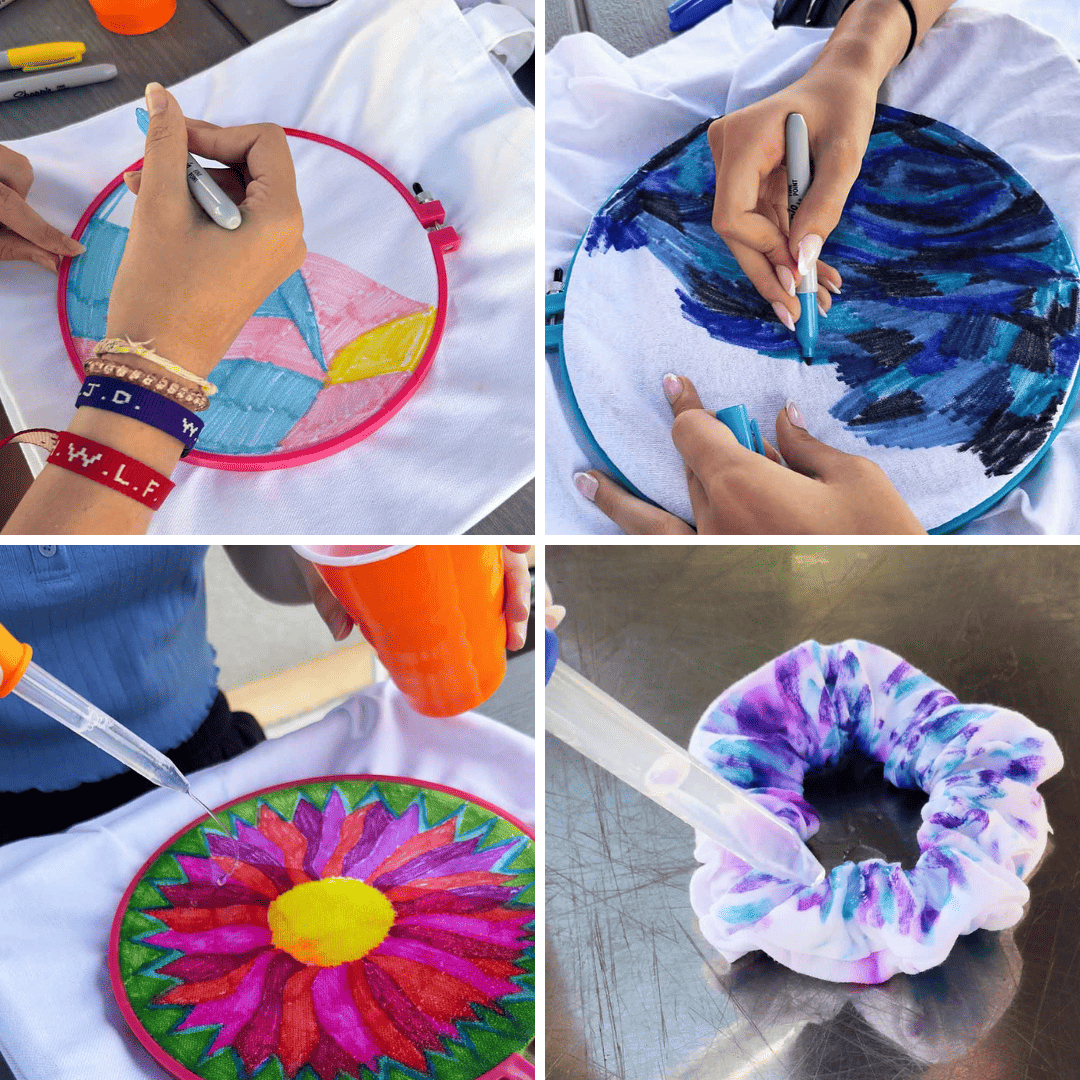
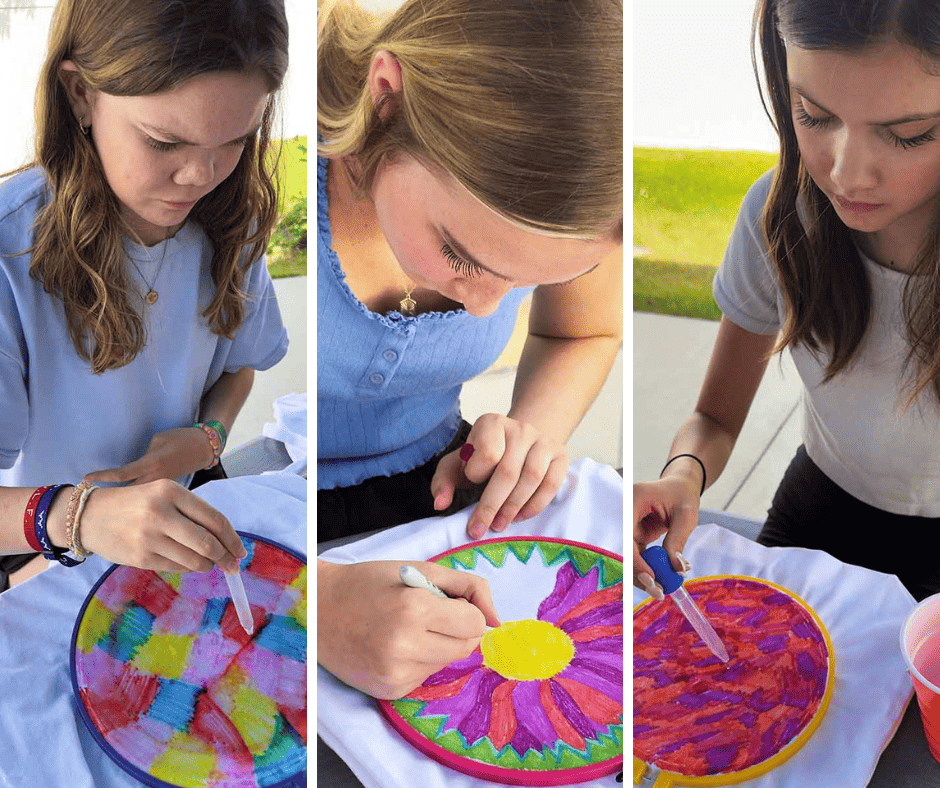
To make things MUCH easier, I discovered a way for children/grandchildren to experience tie-dying using permanent markers and alcohol to tie-dye t-shirts, tote bags, and scrunchies. The results are amazing and the mess is minimal! Here’s how to do it:
Supplies
- Permanent Sharpie markers
- Embroidery hoops 10″
- 70% Isopropyl Alcohol
- Large eye droppers for kids
- Retayne
- White T-shirts (Hobby Lobby)
- Scrunchies
- Tote Bags
Directions
- Attach an embroidery hoop around the middle section of the front of a T-shirt
- Using permanent markers, make colorful doodles, flowers, and animals—filling the whole section with bright colors.
- Put a cookie sheet under the t-shirt and with an eyedropper, squirt alcohol on the design. Saturate it with alcohol and watch the colors bleed and blend.
- You can also use this process on tote bags, scrunchies, or even white tennis shoes
- Use Retayne to set the colors
#5 Fiber Arts Books
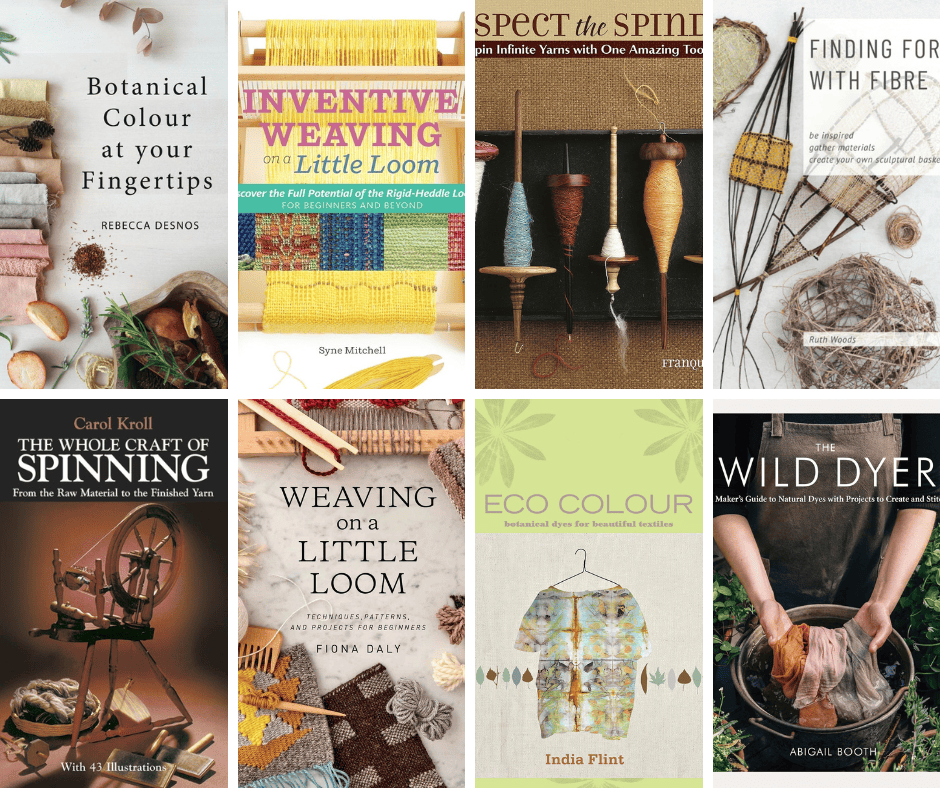
When teaching fiber arts to kids, add some books to help you on your journey. They will help you become more proficient in spinning, dyeing, and weaving while appreciating your ancestors.
Finding Form with Fiber by Ruth Woods
Botanical Colour at Your Fingertips by Rebecca Desnos
Eco Color: Botanical Dyes for Beautiful Textiles by India Flint
The Wild Dyer: A Maker’s Guide to Natural Dyes by Abigail Booth
Weaving on a Little Loom by Fiona Daly
Inventive Weaving on a Little Loom by Syne Mitchell
Respect the Spindle: Spin Infinite Yarns with One Amazing Tool by Abby Franquemont
The Whole Craft of Spinning: From the Raw Material to the Finished Yarn by Carol Kroll
Check out these other posts on ancestor activities:
7 Amazing Ways to Celebrate Victorian Tea Parties with Family
7 Fun Activities Creating Memories With an Herbal Ancestor Garden


Leave a Reply