10 Best Halloween Ideas for Kids & Grandkids!
Inside: Here are the 10 Best Halloween ideas for kids and grandkids! Easy-to-do science, art, nature, crafting, baking & more! Something for everyone on your list!
Kids of all ages love Halloween. In fact, it seems to be their favorite Fall holiday! The weather is cooler, neighborhoods are drenched in Halloween décor; kids are agonizing over what they are going to wear on that night of nights, and parents, grandparents, and teachers are planning and preparing fun Halloween projects to make the season spooktacular!
Here are 10 of the best Halloween ideas for kids and grandkids. Easy to do and minimal preparation!
#1 Classic Baking Soda & Vinegar Halloween Science Fun
Do your kids and grandkids love the classic baking soda and vinegar science experiment? The one where the vinegar causes the baking soda to fizz and fuzz?
With a little imagination, you can make this into one of the best Halloween ideas to do with your family!
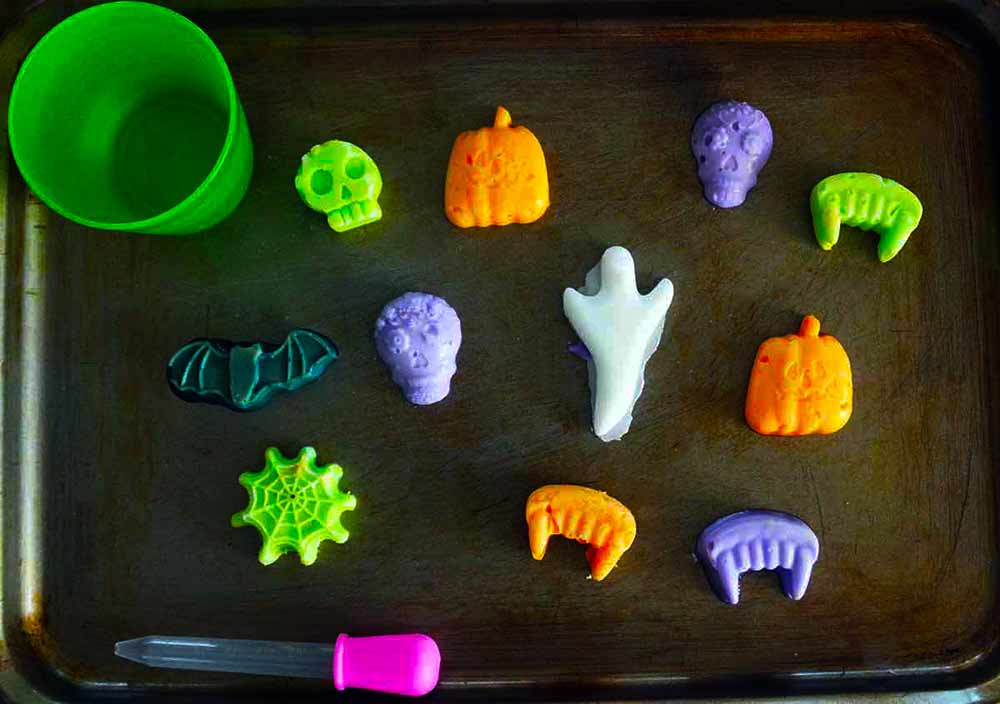
Take silicone Halloween molds; use food colors and dye the water Halloween colors, and mix with baking soda. Press the baking soda mixture into the molds, freeze, pop out of the molds; douse with vinegar, and watch the fun begin!
Easy-peasy and oh—so fun!
Supplies
- Silicone Halloween molds (Target, Walmart, Michael’s, Amazon)
- Baking Soda
- Vinegar
- Cookie Sheet
- Food coloring in Halloween colors
- Cups to hold the vinegar
- Eye droppers–kid size
Directions
- Measure 1 cup of baking soda; put in a dish
- Mix together ¼ cup water and several drops of ONE food coloring at a time (use Halloween colors—orange, black, purple, yellow, green). I made several different colors and batches
- Mix the water with the baking soda. The mixture should be rather thick
- Press the baking soda mixture into the silicone molds
- Freeze at least 1 hour (I froze mine overnight)
- Pop-out onto a cookie sheet. Each child should have around 8-10 molds
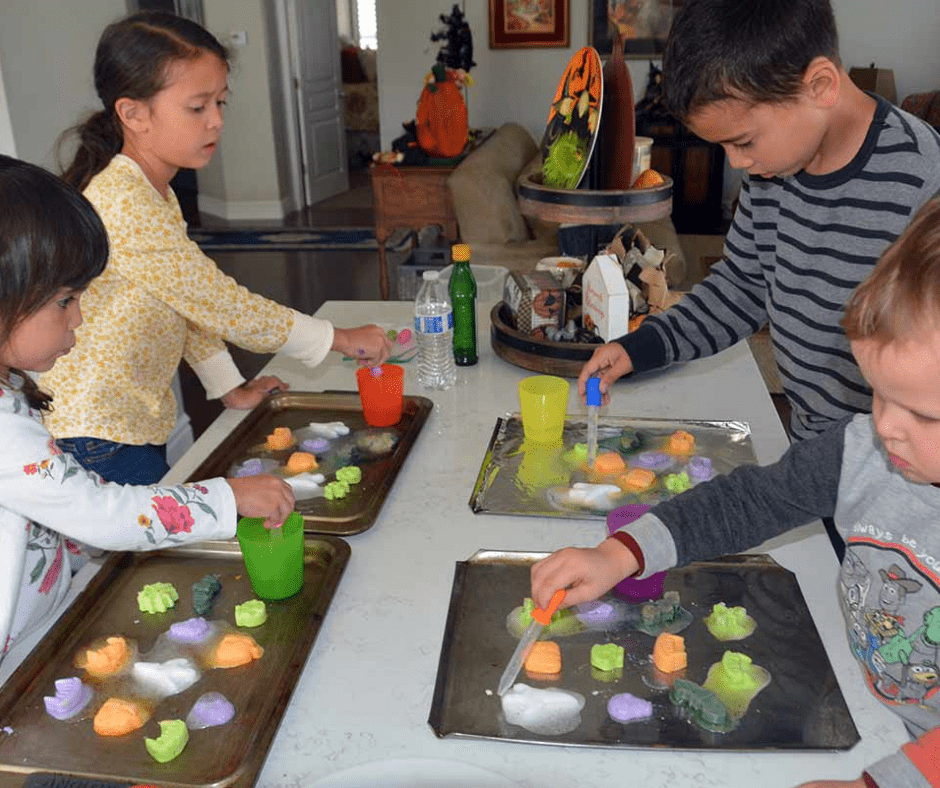
- Give each child a container full of vinegar and an eyedropper.
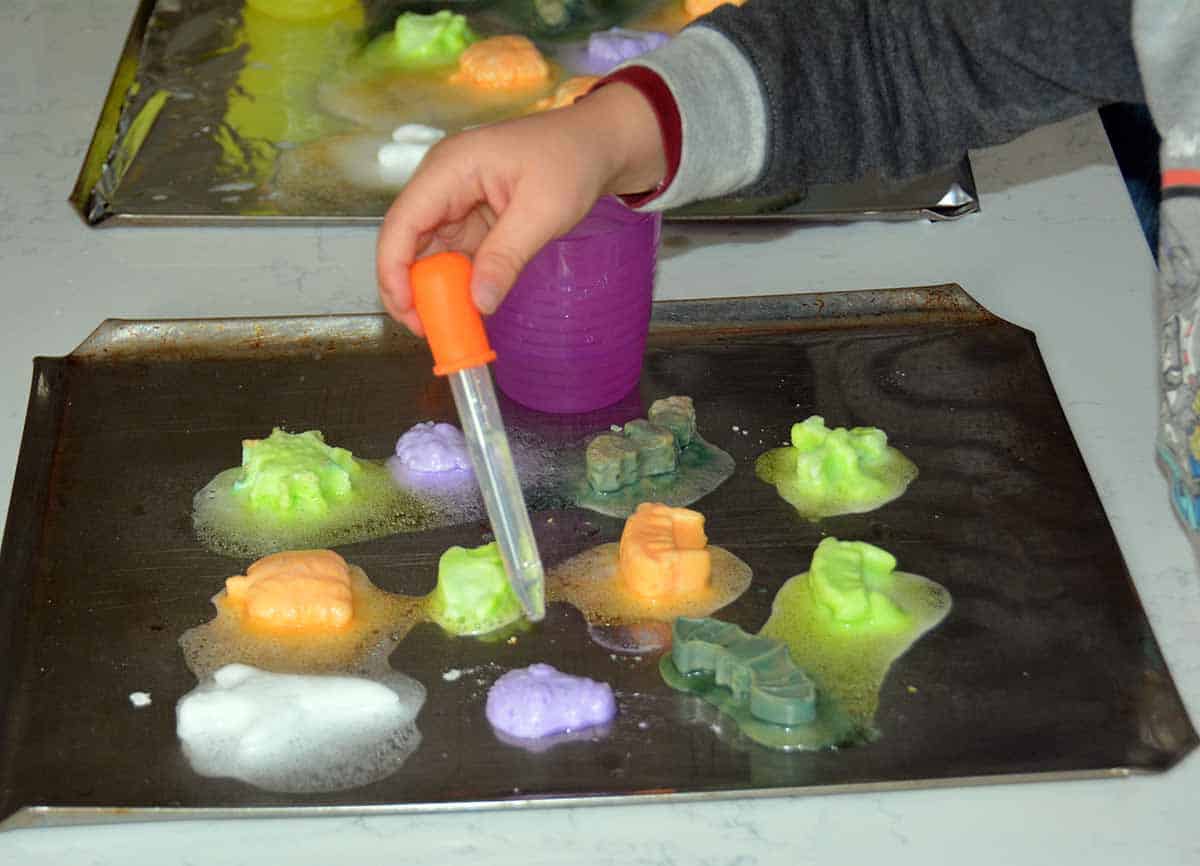
- Suck up and squirt the vinegar over the Halloween figures—watch them fizz!
#2 I Want My Mummy!
There are lots of mummy activities online. This one is simple to make and helps children with hand-eye coordination and bilateral coordination
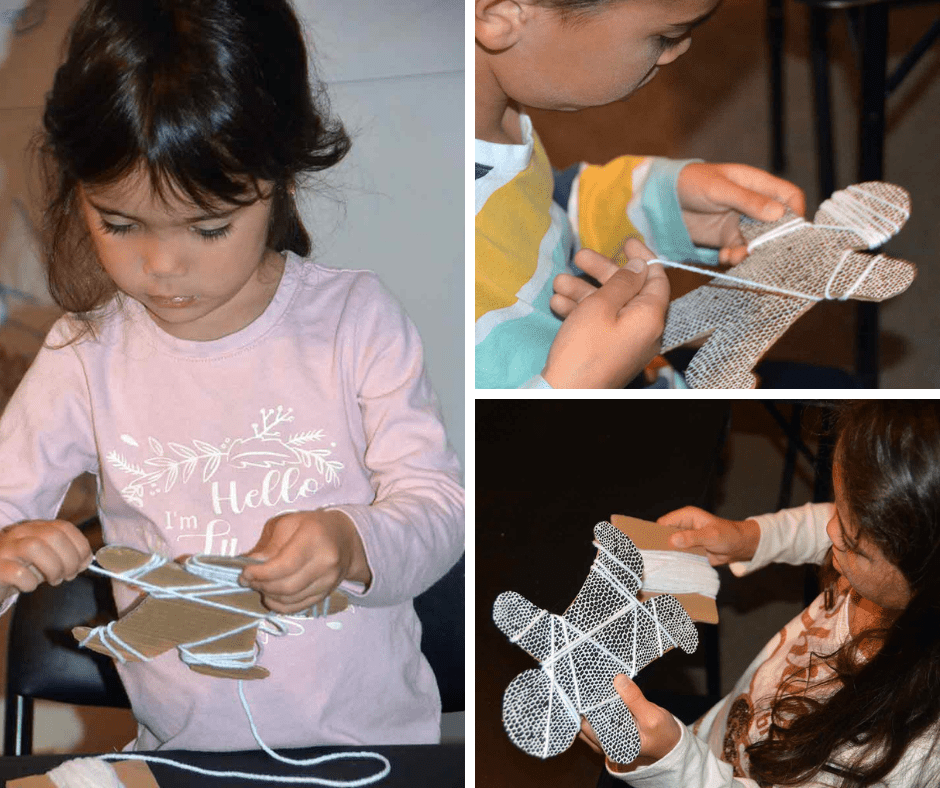
I traced a mummy template onto cardboard, cut it out, and had the grandkids choose which paper they wanted to glue on top of the mummy.
Once it was glued, we took white yarn and wound it around the mummy, and topped it off with googly eyes.
Truly one of the best Halloween ideas for your kids & grandkids!
Supplies
- Free Mummy template
- Cardboard
- Black & white paper (Michael’s)
- Glue
- White yarn
- Googly Eyes
Directions
- Download mummy template
- Trace onto a piece of cardboard; cut out
- Trace the mummy template onto a piece of black paper or patterned black paper—we used different patterns (dots, swirls) of black paper; cut out
- Glue the black paper onto the piece of cardboard
- Take the yarn and wind around your mummy—when done, tape to the back
- Glue on the googly eyes
#3 Super Spooky Spiderwebs!
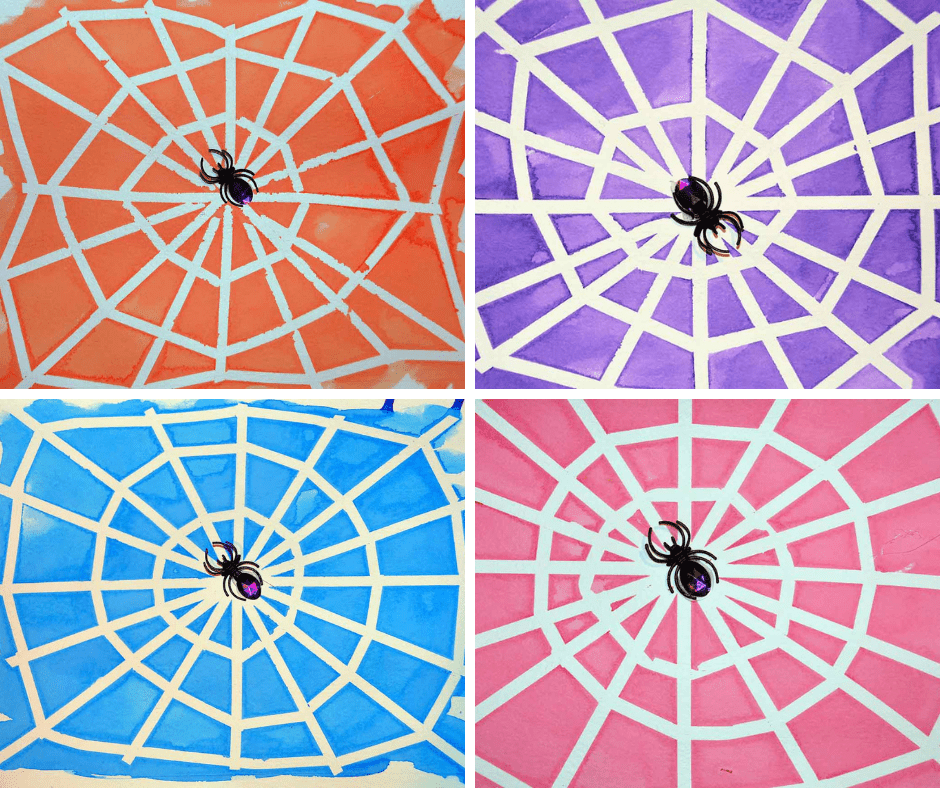
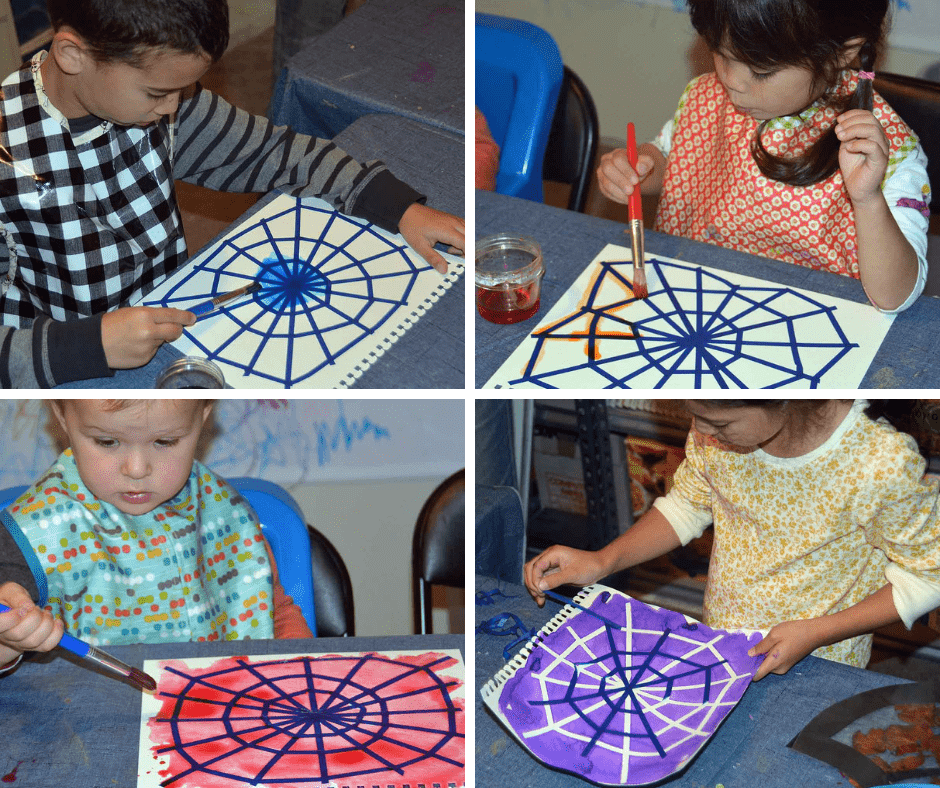
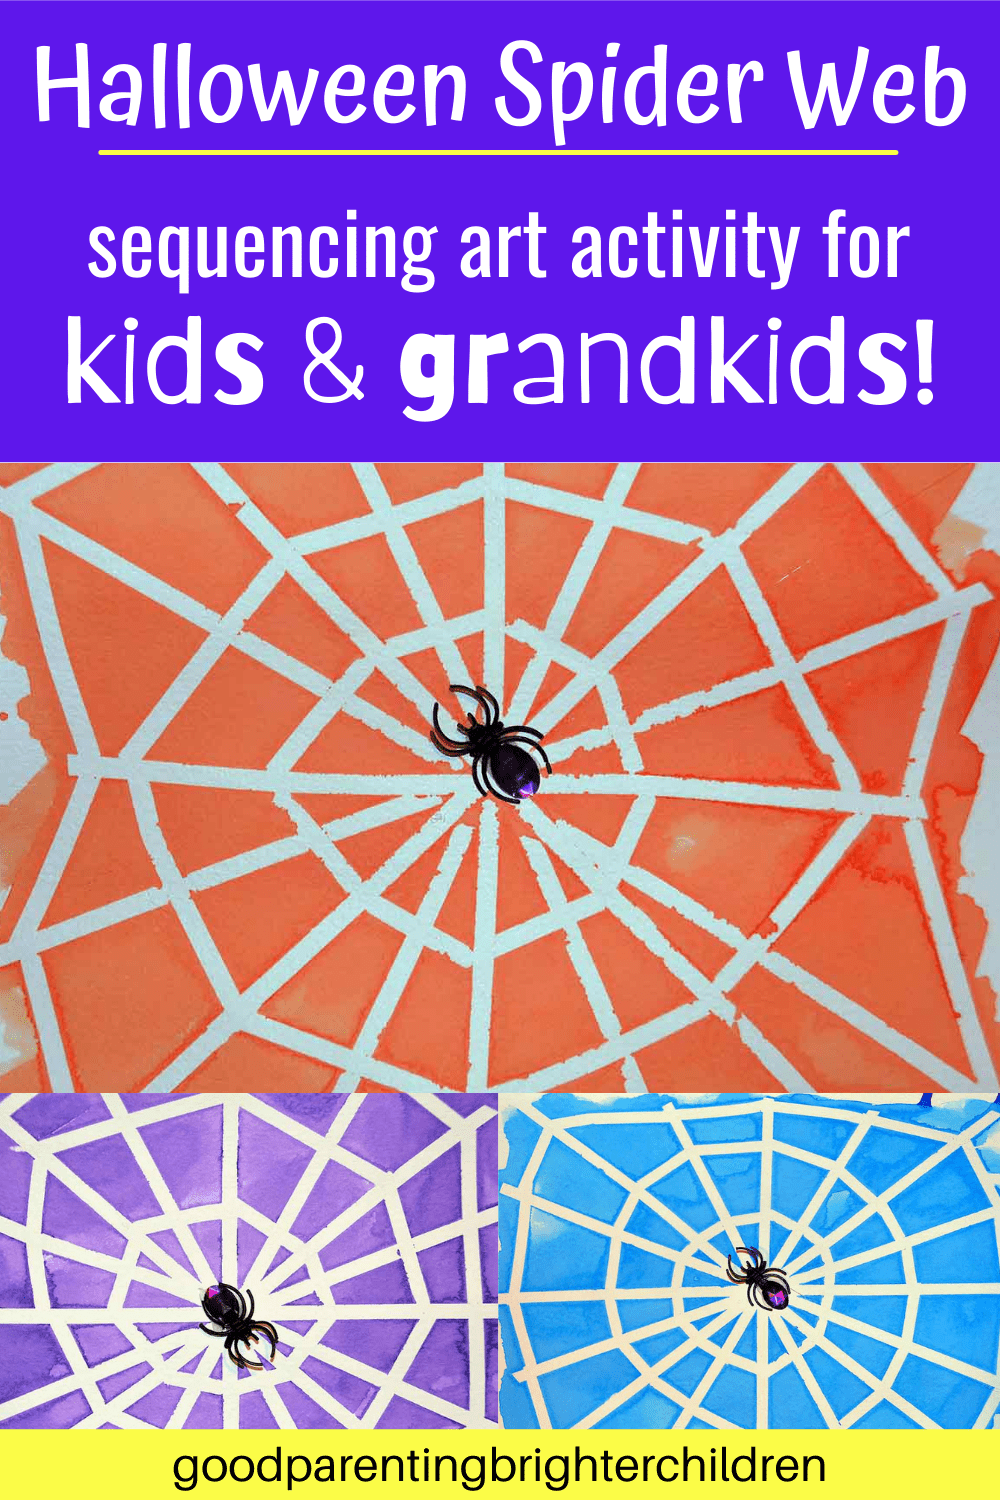
Have you ever done paint-resistant art? It’s also called tape-resistant art because you tape an image on watercolor paper; paint over it and when dry, peel off the tape to reveal a beautiful art piece!
We created spider webs using watercolor paper, painter’s tape, and liquid watercolors.
Easy to do and the result is always impressive!
Click here to see the tree quilt we made using tape-resistant art.
Supplies
- Watercolor paper 9×12”
- Spiders (Dollar Store)
- Liquid watercolors
- Painter’s tape
Directions
- Use one piece of watercolor paper per child. 9×12
- Using the ¼ inch painter’s tape, create a spider web with the tape
- Watercolor over the entire page using liquid watercolors
- Let dry
- Peel off the tape to reveal a spider web!
- Attach a spider
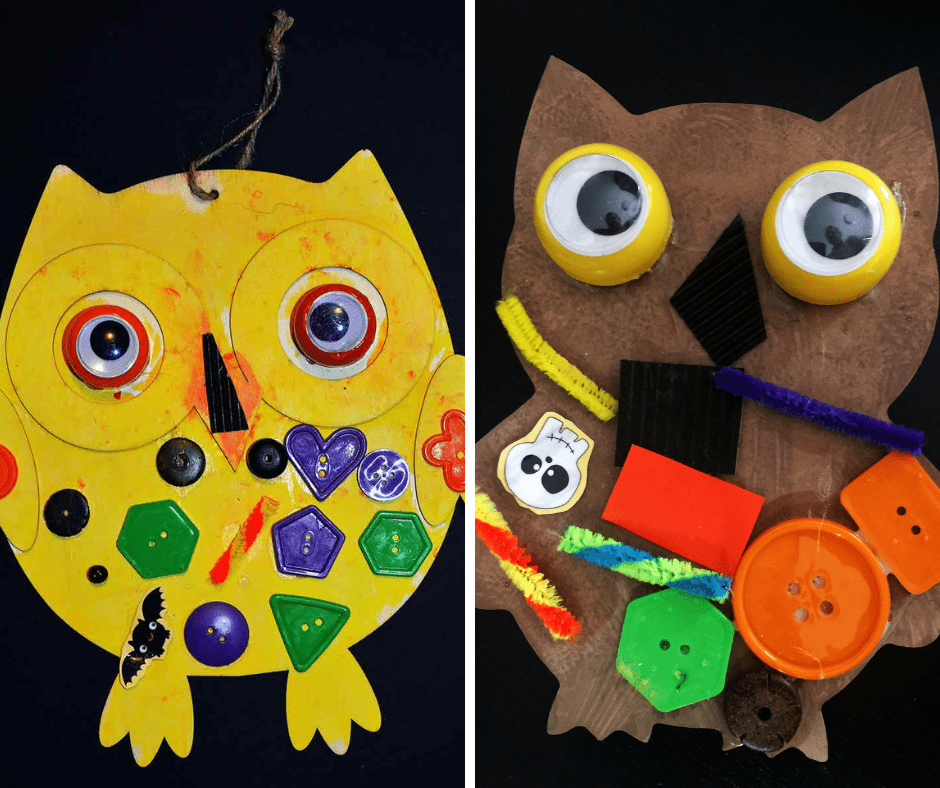
#4 Halloween Owls Collage
Halloween and owls go hand-in-hand! Clearly, they are one of the best Halloween ideas for kids and grandkids to celebrate the season!
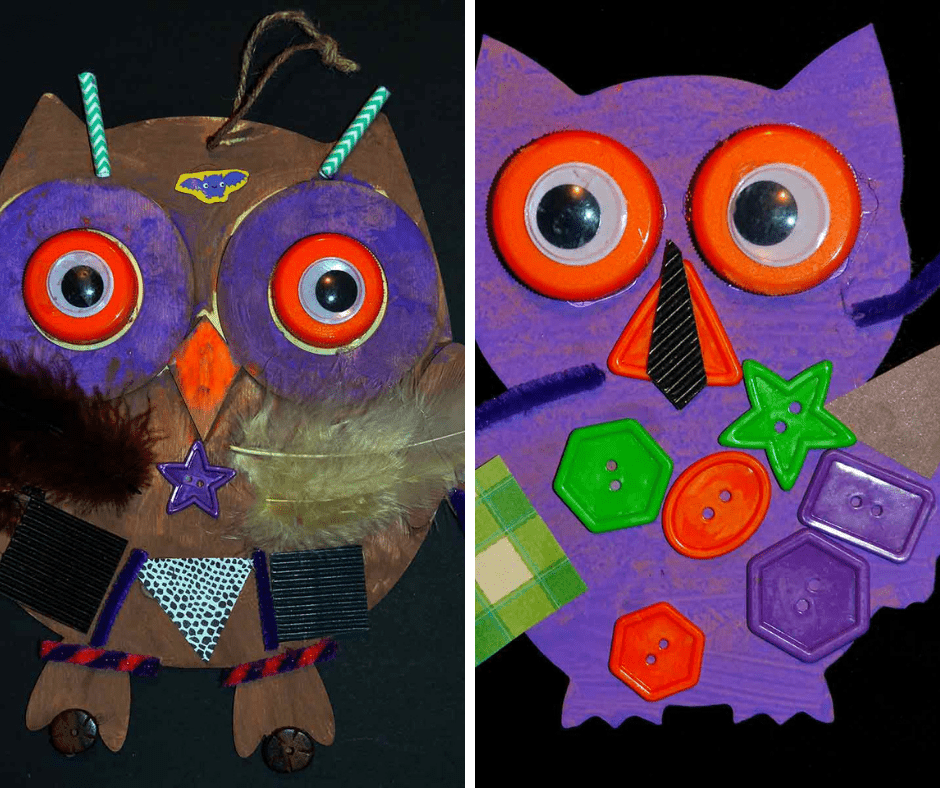
To add variety to this project, purchase different sizes and shapes of owls and let your kids/grandkids paint, glue and collage them into something interesting and fun.
Supplies
- Wooden owls (Dollar Store, Michael’s)
- Tempera paint—yellow, black, brown, orange
- Paintbrushes
- Collage materials—feathers, buttons, paper, stickers, bottle caps, googly eyes, pipe cleaners
- Glue
Directions
- Paint the entire owl. You can use one color of paint or several, but stick with Halloween colors
- Let dry
- Using different collage materials and creativity, decorate your owl
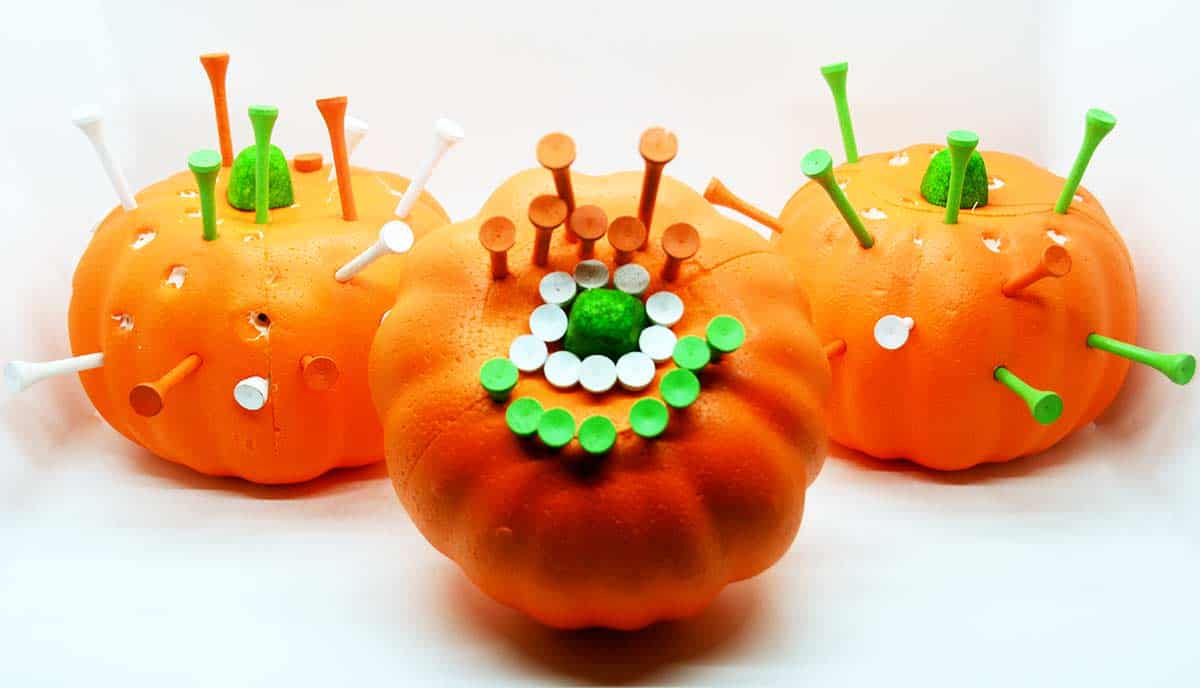
#5 Pound the Pumpkins
One of our grandkids’ favorite activities is to pound something—like pumpkins. We did this last year as one of our Thanksgiving activities and decided to repeat it for Halloween.
This activity builds proprioception which is one of our 9 senses. In fact, it’s been defined as our “sixth sense,” and helps children with an awareness of the position and movement of the body.
Kids who have difficulty with proprioception can have balance or coordination issues, be clumsy, or have difficulty walking downstairs.
An activity that helps to develop proprioception is weight-bearing activities—such as using a hammer.
You can pound anything made of Styrofoam, playdoh or candy pumpkins.
Supplies
- Styrofoam pumpkins (Dollar Store, Michael’s)
- Mallet hammers (Dollar Store)
- Golf tees (Walmart—they have packages of orange, green & white)
- Candy pumpkins or playdoh pumpkins (make them using orange & green playdoh)
Directions
- Give each child their own pumpkin, mallet hammer, and at least 20-25 golf tees
- Pound the golf tees into the pumpkin
- If you want, you can also make playdoh pumpkins and have them pound those or purchase candy pumpkins to pound
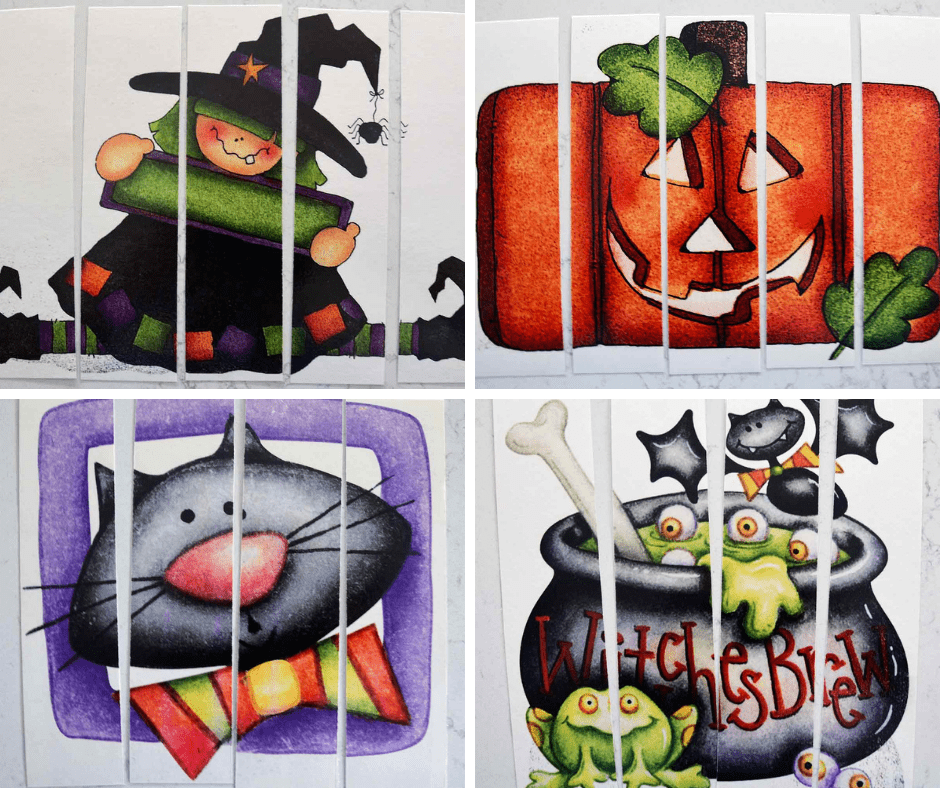
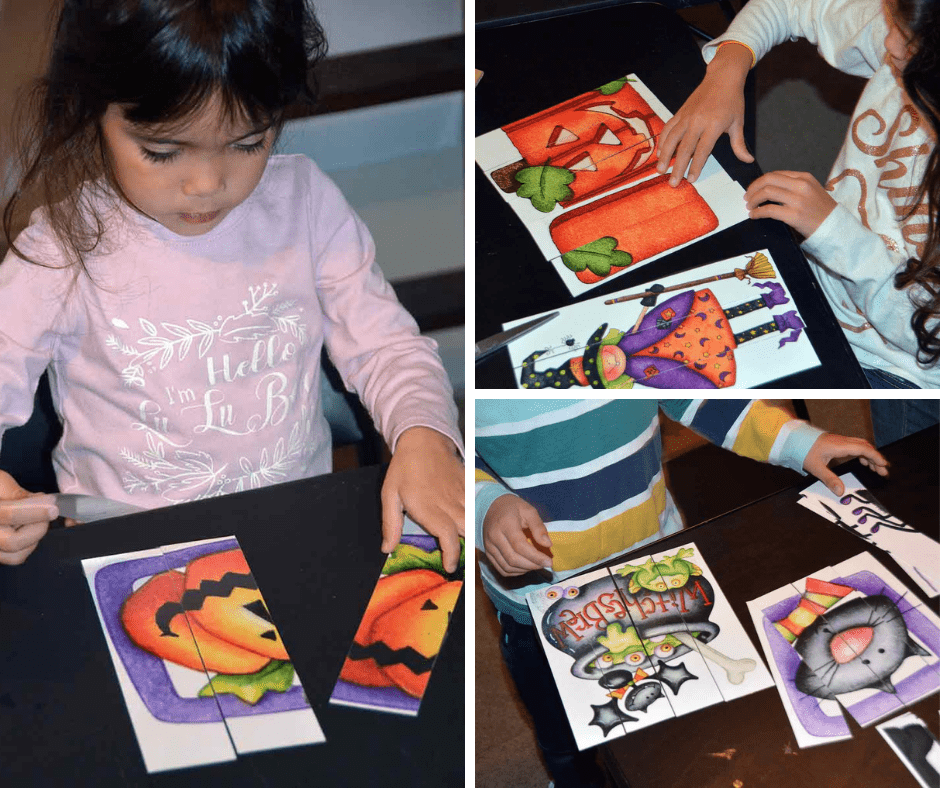
#6 Halloween Puzzles—one of the Best Halloween Ideas Ever!
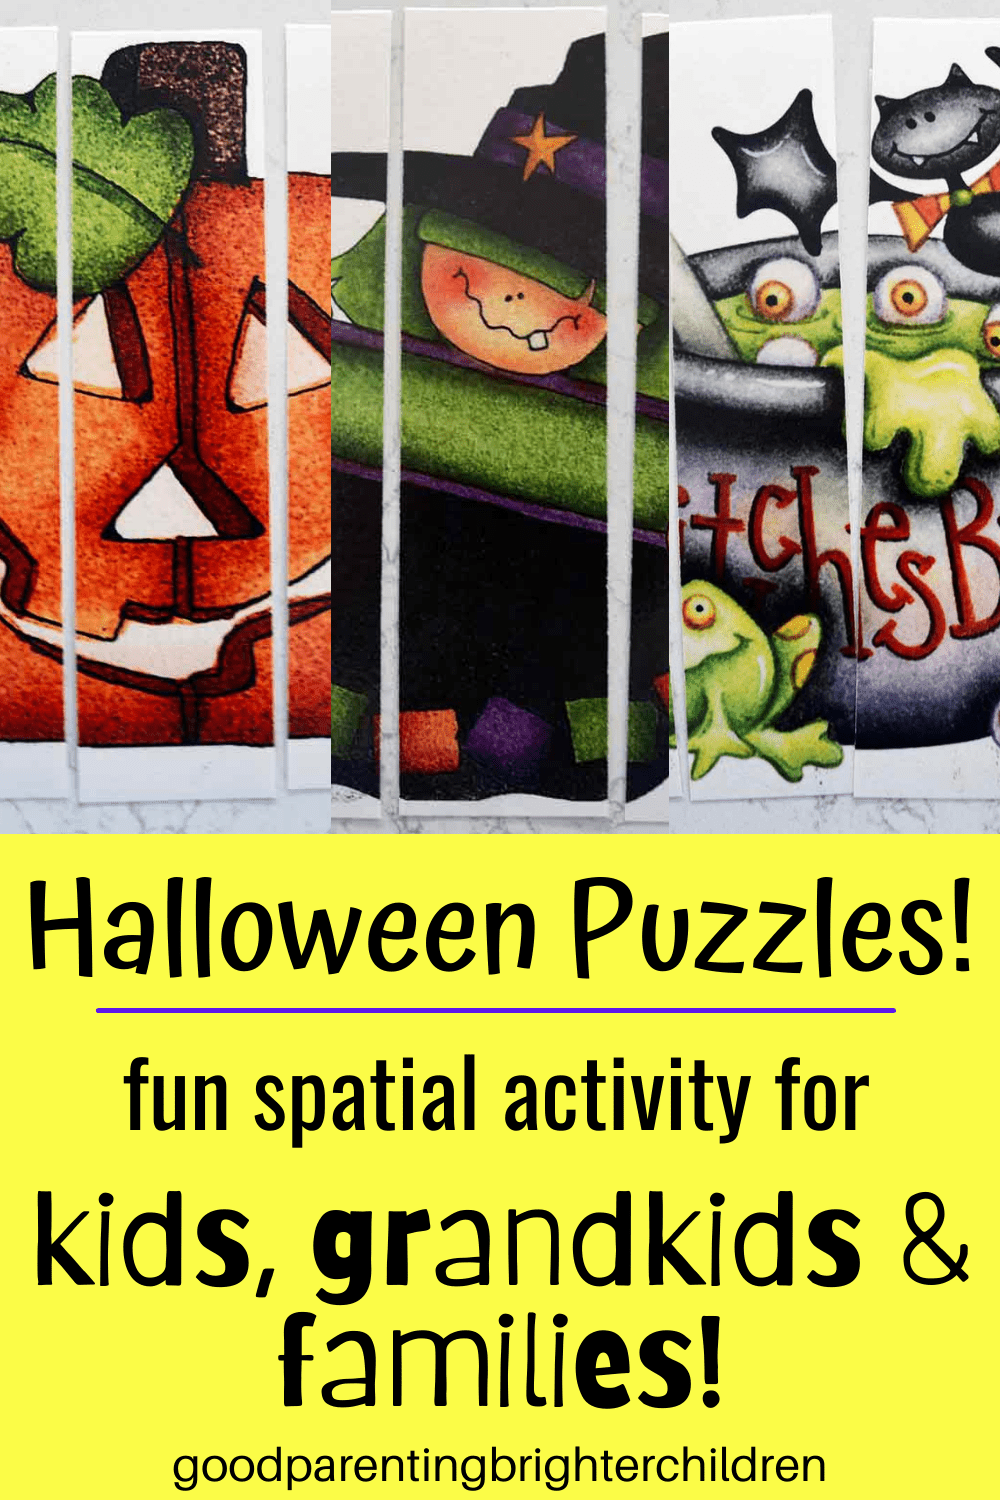
If your kids/grandkids love puzzles and Halloween—here’s how to combine both activities.
Search online for Halloween clipart. Several years ago, I bought a bunch of Halloween clipart. I would share it, but it’s copyrighted. However, you can find FREE clipart on Pixabay, Unsplash and for $1/image, try Depositphotos.
It’s simple to make these puzzles—just print the clipart on cardstock paper; make vertical cuts on each image, laminate and you’re good to go!
We did this as one of our Valentine’s Day activities and now for Halloween.
Supplies
- Halloween clipart—try the places mentioned above
- Cardstock paper
- Paper cutter
- Laminate supplies
Directions
- Halloween clipart—try the places mentioned above
- Print out each image on 8.5 x 11” cardstock paper
- Using a paper cutter, make vertical cuts about 1-2” apart
- Laminate (I go to Lakeshore Learning)
- Put the puzzles together
#7 Pumpkins & Spiders & Glue—Oh my!
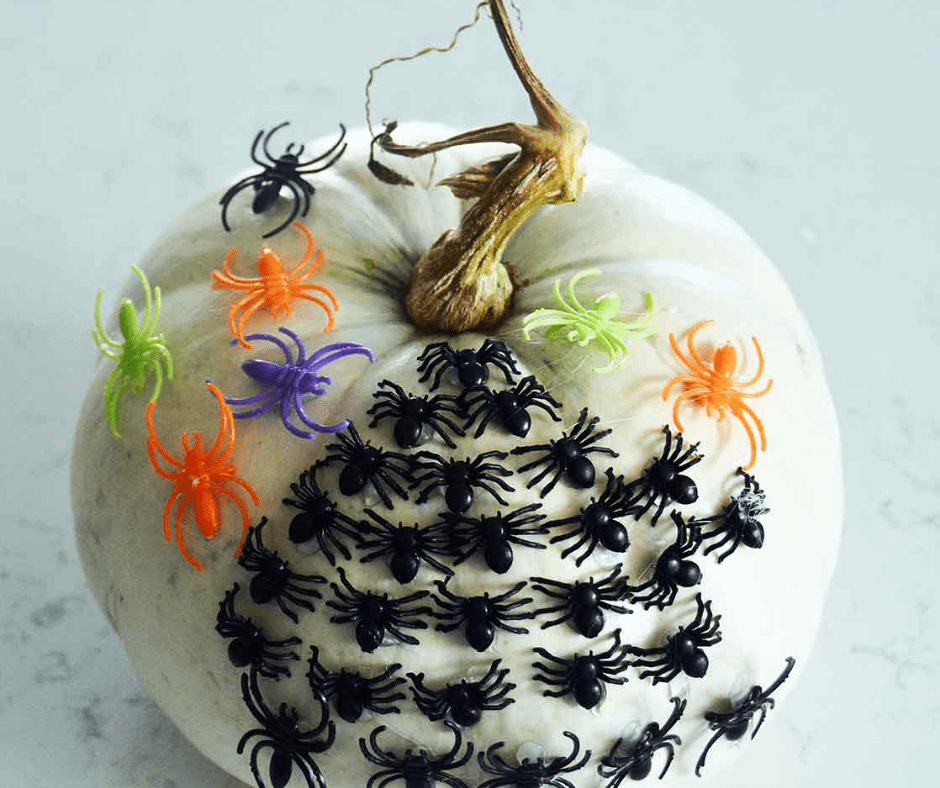
A fun Halloween tradition is going to a pumpkin patch! Grab your kids or grandkids and head to the pumpkin patch for white pumpkins.
Decorate the pumpkins by gluing plastic spiders all over them. However, Elmer’s glue, real pumpkins, and plastic spiders don’t mix!
Your options are to take each child individually and have them point to where they want the spiders to be and you hot-glued them on. Or, you can use a cool-temperature glue gun and they can glue them on.
Supplies
- Real pumpkins from a pumpkin patch—we used white
- Plastic spiders in black, orange, green (Amazon, Dollar Store)
- Hot or cool temperature glue gun
Directions
- Get medium to small size white pumpkins—one per child
- Using a glue gun, glue the spiders on the pumpkin
They look like spiders climbing up the pumpkin!
#8 Halloween Stamps
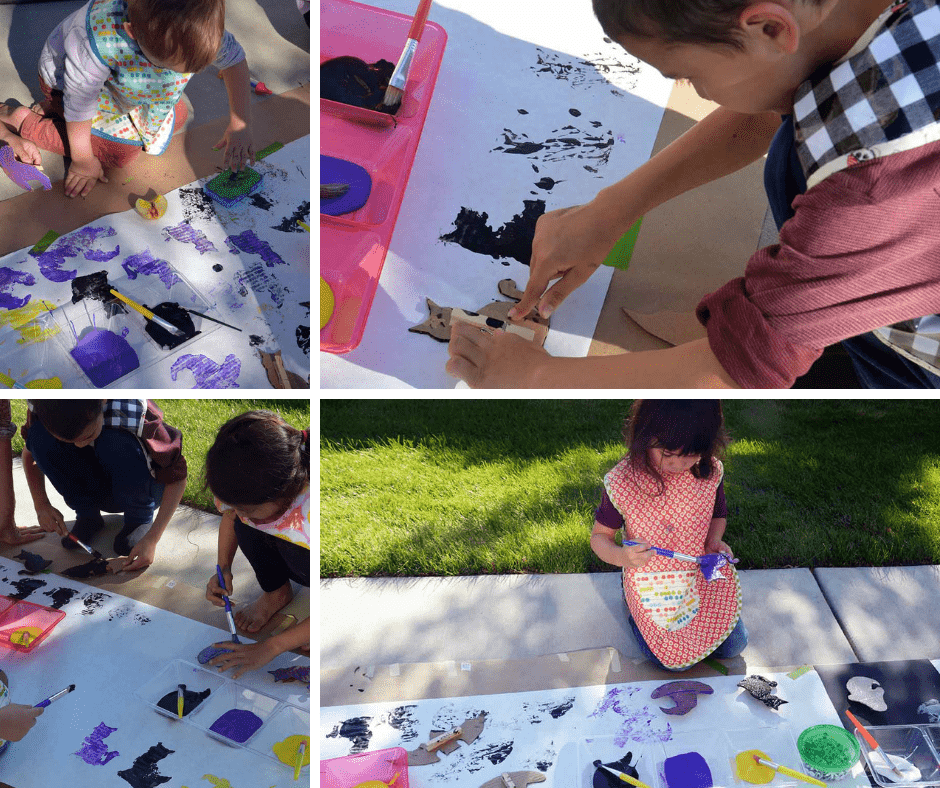
If you want to catch the last rays of sunshine before winter sets in—here is a fun outdoor Halloween activity.
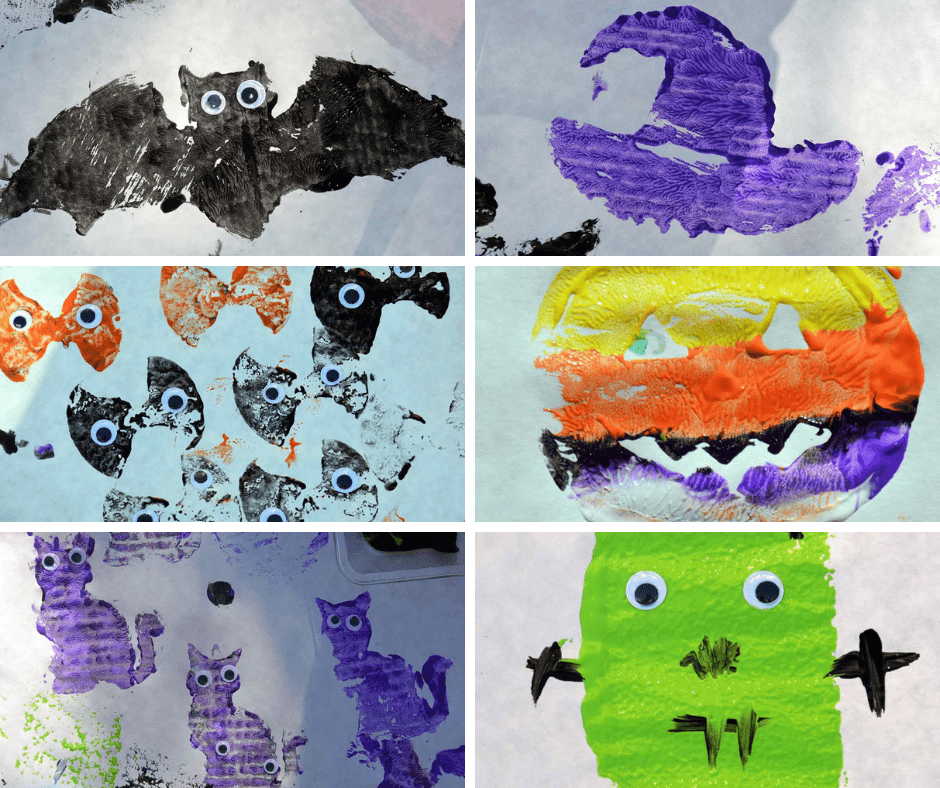
I made Halloween stamps from cardboard (cat, pumpkin, witch, bat, ghost) attached a clothespin to the back as a handle; supplied plenty of paints & brushes and a long strip of butcher paper, and let the grandkids stamp away!
Show your kids/grandkids how to paint the back of the stamp which creates a better image than dipping the stamp in paint. We used sponges to create a gnarly Frankenstein.
The sun was shining, the grass was green and the leaves were changing—the perfect autumn moment to celebrate a little bit of Halloween!
Supplies
- Templates (I found them online) for pumpkin, witch, bat, ghost, and cat.
- Sponges to make Frankenstein
- Clothespins to use as handles on the back of the stamps
- Cardboard
- Roll of white butcher paper
- Tempera paints—black, brown, orange, yellow, green, purple
- Paintbrushes
- Scissors
- Glue
- Googly eyes
Directions
- Download the Halloween images; trace them onto cardboard & cut out
- Hot glue a clothespin on the back of each cardboard template for a handle
- Roll out a long piece of butcher paper—preferably outside on the sidewalk
- Supply paint in dishes & paintbrushes
- Have the kids/grandkids paint the cardboard template and then stamp it on the butcher paper
- When making Frankenstein, paint the sponge, stamp, and when dry add the hair & face using black paint
- Add googly eyes
#9 Halloween Gingerbread Houses
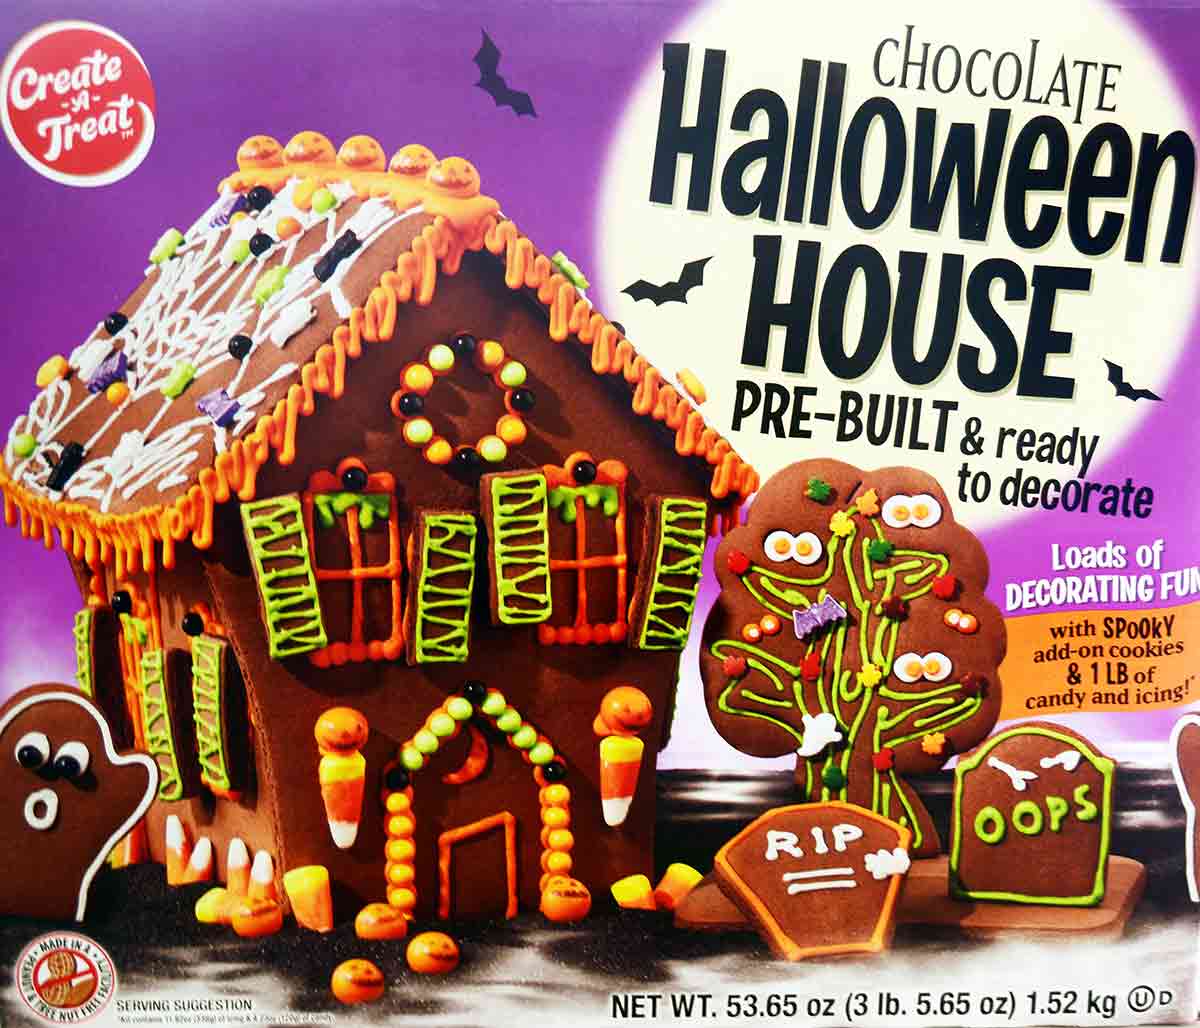
You can make Halloween gingerbread houses using chocolate graham crackers glued together with melted sugar, but this year, I took the easy way out and bought the ready-to-decorate ones from Costco.
Just take the house, the frosting, and all the decorations out of the box and let the kids’ imaginations run wild as they decorate their Halloween Haunted Houses!
It will be the best Halloween idea of the season (and easiest)!
#10 The Best Halloween Idea—Bat Wings!
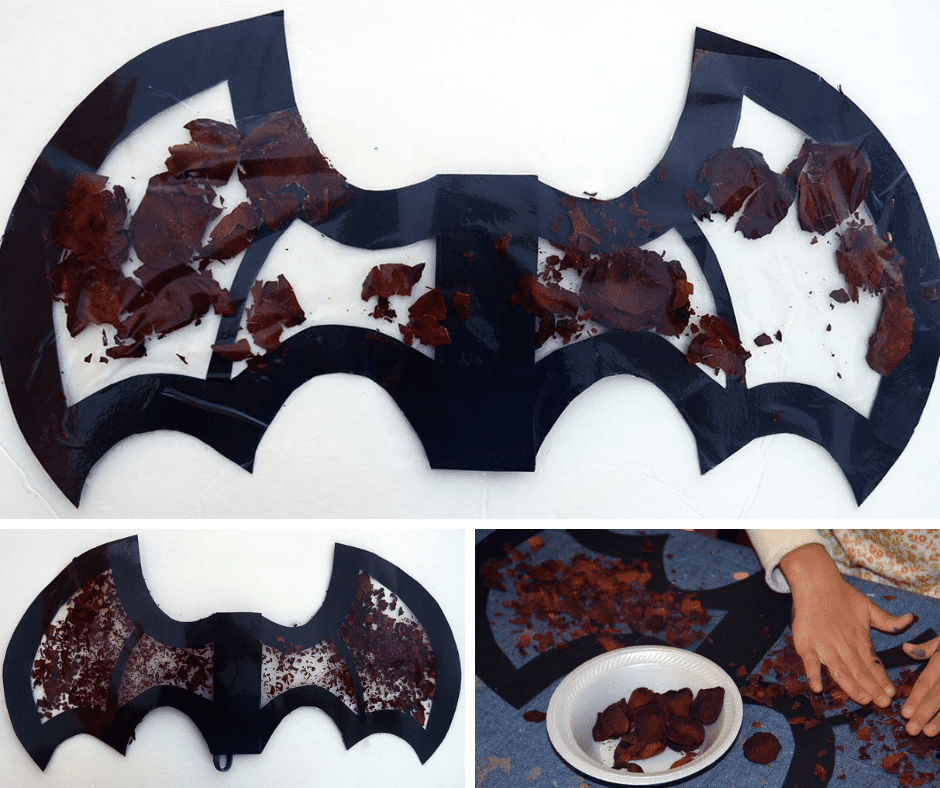
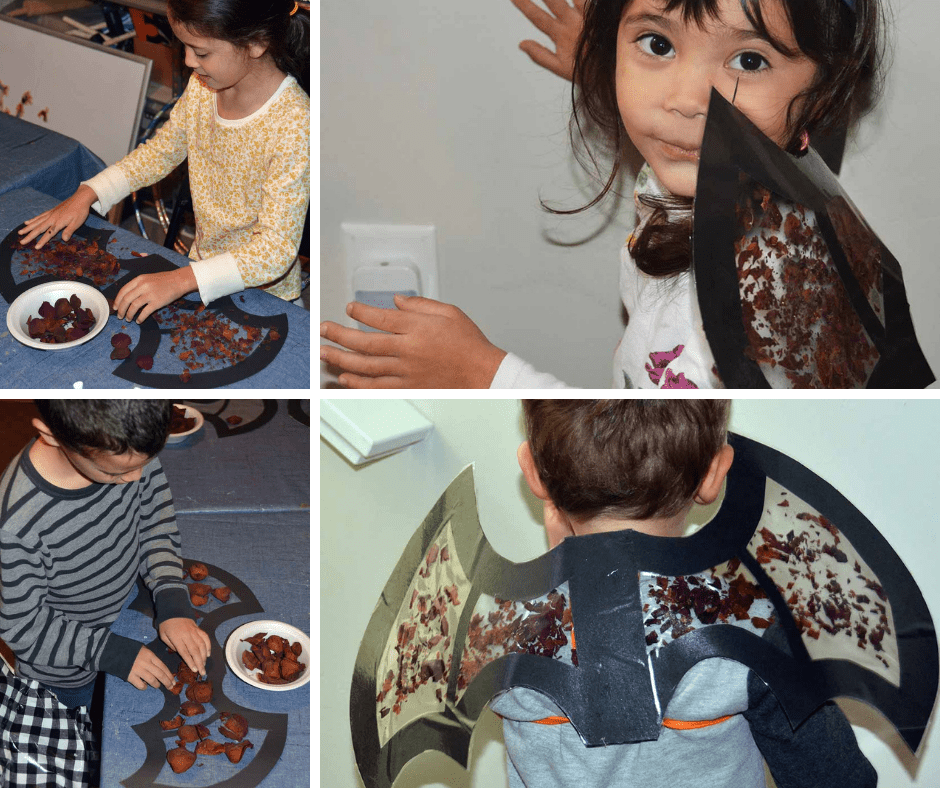
There are many versions of bat wings online, but what makes them unique is adding bits of nature to the wings. We used dried rose petals from our garden.
The tricky part is making them into wings the kids can put on. We used big bands I found at the Dollar Store and hot-glued one on either side of the wings so the kids just slipped their arms through.
Supplies
- Two-sided batwing template
- Black poster paper
- Sticky contact paper
- Things found in nature—flowers, twigs, leaves, etc.
- Scissors
Directions
- Download a batwing template; enlarge it, trace it on black poster board and cut out leaving a large opening around the wings to attach petals, etc., to
- Glue each side of the wings in the middle
- Cover one side with contact paper and cut around the wings
- Fill the opening with things found in nature
- Cover with contact paper, pressing down on the nature items
- Cut out around the contact paper
- Glue the two bands on either side of the wings so you can wear them.







Leave a Reply