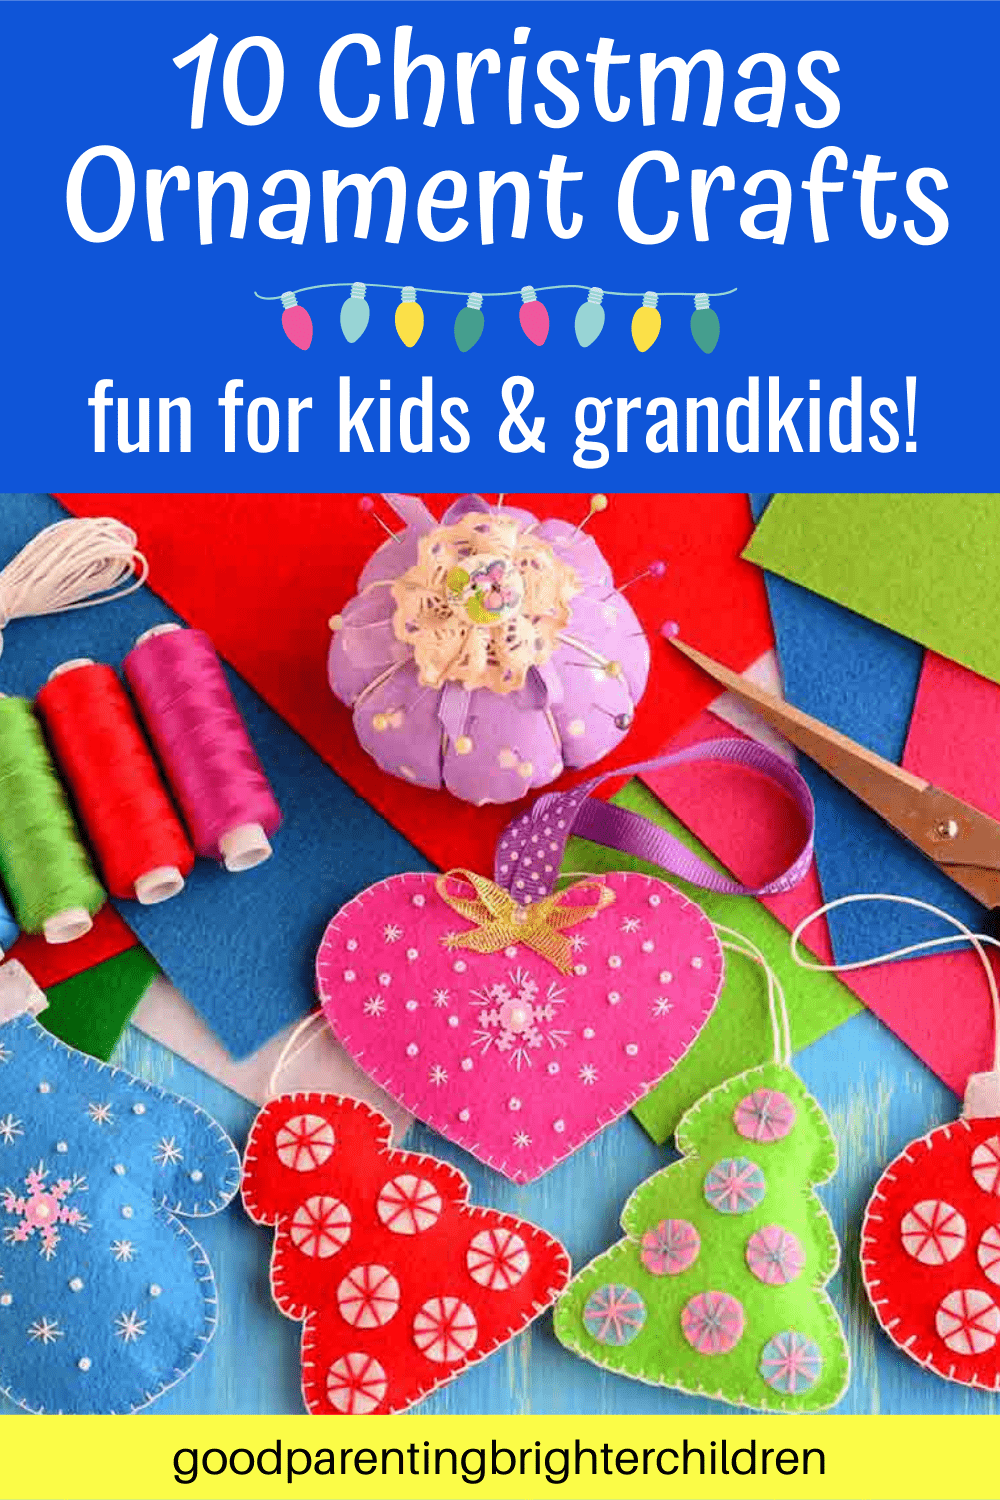
Inside: Here are 10 of the best Christmas ornaments for kids and grandkids to make & create! Festive ornaments for making lasting Christmas memories!
Christmas Ornaments for Kids
Christmas ornaments have a long and interesting history beginning with Scandinavian children using straw to make stars to red apples adorning the first Christmas trees in Europe. Ornaments such as homemade candles, candy canes, cookies, strings of popcorn, and paper chains soon followed with each family’s Christmas tree having its own unique and creative Christmas ornaments and decorations.
In the 1860s the first commercial ornaments appeared on the scene created by Lauscha—a German company. Ten years later, Christmas ornaments were being produced in the United States.
Store-bought ornaments are wonderful, however, the most memorable Christmas ornaments for kids and grandkids are ones they craft by hand and create with love!
This year, with our 5 little grandchildren in tow, we made an array of Christmas ornaments using paints, glitter, clothespins, yarn, mesh, wood slices, Styrofoam, pinecones, and more. Each one was made with love and now hangs on our grandkids’ Christmas trees in their bedrooms to enjoy each night as they go to sleep.
Here are 10 Christmas ornaments for kids and grandkids you can make together as families. Save them and in 20+ years, those DIY ornaments will be cherished treasures filled with lifetime memories!
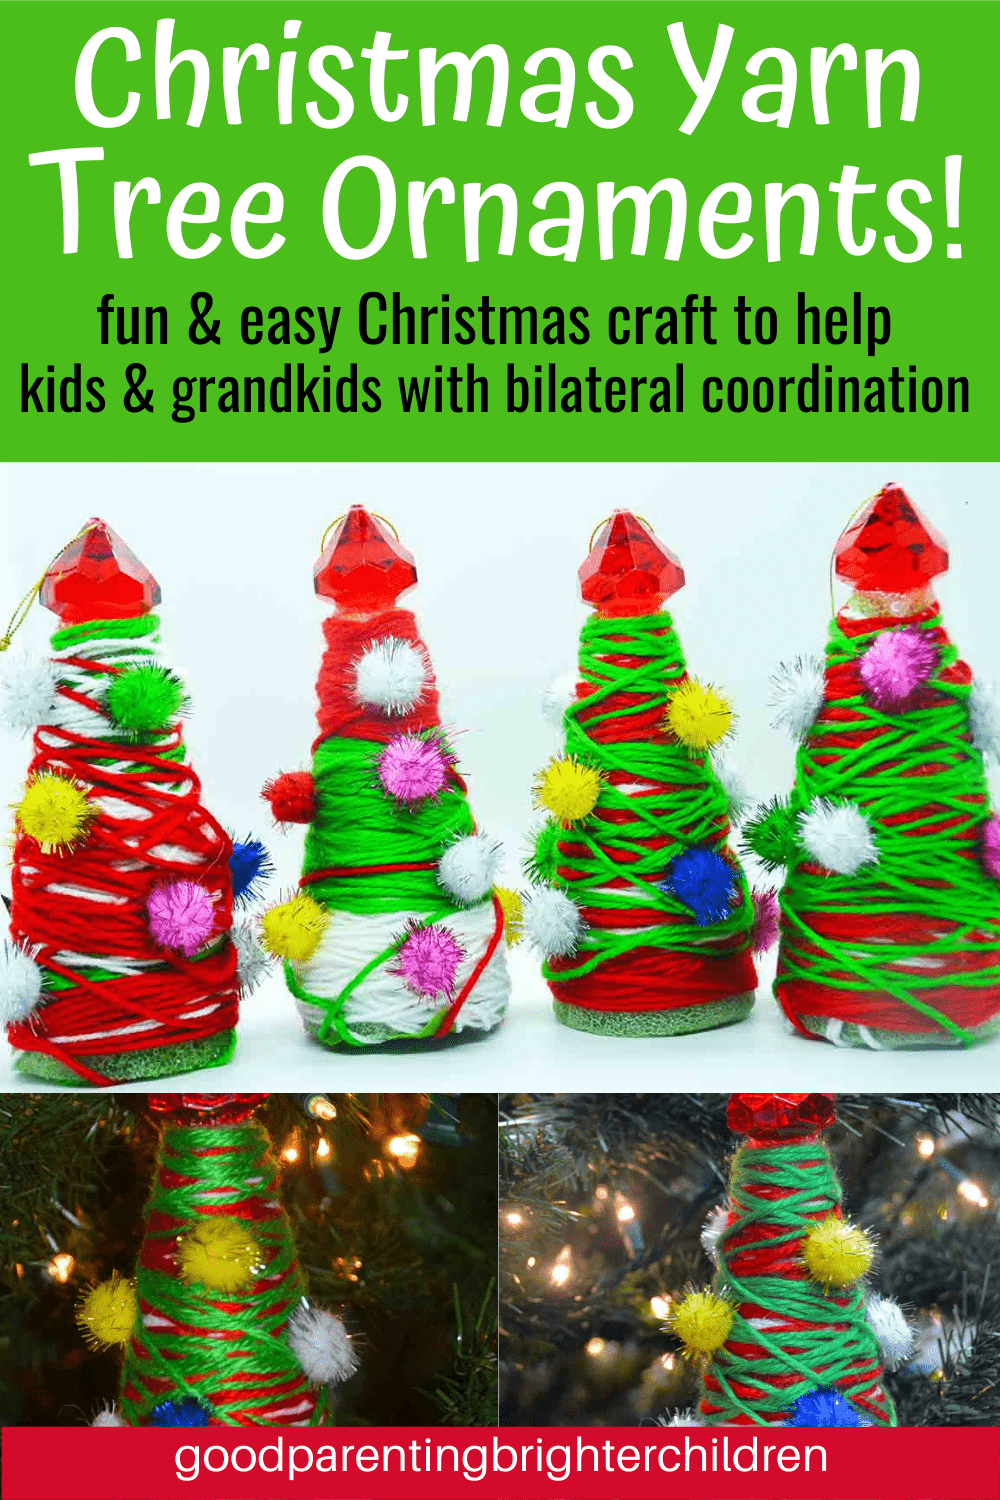
#1 Yarn Tree Christmas Ornaments
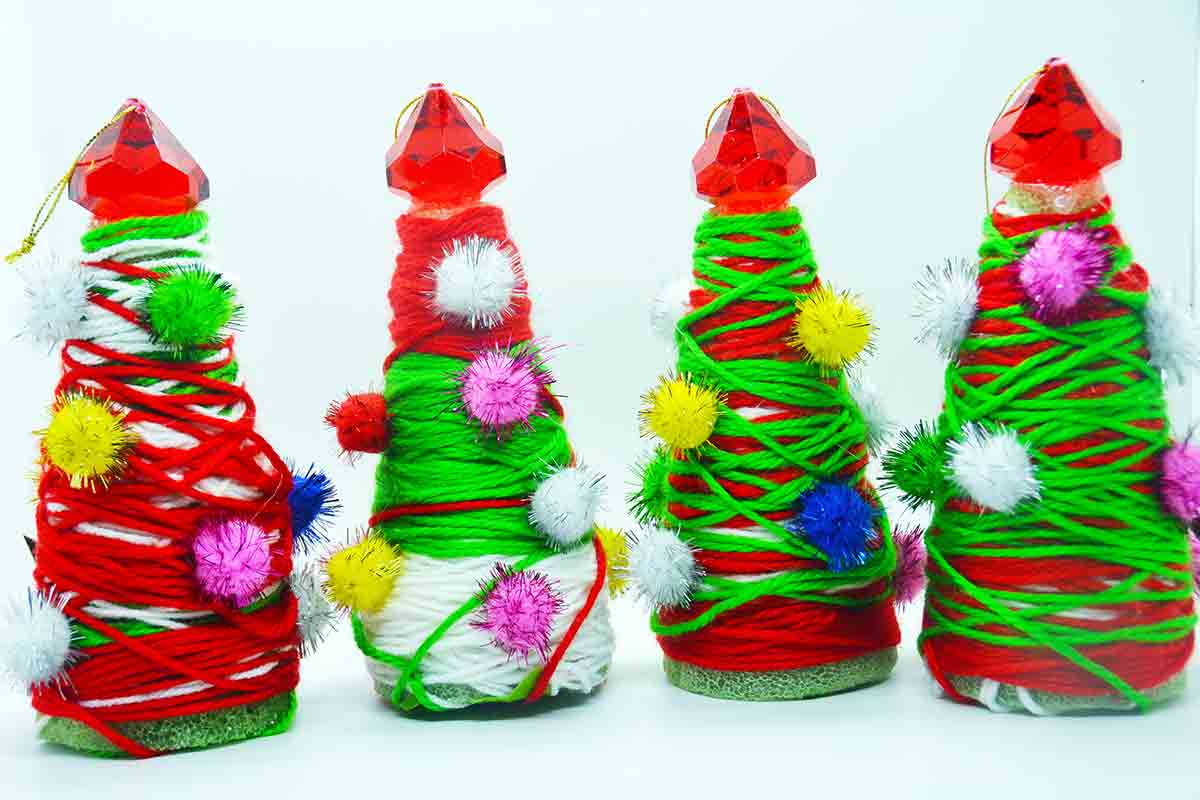
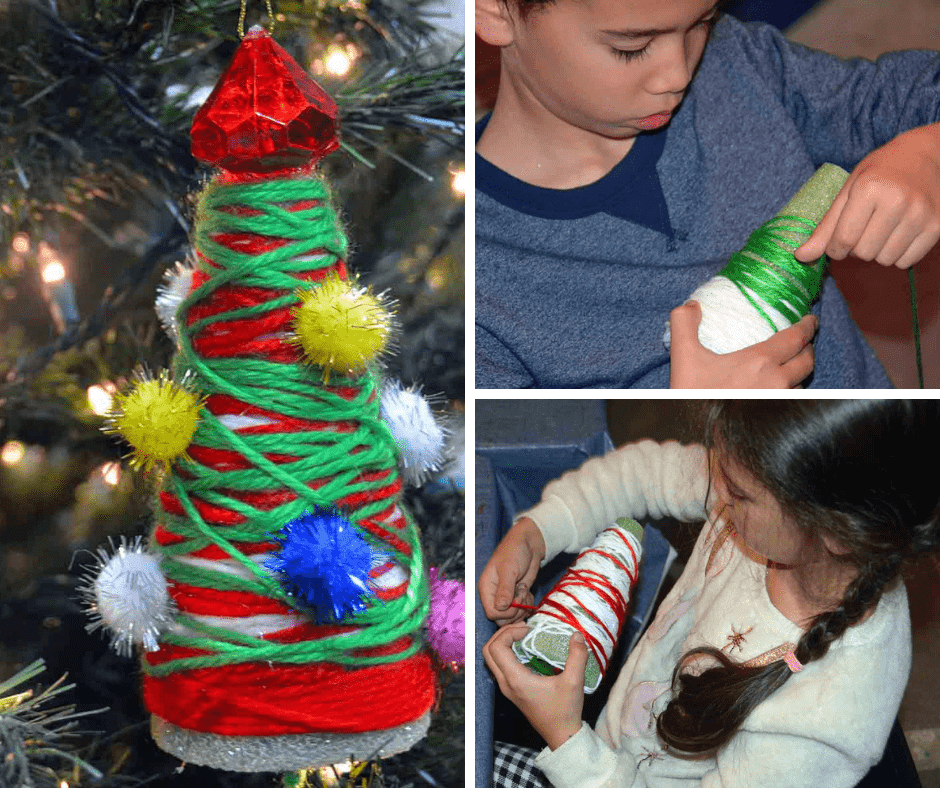
Kids like working with yarn and these colorful yarn ornaments are easy to make and fun to hang on the Christmas tree. Plus, winding yarn around a Styrofoam cone requires two hands which increases bilateral coordination.
Supplies and directions are simple and straightforward!
Supplies
- Red, green & white yarn
- Styrofoam cones (6”)
- Tape
- Star or bauble for the top of the tree
- Pompoms for decorations (Dollar Store)
- Hot glue
Directions
- Starting with one of the yarn colors, tape a piece of yarn to the bottom of the Styrofoam cone and begin winding the yarn up and down the cone.
- Change colors of yarn and repeat until the entire cone is filled with yarn.
- Cut off the yarn, tape to the underside of the tree
- Hot glue a star or bauble to the top and pompoms around the tree for ornaments
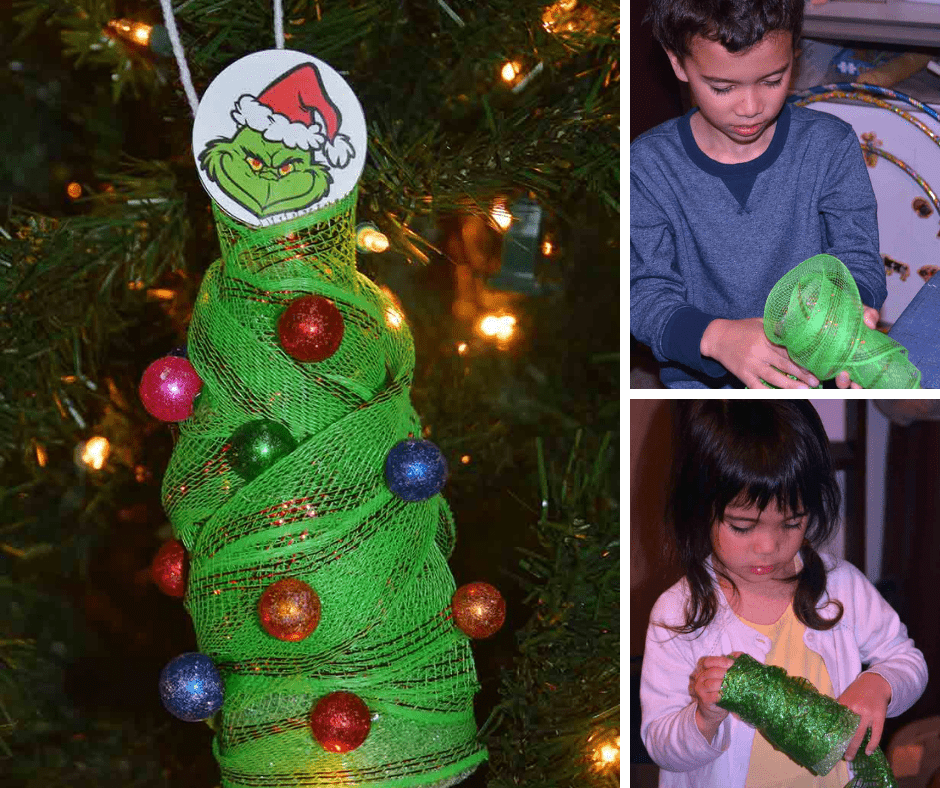
#2 Decorative Mesh Grinch Trees
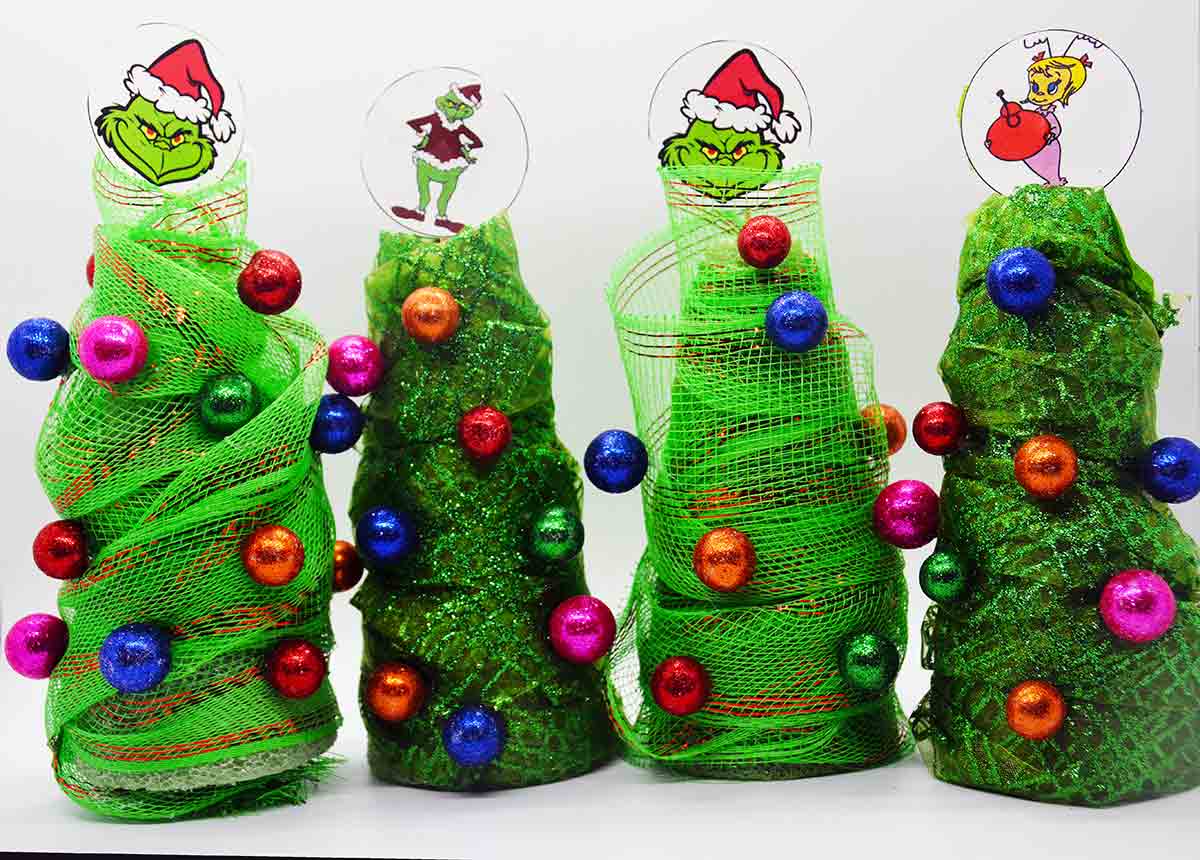
Christmas holidays need a Grinch or two to make the season bright! We made these Grinch trees from decorative green mesh wound around a Styrofoam cone. The best part is they don’t have to be perfectly wound—you can end up with some creative trees topped off with a few bauble ornaments and a Grinch picture on top!
Remember—a Grinch tree is a bit lopsided.
Another great bilateral coordination project!
Supplies
- Styrofoam cones (6”)
- Green decorative mesh (Dollar Store)
- Tape
- Christmas round baubles
- Grinch cupcake toppers
- Hot glue gun
- Toothpick
Directions
- Tape an end of the mesh to the bottom of the cone
- Wind the decorative mesh around the cone—don’t worry if it’s not perfect.
- Cut the end and tape to the bottom of the cone
- Hot glue on the ornaments (adult supervision)
- Cutout the Grinch cupcake topper; tape a toothpick on the back and stick it at the top of the tree
#3 Christmas Drinking Straw Ornaments
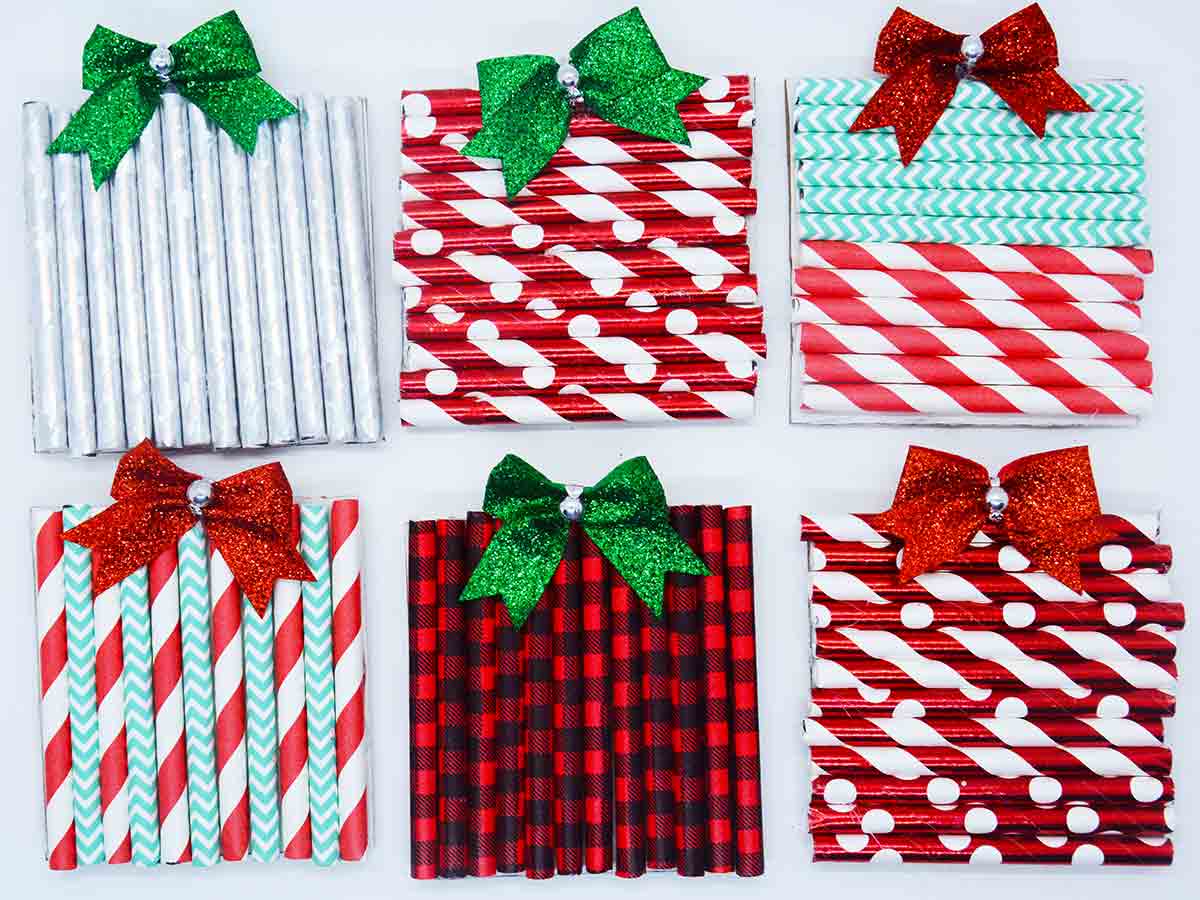
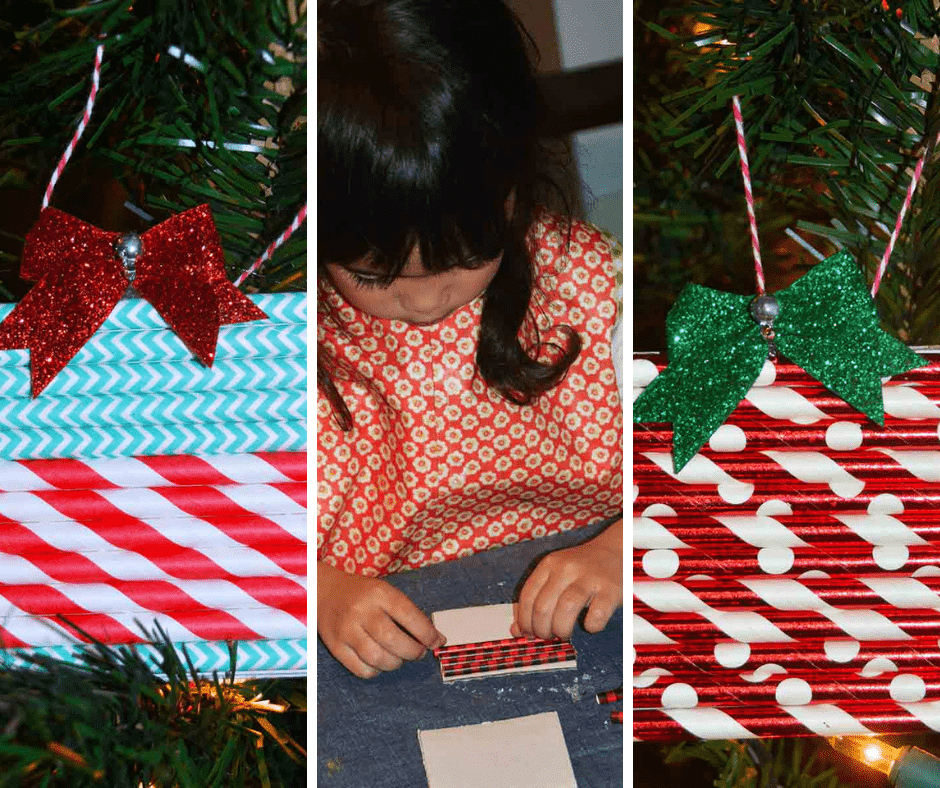
These easy and very colorful Christmas ornaments for kids use pieces of cardboard and colorful Christmas straws. We kept our shapes uniform, but it would be interesting to use a variety of shapes—square, rectangle, oval, round, etc.
Have your kids/grandkids use a ruler to measure the straws to glue on the cardboard. They need to be the same width as the cardboard. This is great math practice!
Supplies
- White cardboard cut in different shapes (we cut ours in 3” squares)
- Christmas drinking straws
- Glue
- Foam brushes (Dollar Store)
- Bows
Directions
- Cut the cardboard into different shapes
- Cut the straws the same size as your cardboard shape
- Using a foam brush, spread the glue over the cardboard
- Glue the straws close together; covering the entire cardboard
- Glue a bow at the top
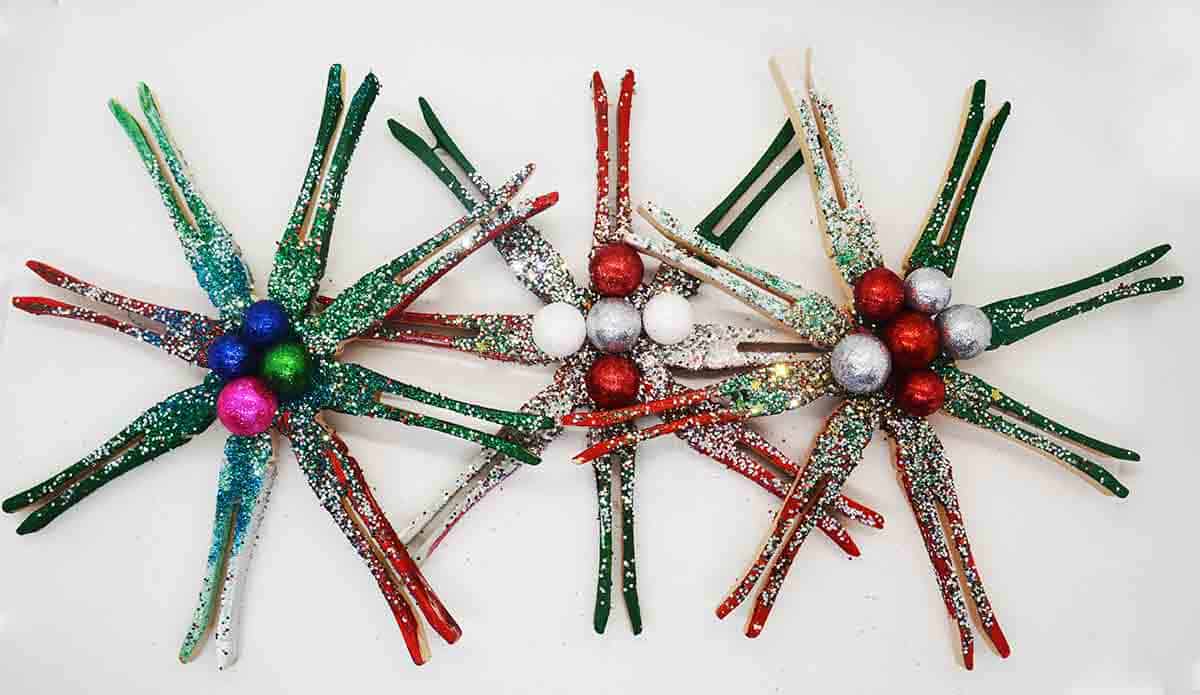
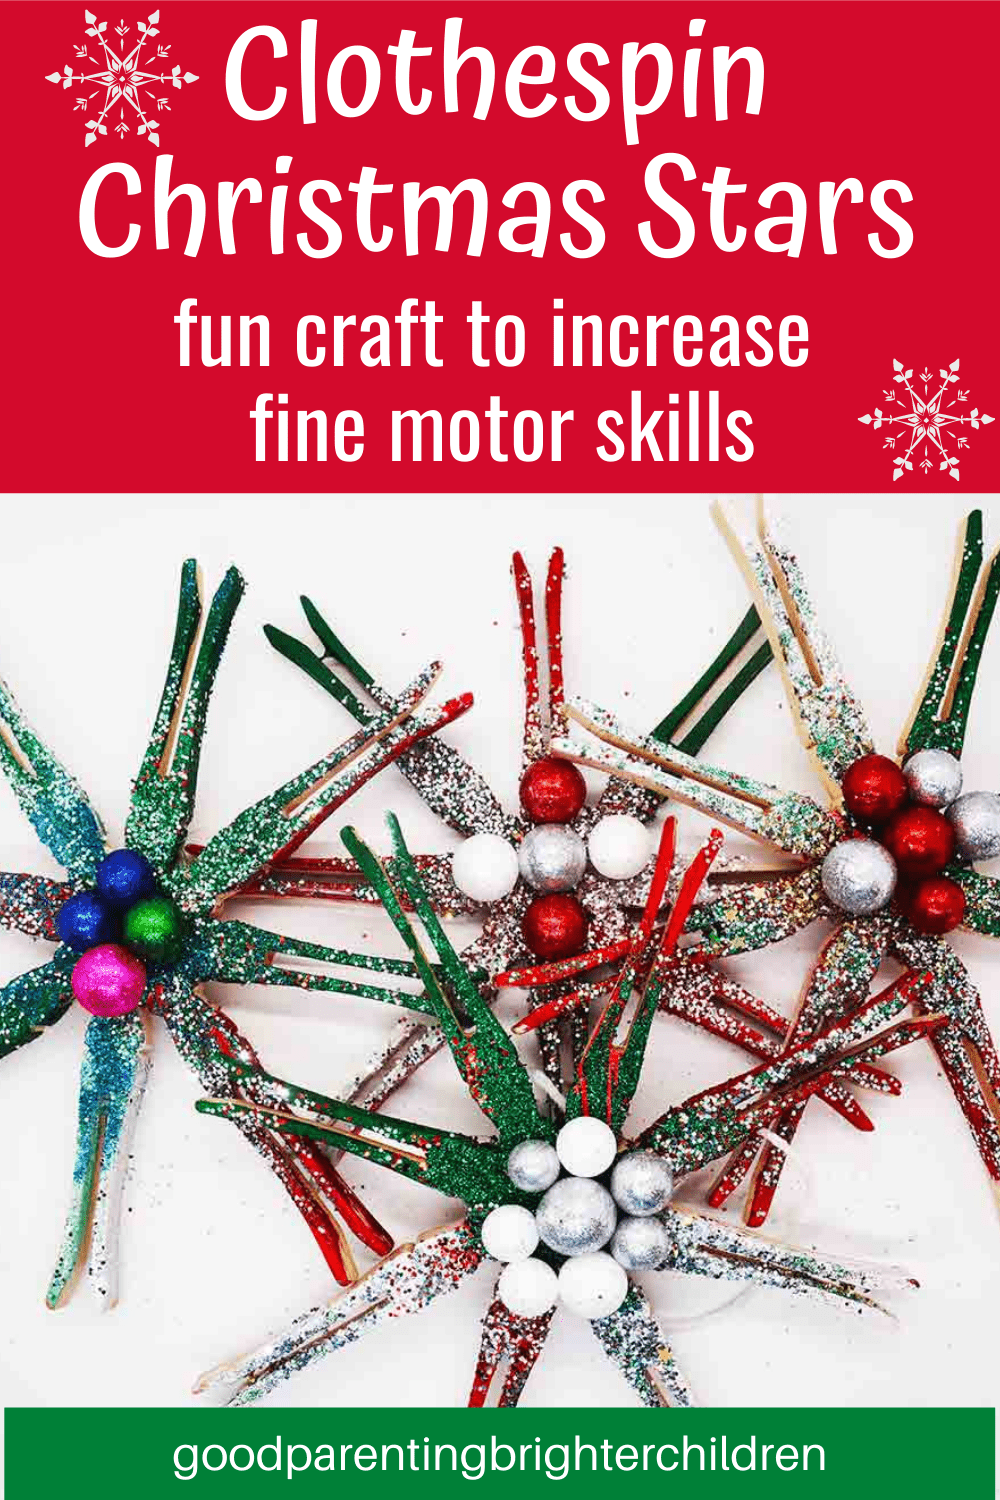
#4 Clothespin Stars: Fun Christmas Ornaments for Kids
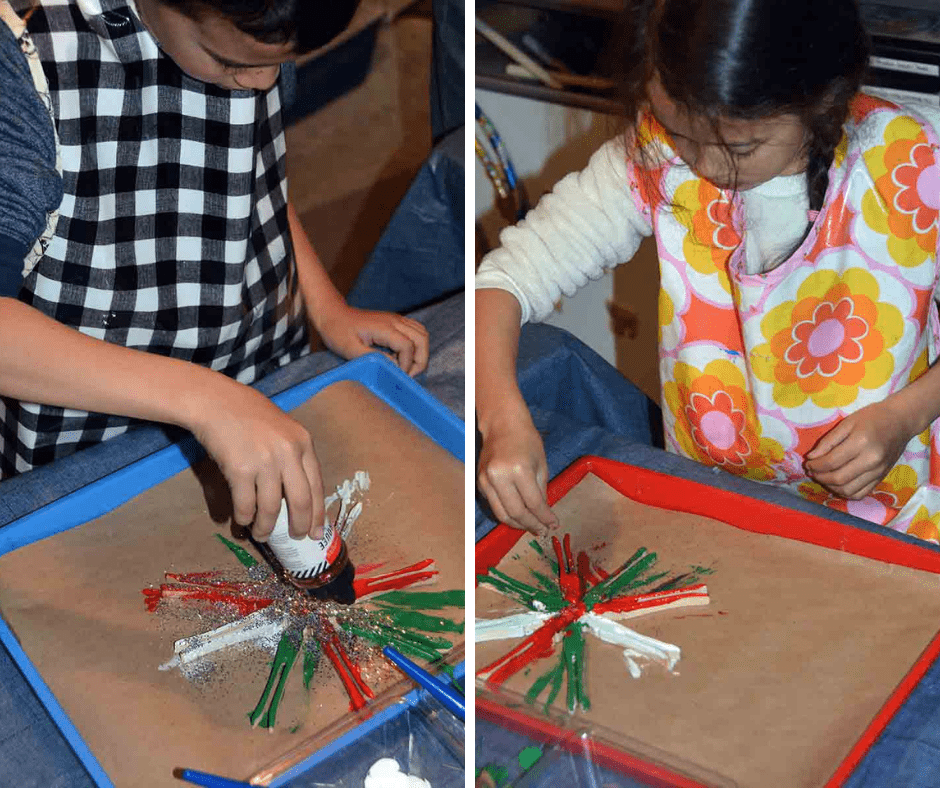
For 20 years I’ve had these interesting clothespins and was not sure what to do with them. Then—voila! I decided we could glue them together and create stunning Christmas stars!
Regular clothespins work too—take them apart and glue them into a star. Use a hot glue gun—they will stay together better. Then supply lots of acrylic paints in the colors of Christmas, plenty of glitter, and a few baubles, and your kids/grandkids are good to go!
Supplies
- Clothespins—I used 8
- Hot glue
- Acrylic paints—red, green, white, gold
- Glitter
- Round Christmas baubles for the center
- Wire or string
Directions
- Arrange the clothespin in a star shape; hot glue the pieces together
- Paint the star (our grandkids used different colors of paint on the same star)
- Sprinkle glitter over all; let dry
- Hot glue the baubles in the center of the star
- Attach a wire or string to hang on the tree
#5 Wooden Sled Ornaments
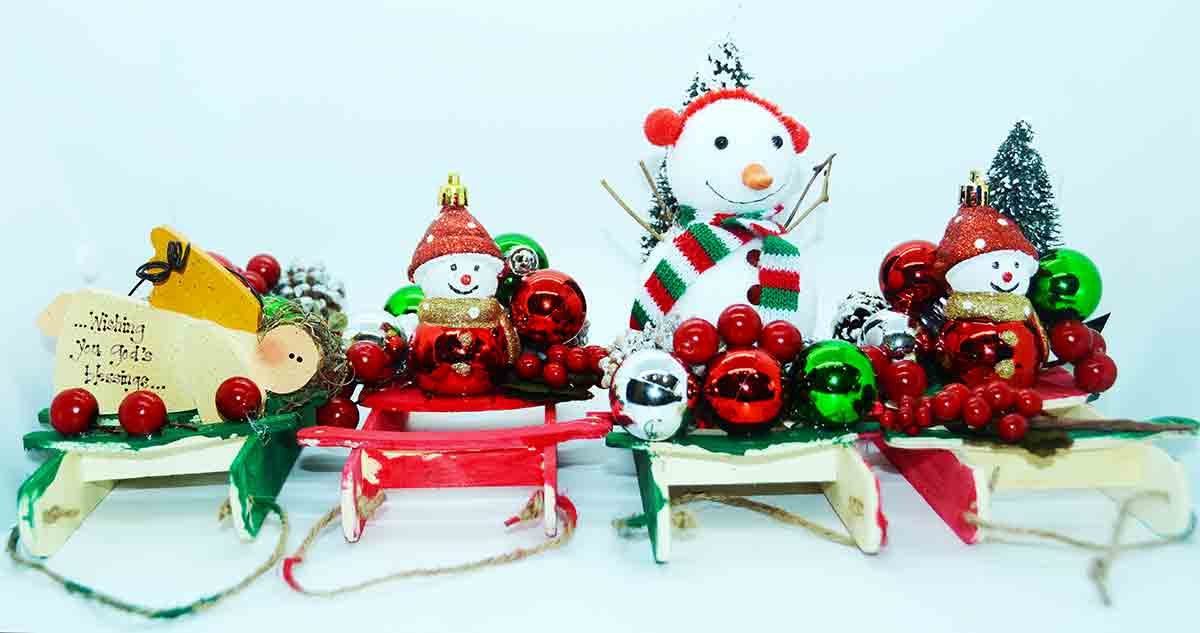
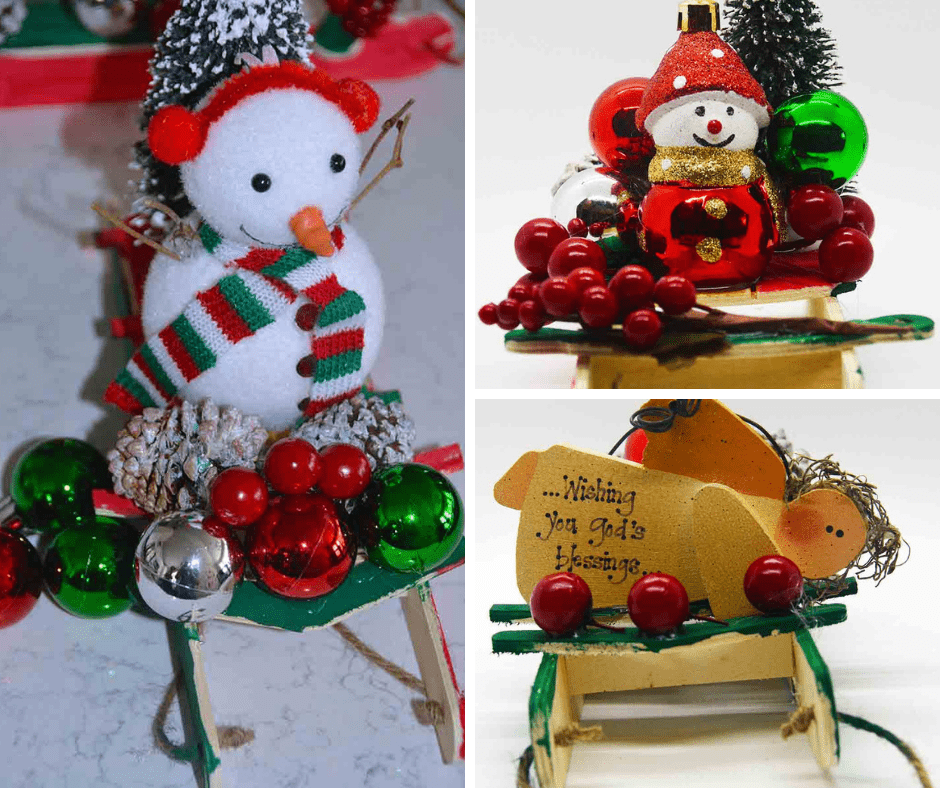
I found these darling wooden sleighs at the Dollar Store and quickly snatched them up! I think Hobby Lobby also carries them. Then I gathered all the “leftover” Christmas doodads from our Christmas stash and let the grandkids create their own top-of-the-sled decorations.
They turned out pretty darn cute and make a festive ornament for the tree!
Supplies
- Wooden sleds (Dollar Store, Hobby Lobby)
- Acrylic paints—red, green, white
- Small Christmas doodads—pinecones, snowmen, trees, cranberries, baubles, ornaments, etc.
- Hot glue
Directions
- Paint the sleds red or green; let dry
- Arrange different Christmas ornaments on top of the sleds
- Hot glue in place: adult supervision required!
#6 Photo Christmas Ornaments for Kids
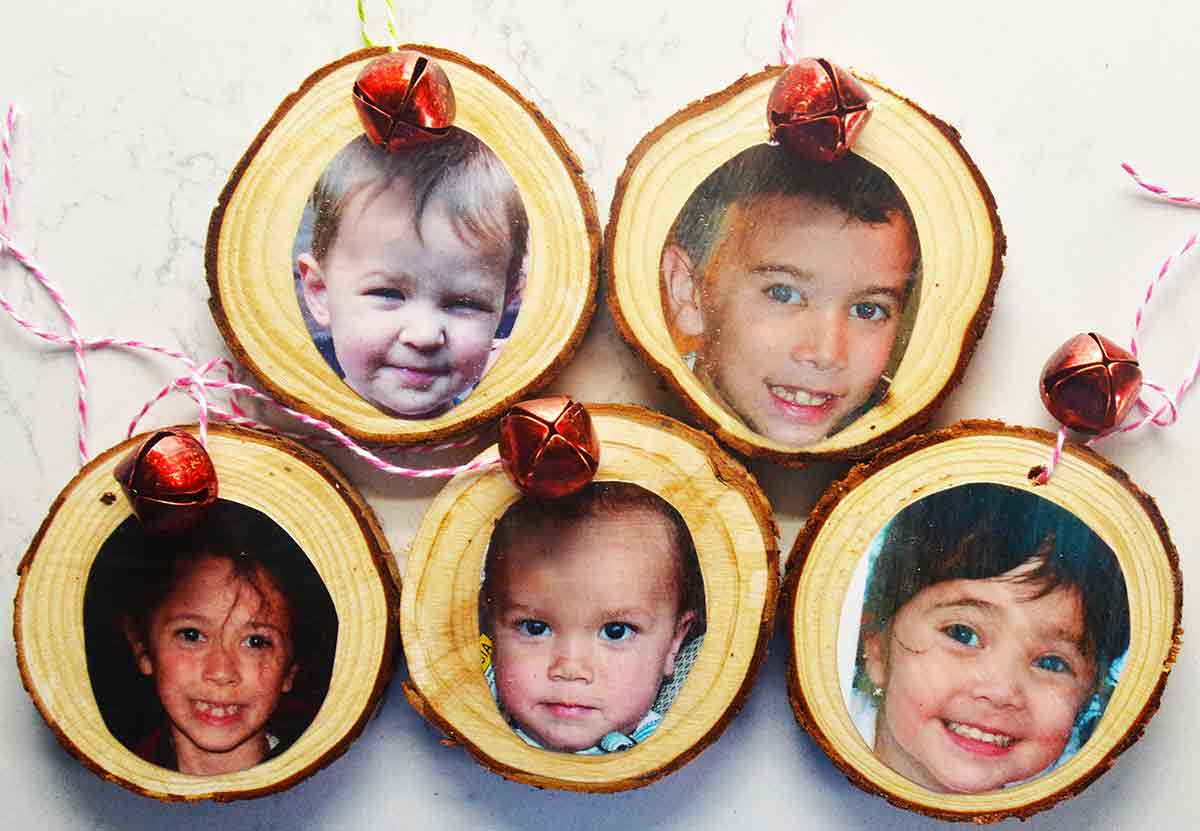
This craft has been around for ages! When done, they are fun Christmas ornaments for kids and grandkids that can be kept year after year!
Supplies are minimal and they’re easy to make.
Supplies
- Wood Slices
- Photos of each grandchild/child and sized to fit on the wood slices
- Mod podge
- Foam brushes (Dollar Store)
Directions
- Print out different photos of your kids/grandkids
- Cut the photos to fit on the wood slices
- Using a foam brush, coat the wood slice with mod podge
- Press the photo over the mod podge and then put another coat of mod podge over the photo
- Let dry
- The wood slices come with string—attach and hang on the tree
#7 Small Wood Tree Ornaments
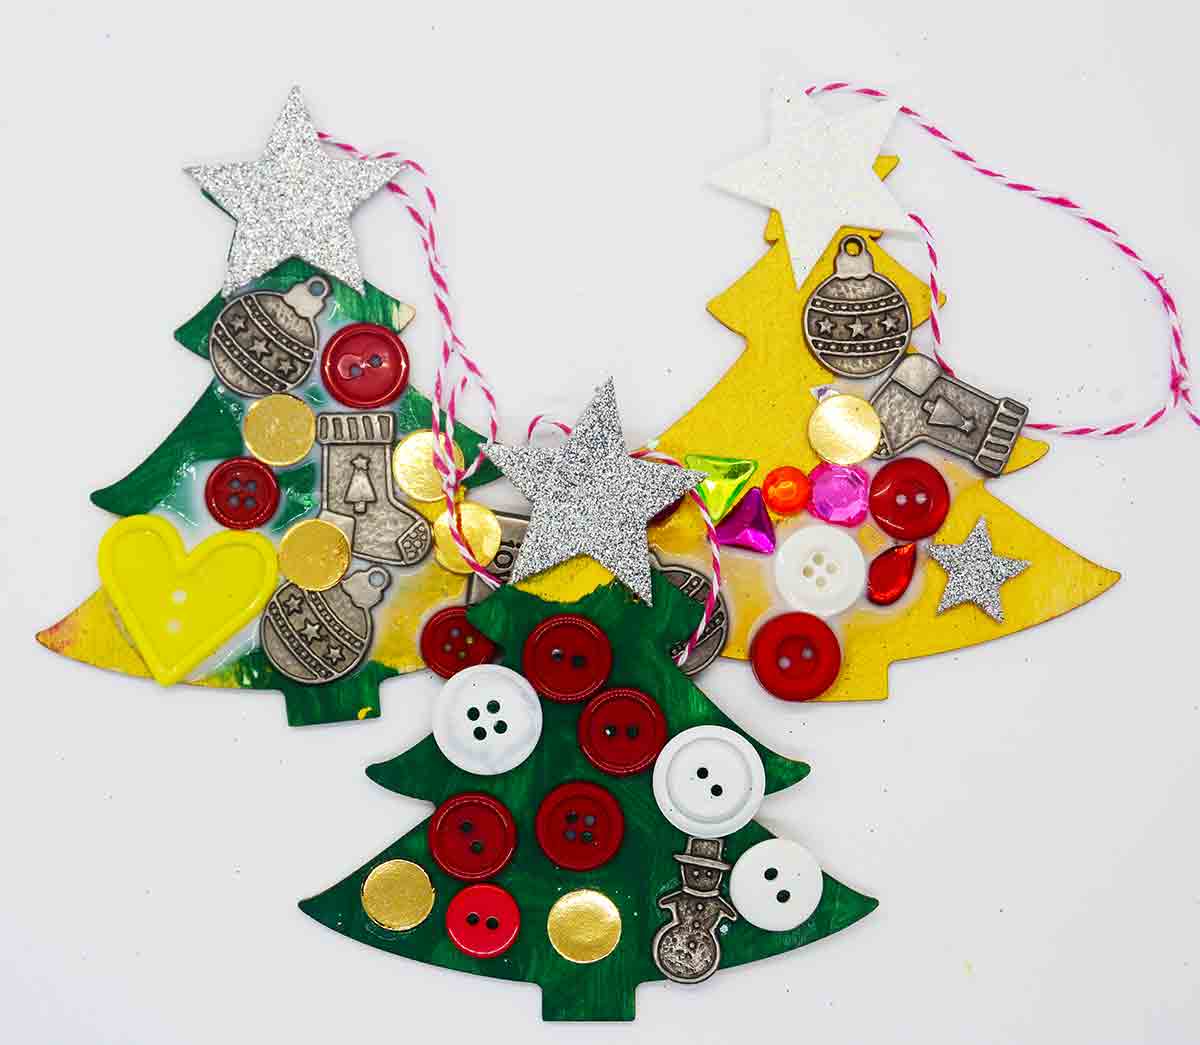
Purchase small wooden unfinished Christmas trees and create colorful Christmas ornaments!
Supply plenty of green, red, white, and gold acrylic paints, and lots of things to decorate the trees with—buttons, glitter, jewels, foam stars, etc. I even had some small Christmas metal pieces the grandkids added to their trees
I use acrylic paints because they cover wood better than tempera paints
Supplies
- Wooden trees (Dollar Store, Amazon)
- Acrylic paints: red, green, white, gold
- Tree decorations: buttons, glitter, jewels, foam stars, etc.
- Glue
Directions
- Paint the trees; let dry
- Glue on miniature Christmas ornaments to decorate
- Hang on the tree
#8 Large Wooden Christmas Ornaments for Kids
When decorating a tree, it’s fun to have different sizes of ornaments, including a few larger ornaments.
I found these wooden stars and ornaments at the Dollar Store—they are quite large and perfect for the tree.
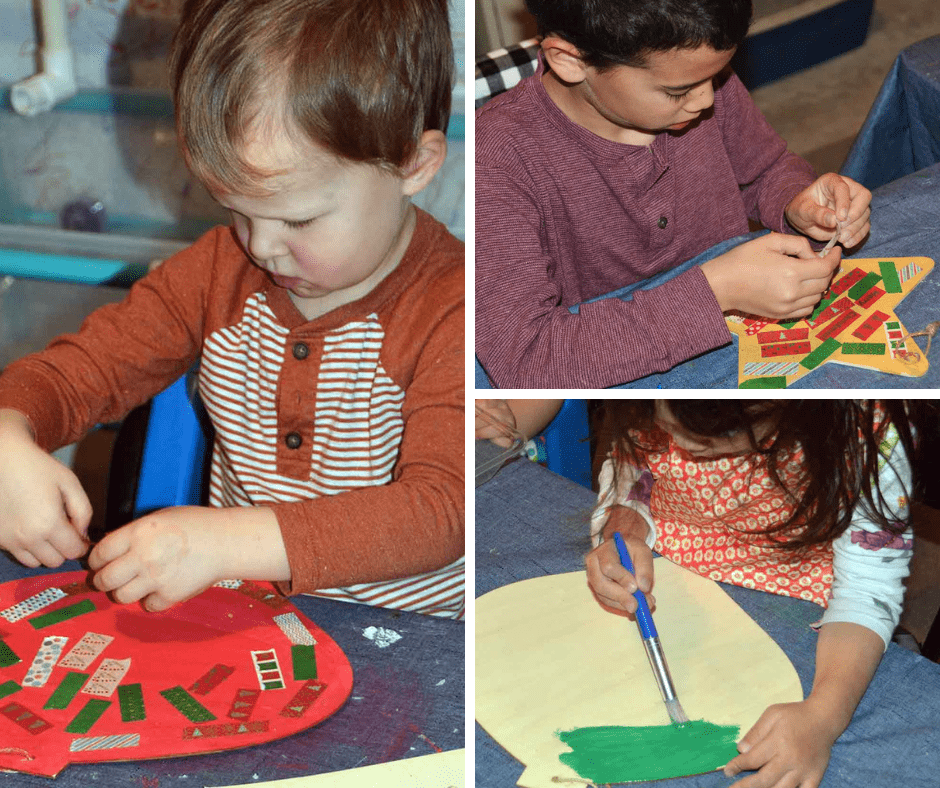
The grandkids painted them and when dry, they decorated them with pieces of Christmas washi tape. Washi tape is easy to use and adds wonderful colors to your DIY ornaments. Last year, we used washi tape on our DIY Christmas trees.
Supplies
- Larger wooden ornaments (Dollar Store)
- Paint—red, green, white, gold & brushes
- Christmas washi tape
Directions
- Paint the ornaments in different Christmas colors; let dry
- Cut or tear off different lengths of washi tape and tape on your ornament
- Hang on the tree
Great activity for building fine motor skills.
#9 Pinecone Ornaments
Don’t you love pinecones? And there are so many things you can make from them!
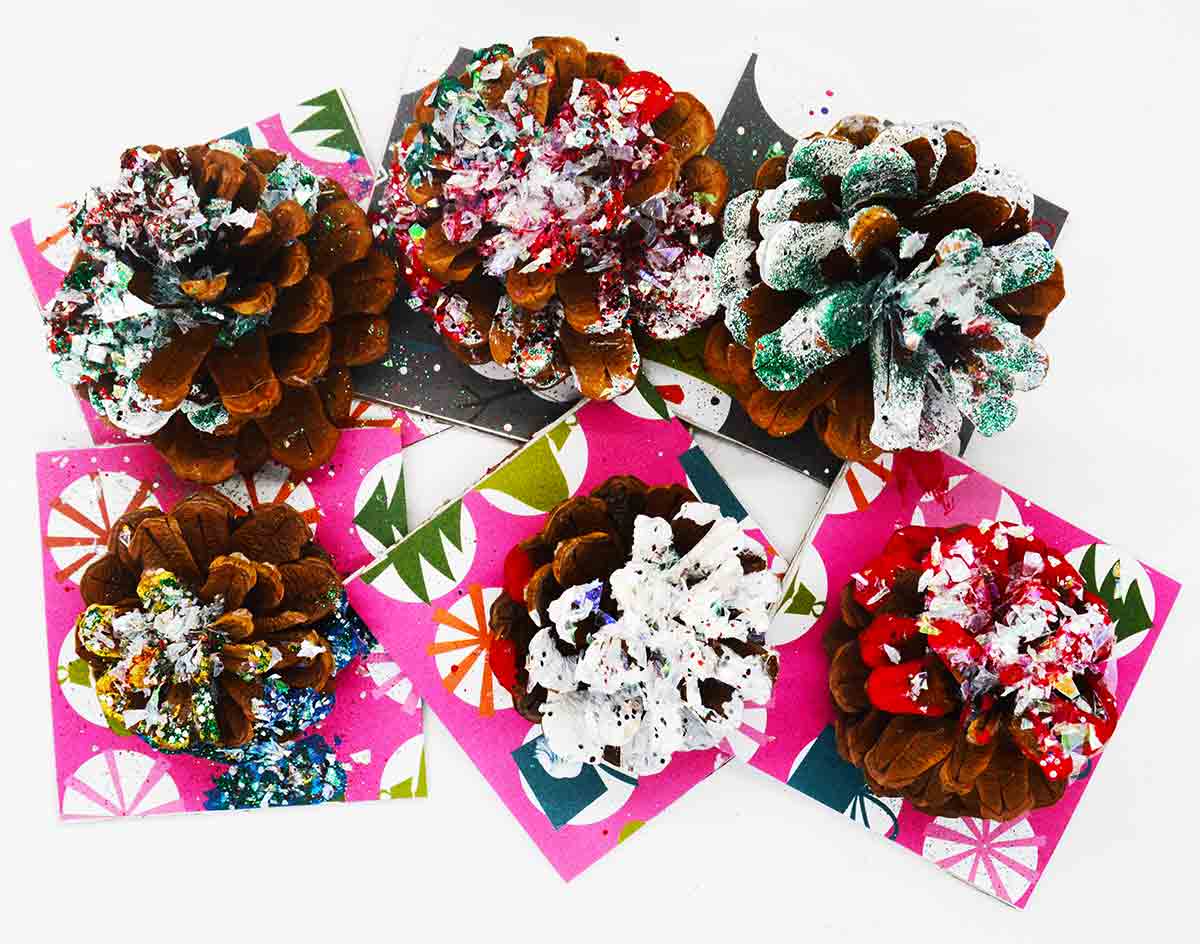
For this project, the grandkids painted the pinecones, added glitter, and then glued them onto cardboard that we had covered in Christmas paper (cardstock). We punched a hole in the side of the cardboard and hung them on the tree.
Supplies
- Pinecones
- Tempera paints—red, green, yellow, white, gold
- Glitter
- 3×3 cardboard
- 3×3 Christmas cardstock paper
- Glue, hole punch, string
Directions
- Paint the pinecones in different colors
- While the paint is wet, sprinkle glitter over the pinecone
- Let dry
- Glue the Christmas cardstock paper onto the 3×3 piece of cardboard
- Glue on the pinecone
- Punch a hole on the side; attach string; hang on the tree
#10 Pre-Made Christmas Ornaments for Kids
I always have what I call a “filler activity” ready to go for the grandkids to do while I’m setting up the next activity.
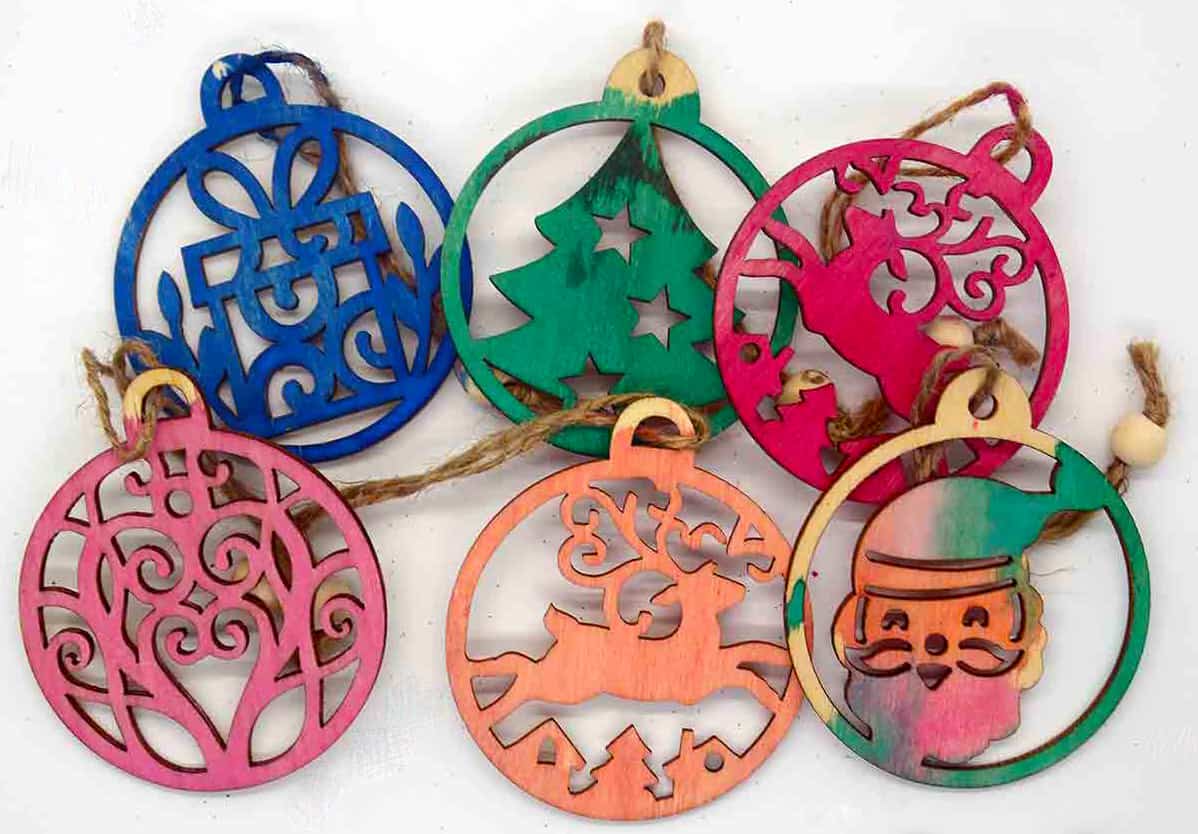
These premade Christmas ornaments make the perfect filler activity. You can purchase 50 assorted ones on Amazon. Give your kids/grandkids watercolors and Kwik Stixs to paint their ornaments.
Quick, easy, and fun!
Supplies
- Craft unfinished wood Christmas ornaments
- Watercolors
- Kwik Stix
- Brushes
Directions
- Give each child/grandchild several different ornaments
- Supply watercolors and Kwik Stix to color their ornaments
- Hang on the tree
We had loads of fun making these Christmas ornaments, and so can you! Your kids/grandkids will increase their fine motor and bilateral coordination skills and have fun experimenting with different mediums to create their ornaments. Don’t forget to put their names on the ornaments and the year so that in 10+ years from now, these ornaments will trigger happy memories of Christmas arts and crafts activities with parents & grandparents!
Have you made some fun and interesting Christmas ornaments for kids? Please share in the comment section below.
Check out more posts for making Christmas arts & crafts:
Here are the Best Christmas Tree Traditions to Do with Grandparents
The Most Exciting Christmas Celebrations for Grandkids & Kids
The Most Fun Christmas Activities About Woodland Animals
Want to remember this post? Post, “Here’s How to Make the Best Christmas Ornaments for Kids & Grandkids” to your favorite Pinterest board!




Leave a Reply