Inside: Here are some awesome pumpkin carving how-tos just in time for Halloween. Whether your kids create a fire-breathing pumpkin, use stencils, or bas-relief—these pumpkin carving ideas are simple to read and easy to follow.
Pumpkin Carving How-To
Don’t you just love the fall holidays? They are surrounded by excitement, anticipation, and just downright family fun! Like every holiday, Halloween has traditions that although repeated year after year, never lose their charm–like carving pumpkins!
- Does your family have a tradition of pumpkin carving?
- Is there a favorite pumpkin patch your family loves?
- Do you have any special pumpkin carving how-to ideas or suggestions?
Families who love Halloween, usually love to carve pumpkins and it’s the perfect activity for kids to do with parents and grandparents.
How Pumpkin Carving Got Started
We can thank the Irish for the tradition of carving pumpkins and for Irish immigrants bringing this tradition to the United States. However, Ireland did not grow pumpkins or carve pumpkins—they carved turnips or gourds—a tradition passed down from the ancient Celtic cultures in Ireland.
On All Hallow’s Eve, the Celtics carved turnips, root vegetables, or other gourds and placed an ember in them to ward off evil spirits. The name, “Jack-o’-Lantern” came from the name “will-o’-the-wispor jack-o’-lantern.” It was a strange light that flickered over peat bogs and was tied to the legend of Stingy Jack (the town drunk).
When the Irish came to America in the 1800s, they were introduced to pumpkins and decided they were bigger and easier to carve—hence our Jack O’ Lanterns today are carved from pumpkins of all shapes, sizes, and colors.
Pumpkin Patches
What are your family traditions of pumpkin patches and pumpkin-picking?
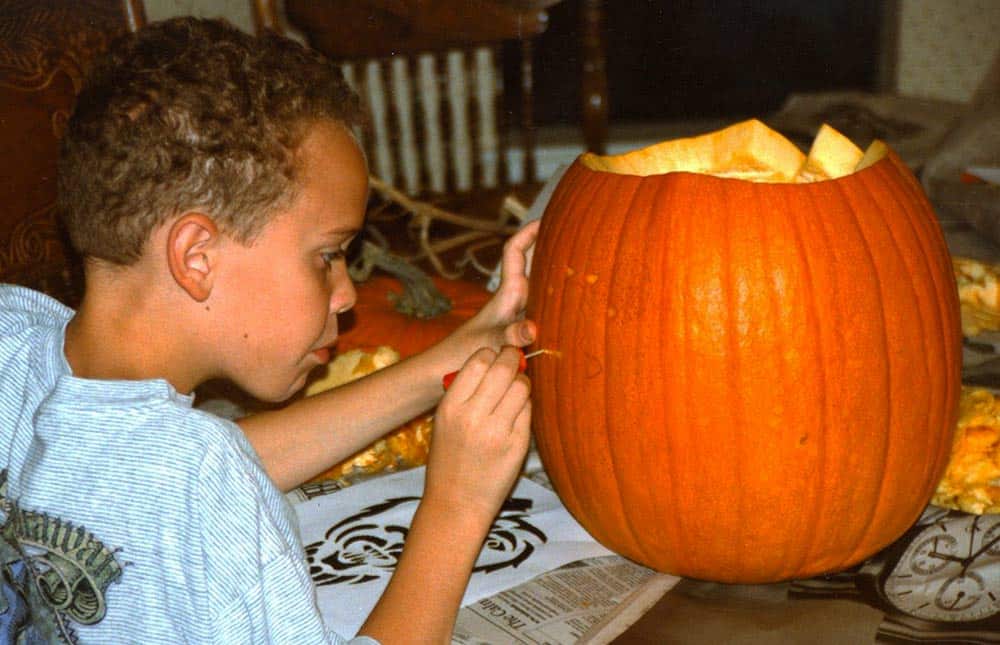
Every year, our family took trips to various pumpkin patches. We marched out to the field with a camera, sturdy shoes, and pumpkin cutters in hand looking for five of the most interesting and unusual pumpkins.
Next came the pumpkin carvings…
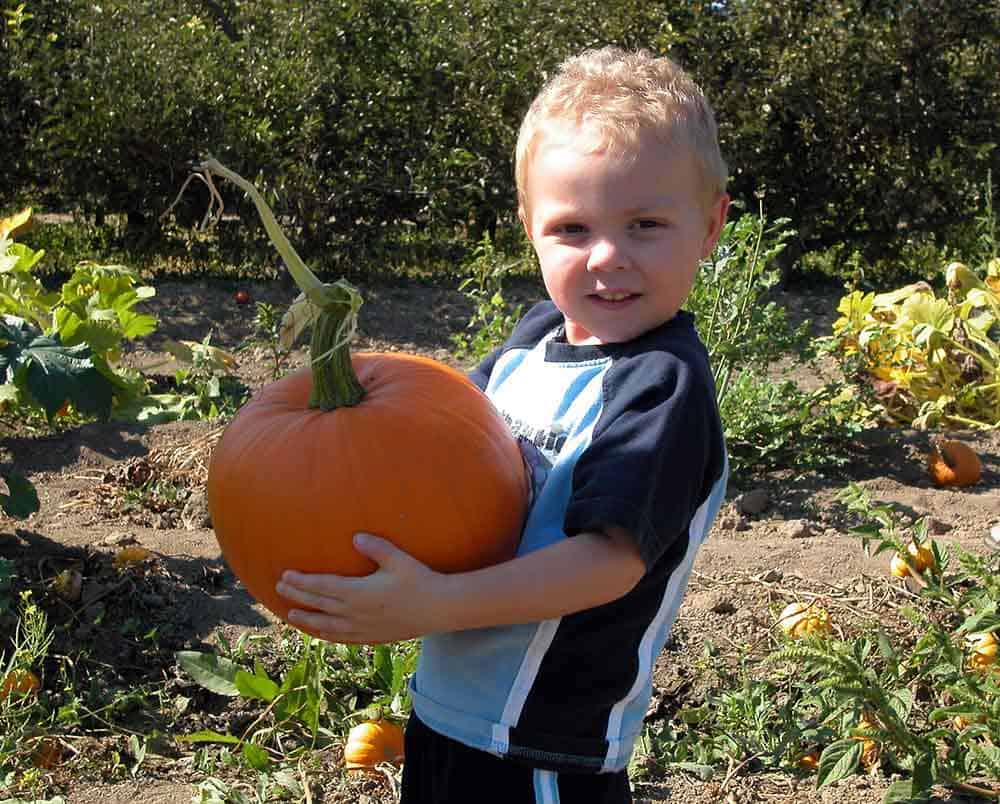
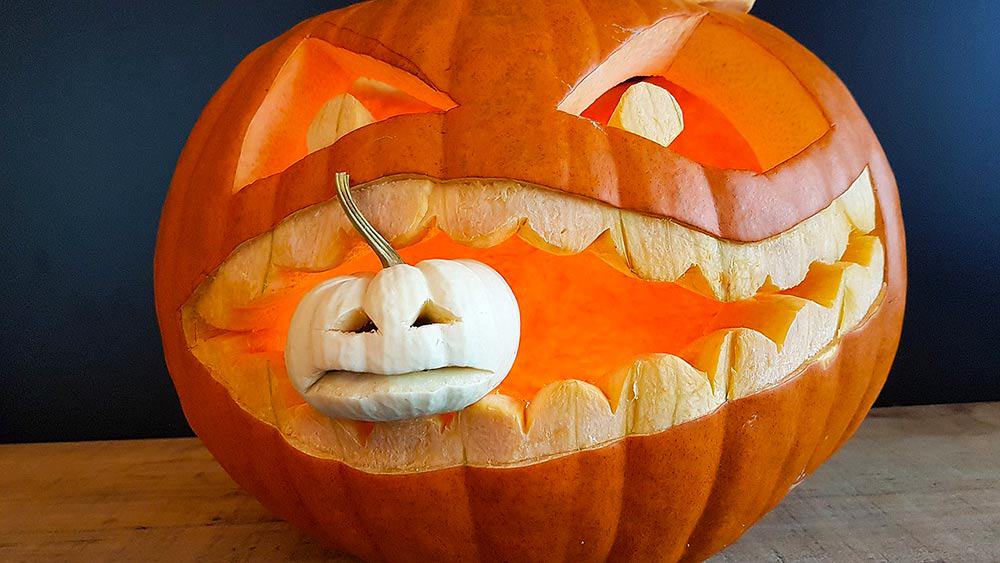
Notice the stem on this pumpkin…even an ugly pumpkin with a great stem turns into a fabulous pumpkin!
Pumpkin Carving How-To: From the Simple to the Intricate
At first, we carved pumpkins into simple Jack O’ Lanterns. Then we got bored. We wanted to create more interesting pumpkins—something dramatic that would draw trick-or-treaters from miles around to see.
We started using stencils, paint, sculpting and crafting items.
Depending on the ages of your kids, try one of these suggestions:
#1: Painting & Crafting a Pumpkin
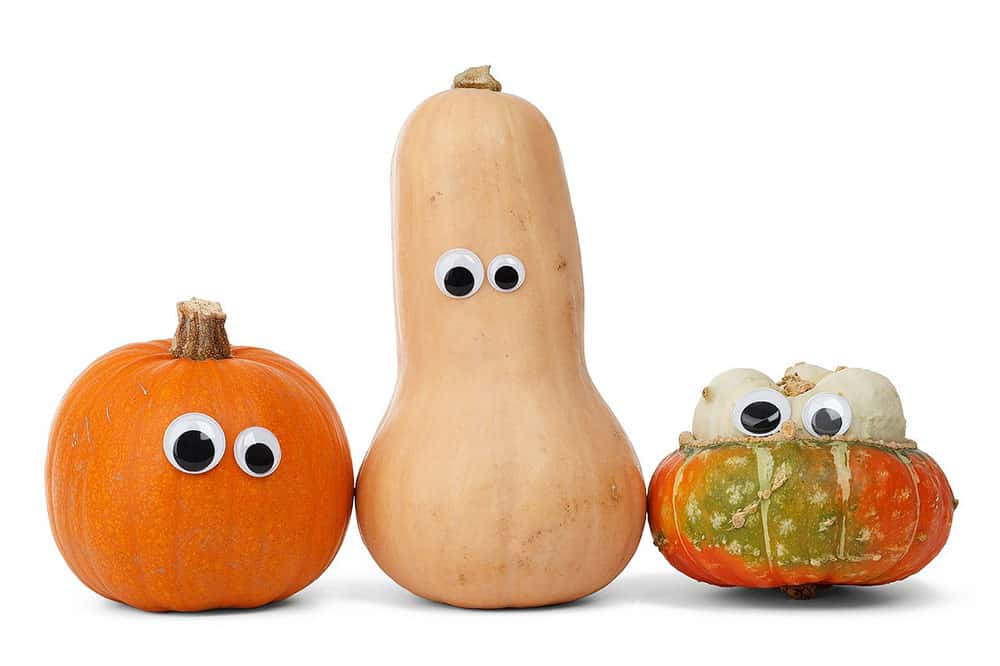
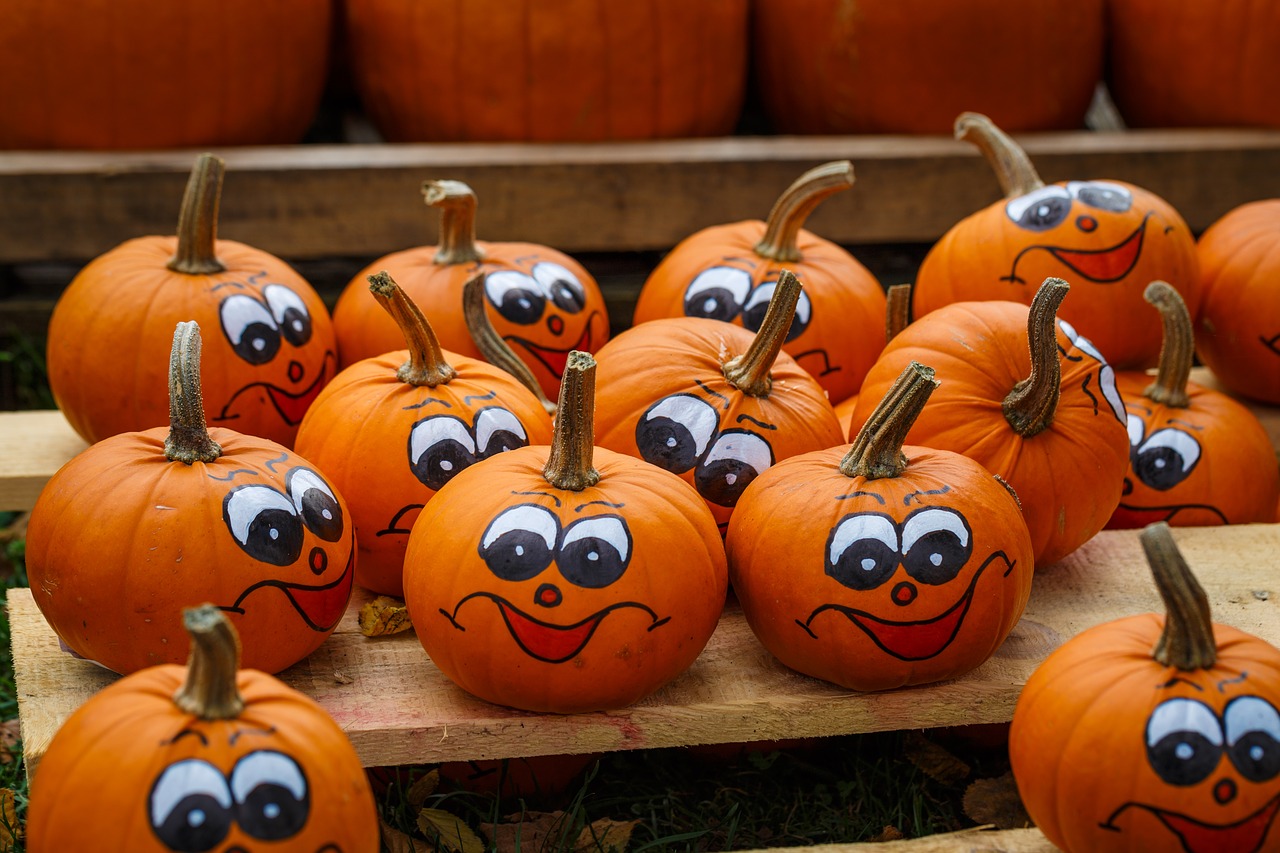
There are many different ways of painting a pumpkin—faces, polka dots, googly eyes, black cats, witches, and more. Plus, painting a pumpkin is super easy for kids of all ages.
Here are some suggestions:
- Buy your paints or spray paints at Michael’s
- Get a variety of colors—don’t just stick with white or black. Purple and green are the “new black & orange” for Halloween.
- Faces: encourage your children to paint funny, serious, or scary pumpkin faces
- OR: Spray paint your entire pumpkin. Then add another layer—using a circle stencil, spray paint polka-dots, or other shapes all over the pumpkin
- Crafting Items: use crafting items such as googly eyes, felt pieces for a Mondrian-pumpkin look, buttons, stickers, painted faces, or other crafting items
- Use smaller pumpkins and gourds.
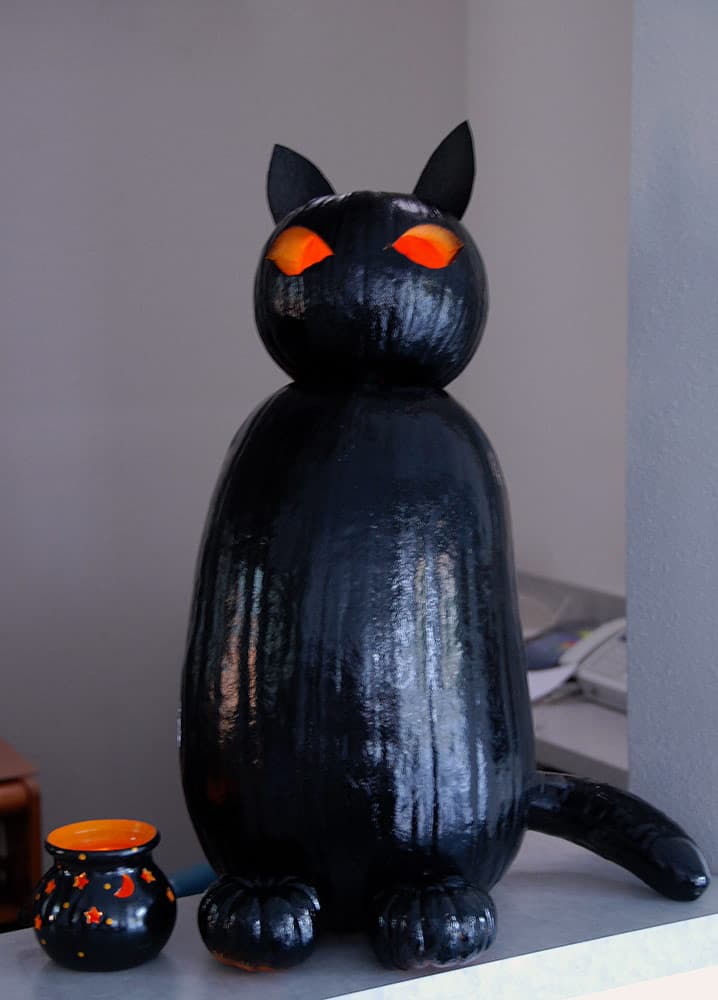
The black cat above has 3 different size pumpkins and cucumber for a tail.
#2: Upside Down Pumpkin
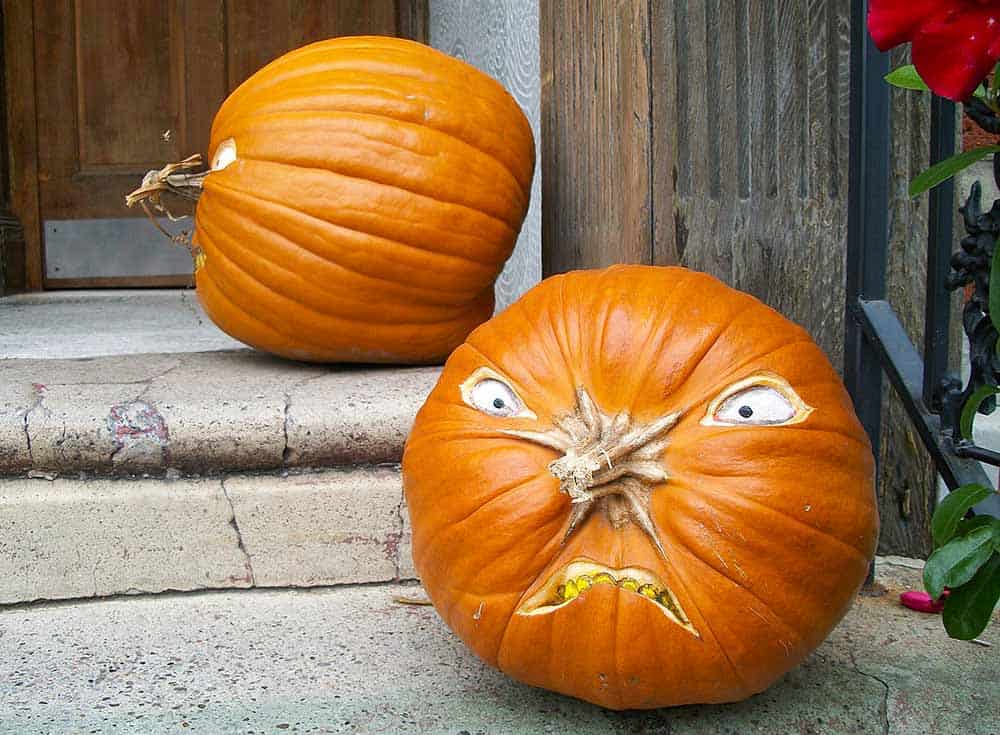
- Turn your pumpkin on its end—either the top or bottom. If you place it on the end where the stem is—the stem can act as the “nose’ of your creation.
- Either paint, sculpt, draw or carve the rest of the pumpkin face.
#3: Pumpkin Stenciling
Years ago, we started using stencils and specific tools for pumpkin carving. My husband is a dentist and would bring home some of his older drills home to carve details in the pumpkin (over-the-top, I know). Carving intricate pumpkins became a family tradition.
You can purchase Halloween stencils from Amazon. Here’s how to use them:
- Purchase stencils and pumpkin carving tools from Amazon
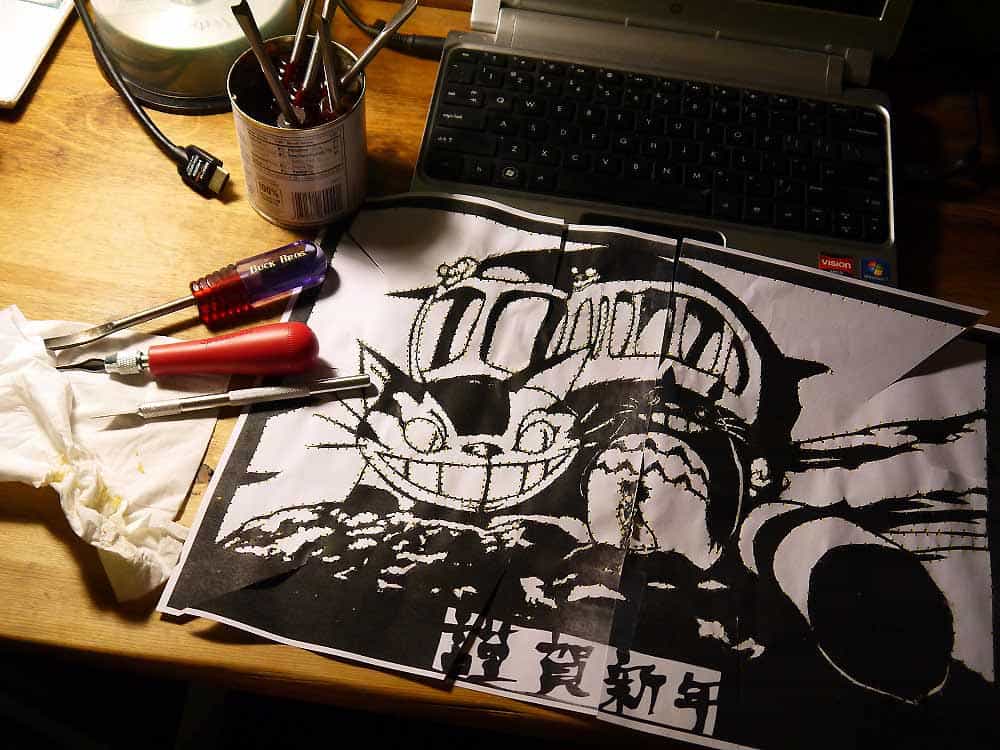
- Depending on the size of your pumpkin, take the stencil to a photocopy place and have it enlarged
- Adjust the stencil on the outside of the pumpkin which can be tricky since you’re putting it on a curved surface. Use push pins to keep it in place
- Using the stylus in the kit, punch dots around the entire stencil/picture (about 1/8 inch apart)
- Carving: Start with the most delicate lines or designs of your pumpkin first—carving them out carefully.
- You can also remove the pumpkin skin of different parts of your design (like the skeleton below)
- Carve the larger parts of the design last
- THEN clean out the guts of your pumpkin. If you do this before doing the steps above, it will be more difficult to get a crisp design.
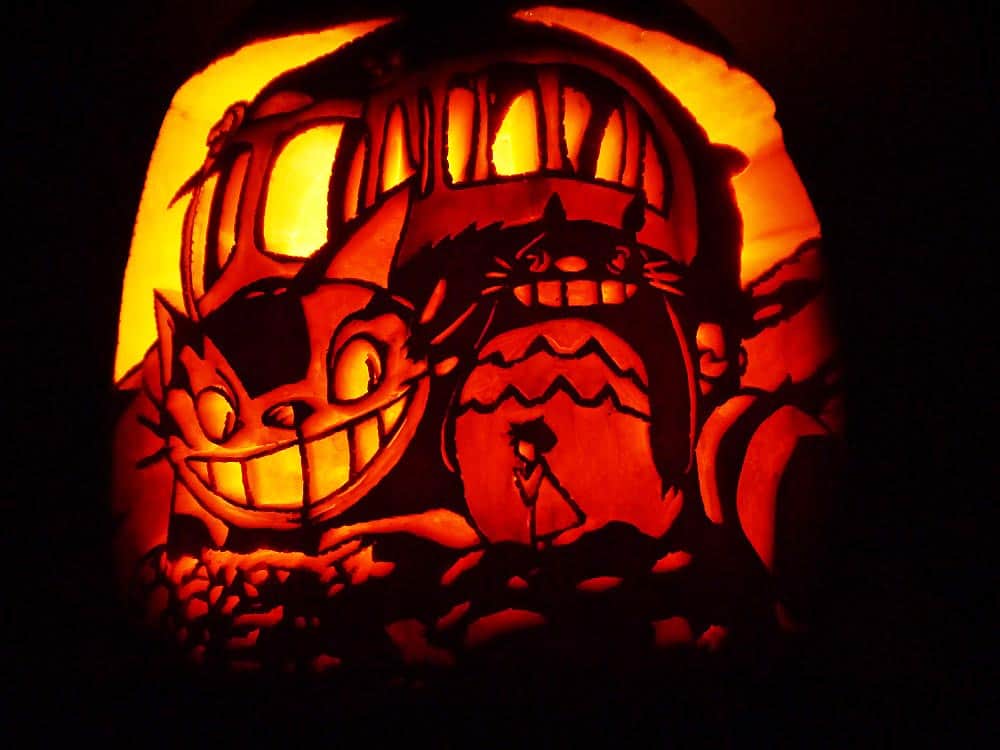
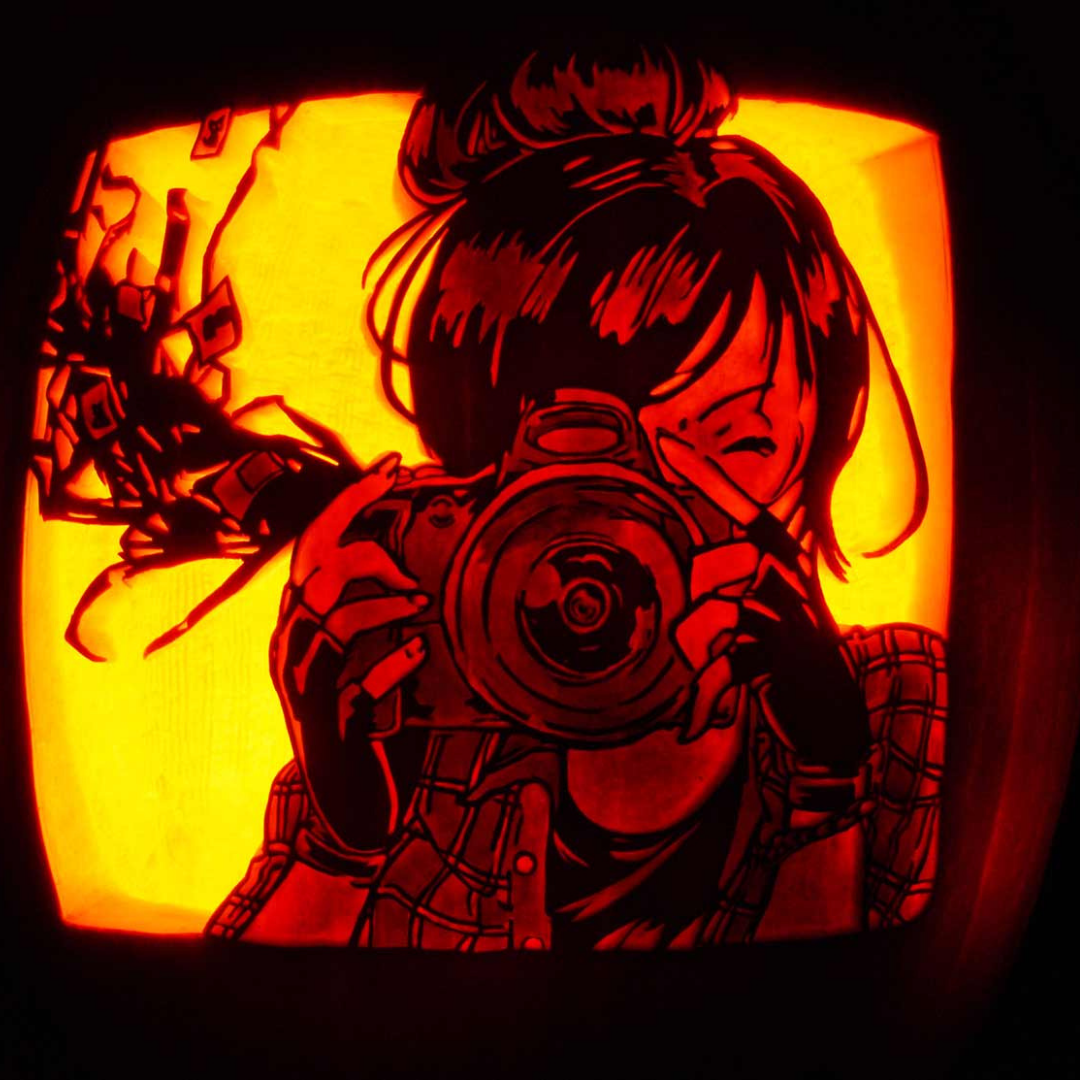
This is the final carving from the stencil above. The shading is achieved by leaving the skin of the pumpkin intact.
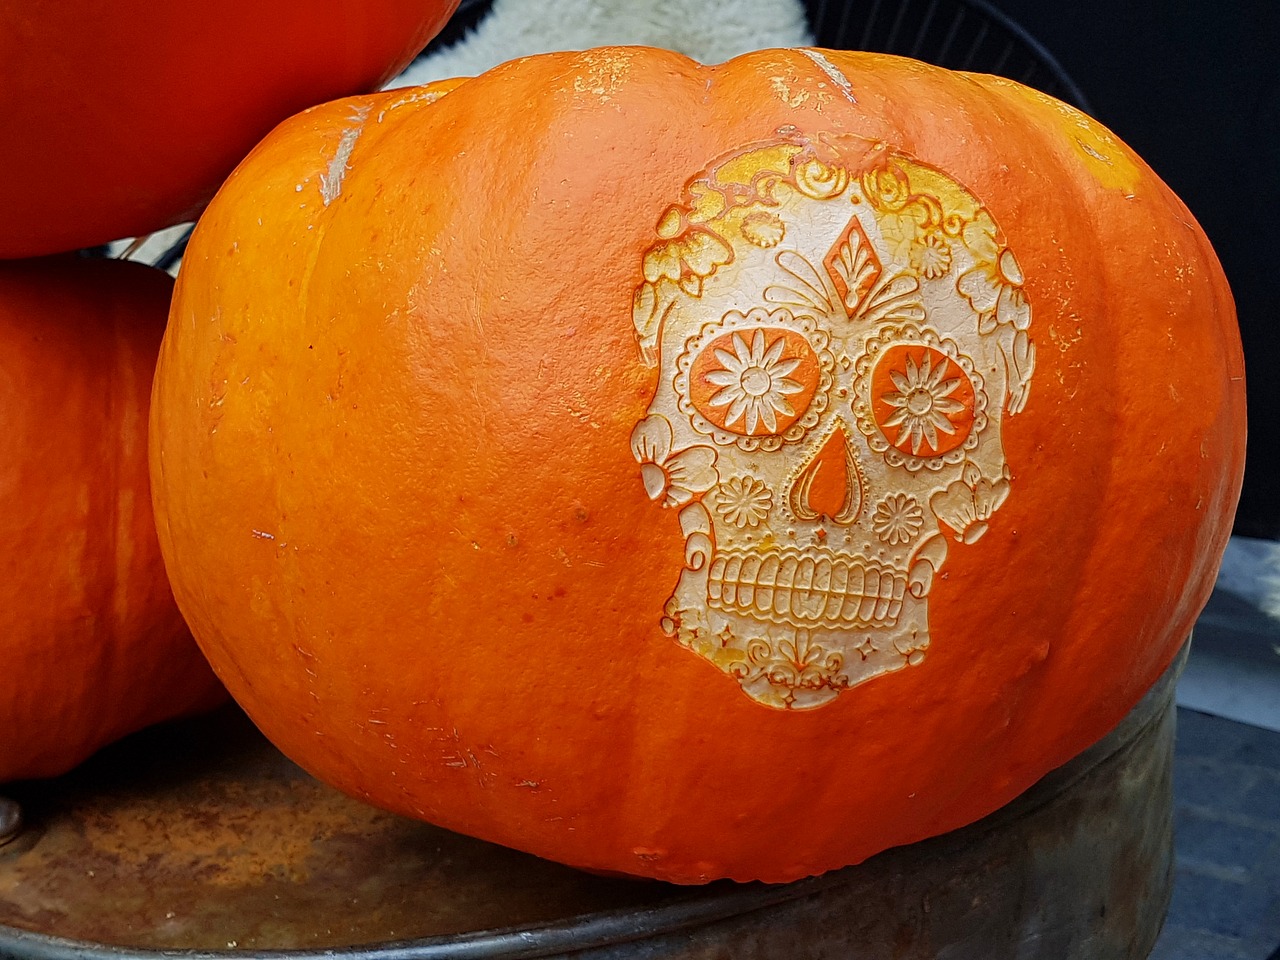
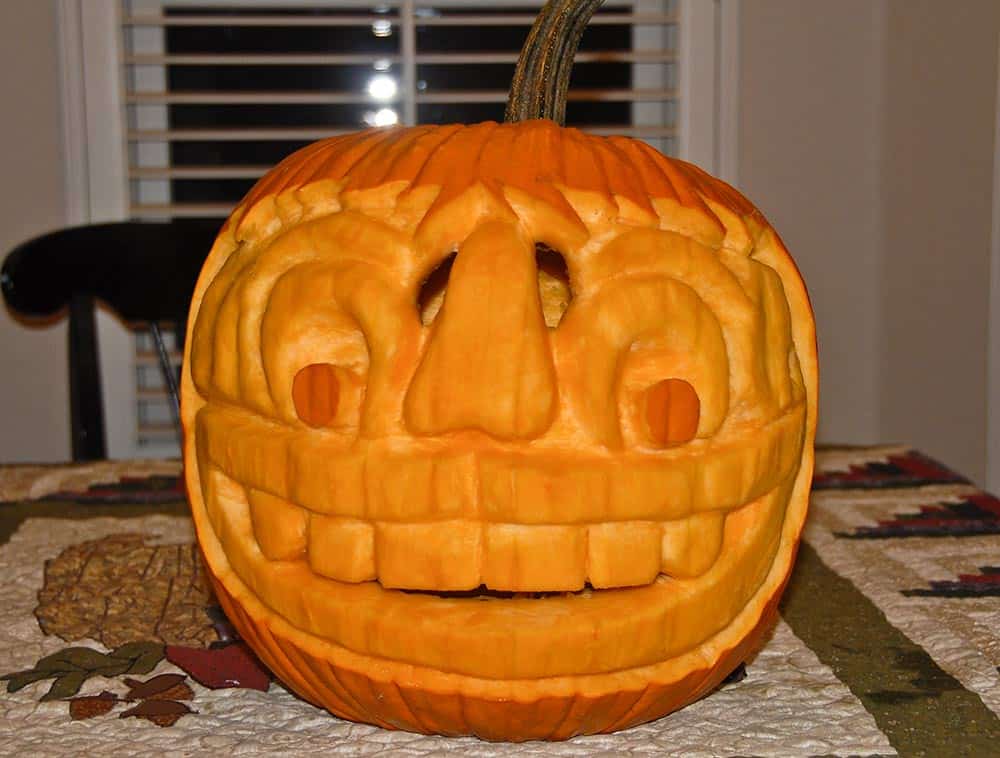
#4: Bas-Relief Sculpted Pumpkins
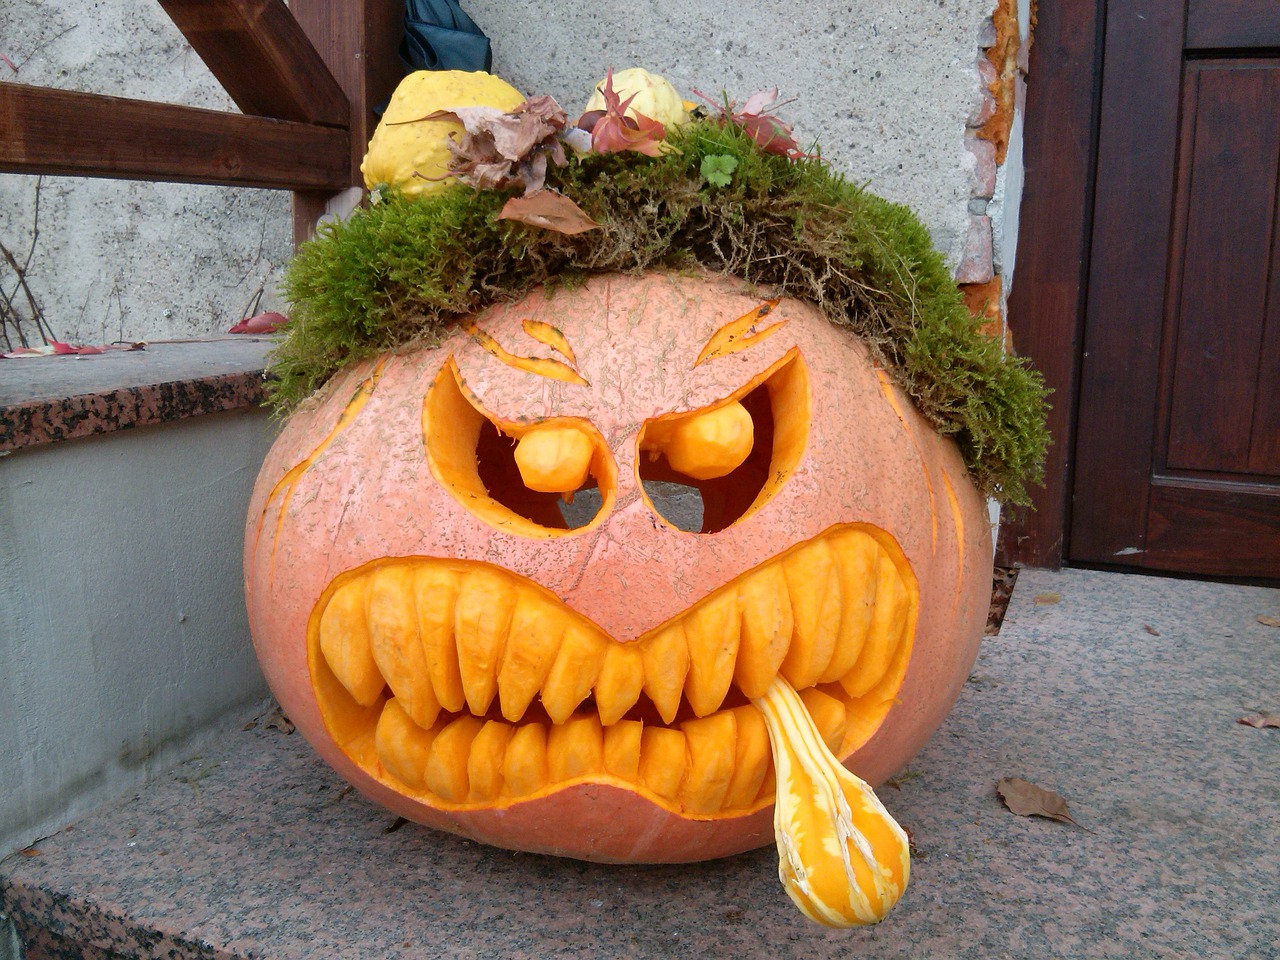
Years ago, we were at a Halloween fair with all sorts of vendors and pumpkin carvers. One man was carving the outside of the pumpkin like a bas-relief sculpture. Meaning that the design elements of the pumpkin were just barely more prominent than the background. All the carving was done on the outside of the pumpkin with only a few parts going through the pumpkin.
This kind of pumpkin sculpting requires your child or teen to have a sense of spatial awareness or thinking. No template is involved—it’s all free-hand.
Here are the steps to create a sculpted pumpkin:
- Think about what kind of a face you want to create with your pumpkin. You can also find a picture that you want to copy.
- With a face or design in mind—begin free-sculpting using a sharp knife
- You can peel or scrape the outside orange layer or “skin” of the pumpkin to get different effects and shadings
- Trick: use a fine coat of Vaseline on the pumpkin face to keep it moist and easier to sculpt
- Once you have completed your pumpkin design, cut a hole in the top and clean out the guts of the pumpkin
- You can also add moss hair and other items from nature to your bas-relief pumpkin
- To preserve the pumpkin and keep it fresh for Halloween, put the pumpkin in a bathtub filled with ice and water.
#5: A Fire-Breathing Pumpkin
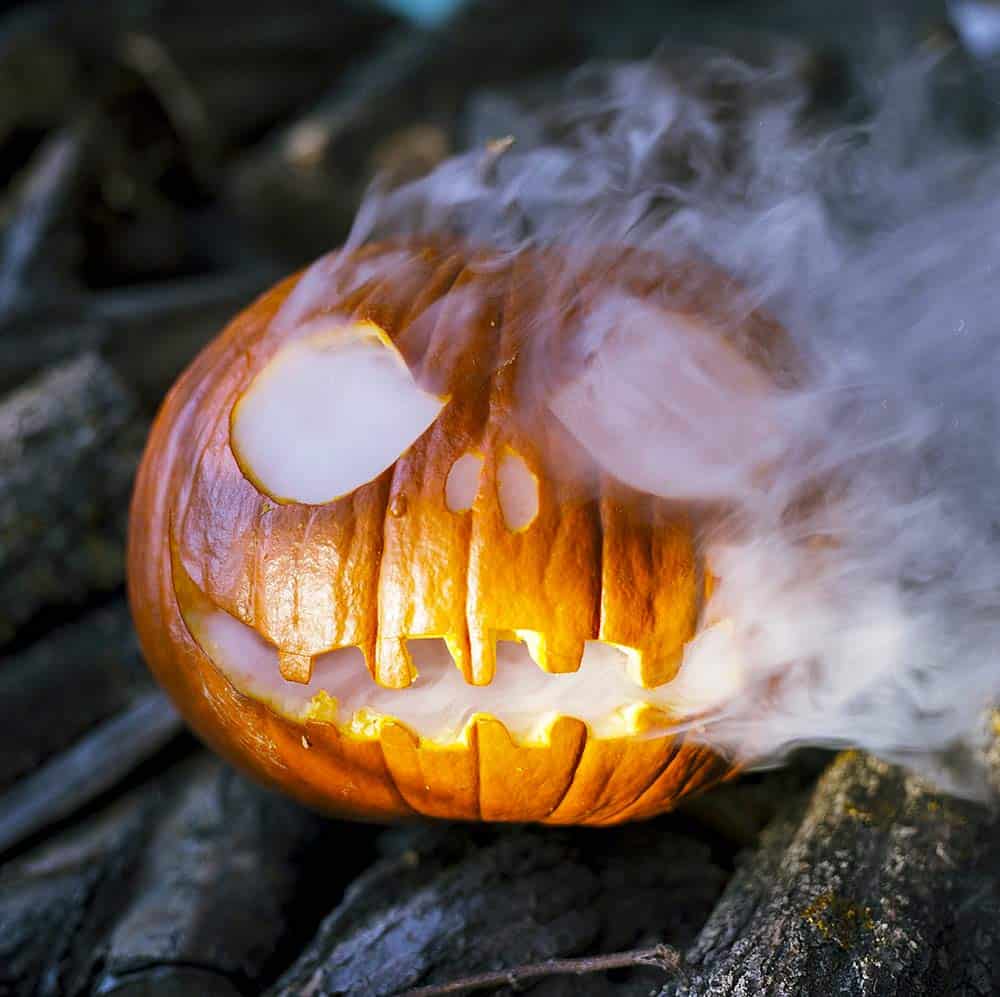
If you carve a simple pumpkin there are ways of displaying it to make it look spooky and dramatic. Try adding dry ice for a fire-breathing pumpkin!
- Purchase dry ice from your local grocery store on the day you will be using it—not before (it will disappear).
- On Halloween night or for a Halloween party: put the dry ice in a dish that will fit inside your CARVED pumpkin.
- Pour water over the dry ice
- Turn off the lights and watch your pumpkin “breathe fire”
Skills Kids Develop When Carving Pumpkins
So with all this carving, sculpting, and creating—what skills are your children and teens developing?
#1: Developing Fine Motor Skills
Pumpkin carving teaches kids fine motor skills. They are cutting, cleaning, measuring, poking, painting, gluing, and designing the pumpkin—all-important fine-motor skills and ways to build their brains; their problem-solving skills, plus their creativity and imagination.
#2: Learning Spatial Intelligence Skills
Pumpkin carving also builds spatial skills in children. These skills are developed when children construct or re-construct shapes and patterns in their minds.
It’s what architects, engineers, artists, and mathematicians do—understand and navigate three-dimensional space. Remember Michelangelo when he visualized the human body trapped in stone? Same principle. These are great skills to develop when carving a pumpkin!
Passing the Baton & Tradition of Pumpkin Carving to the Next Generation
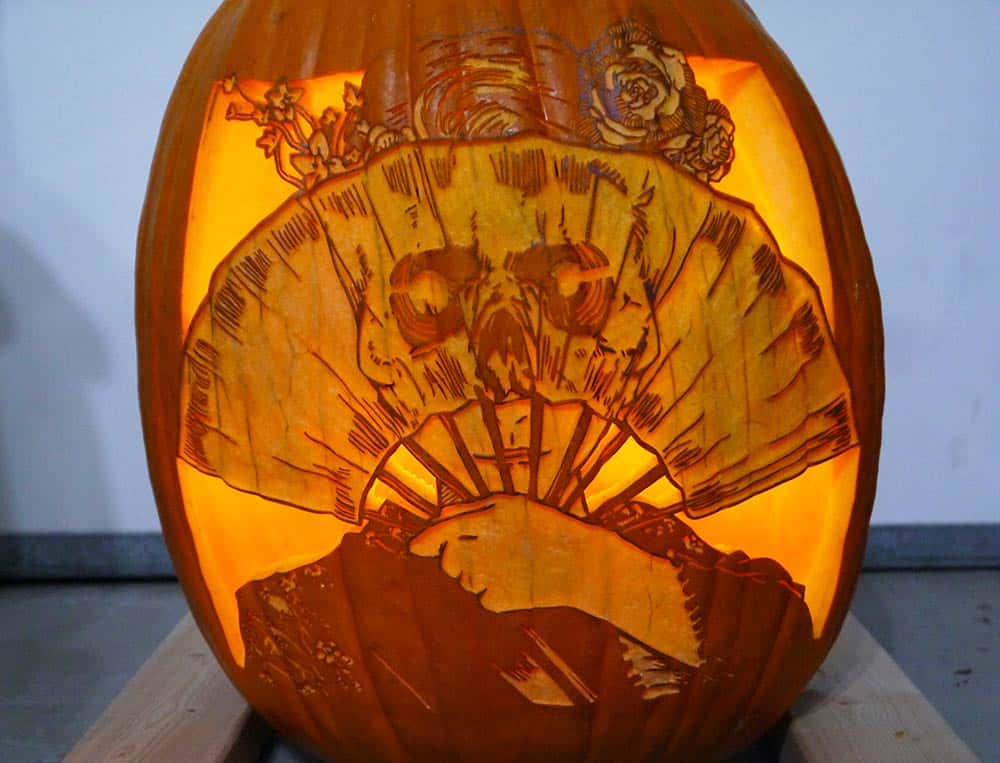
One of Trevor’s pumpkins he carved in 2018. Some of his creations are formed simply by seeing an image and then creating a stencil from it.
Pumpkin carving was an important family tradition and one that our sons now continue to do with their children. However, our youngest son, Trevor, has taken pumpkin carving to new heights.
He spends hours and an all-nighter before Halloween carving the most amazing intricate pumpkins I’ve ever seen. He started out using stencils, but now many of his creations are from looking at pictures and sculpting and creating what he sees (spatial intelligence).
His wife and kids have also joined in the pumpkin carving fun. It’s become a family tradition. A baton successfully passed to the next generation!
And yes, people come from miles around every year to see what he’s created.
Here are some suggestions of books, stencils, and pumpkin carving tools available on Amazon


I must commend you on this remarkable article. Your ability to convey complex ideas in such a clear and engaging manner is nothing short of impressive. This is one of the best pieces I’ve read on this topic, and I’m grateful for the wealth of information you’ve provided. Best regards, Pasang Iklan Properti Gratis
This article is nothing short of exceptional. Your insightful analysis and articulate writing have made this a compelling read. I’m in awe of how effectively you’ve communicated complex topics. This is a remarkable example of high-quality content. Thank you! Cheers, Pasang Iklan Properti Gratis
Sharlene, the more I find about you and your family, the more amazed I am! I have often wondered how you had/have the time to do all that you have accomplished throughout your life. You have learned/shared so many things with your kids and Mark! (Still waiting to watch Mark to decorate a cake!) I’m not very artistic, but I can enjoy all that you have done and do through your BLOG! Thanks for sharing with us!
Gosh Cheryl–I’m overwhelmed by your kind words! Thank you! But, I feel the same way about your family–you with jewelry-making, John with all his talents and the many talents and smarts of your grandchildren!
Can I just start by saying Trevor is beyond talented!! His pumpkins are absolutely fabulous. All I can say is, “wow”! I wish he were closer because I’d have him create a lake-inspired pumpkin for us here at the lake. Last year for the first time my husband, Patrick, and I challenged our son, Zach and his girlfriend at the time to a pumpkin carving contest. We carved two pumpkins and then let my Instagram followers choose the winner. Not to brag but Patrick and I won…This year I think I will use one of the other techniques you mentioned to hopefully pull out another win. Thanks for all the inspiration, Sharlene
Hey–congrats on winning the pumpkin contest! And good luck carving this year, too. Yes, Trevor is very talented–not only with pumpkins but other art mediums as well. He didn’t get that gene from me–I can hardly draw a straight line. Thanks for sharing Tiffany!