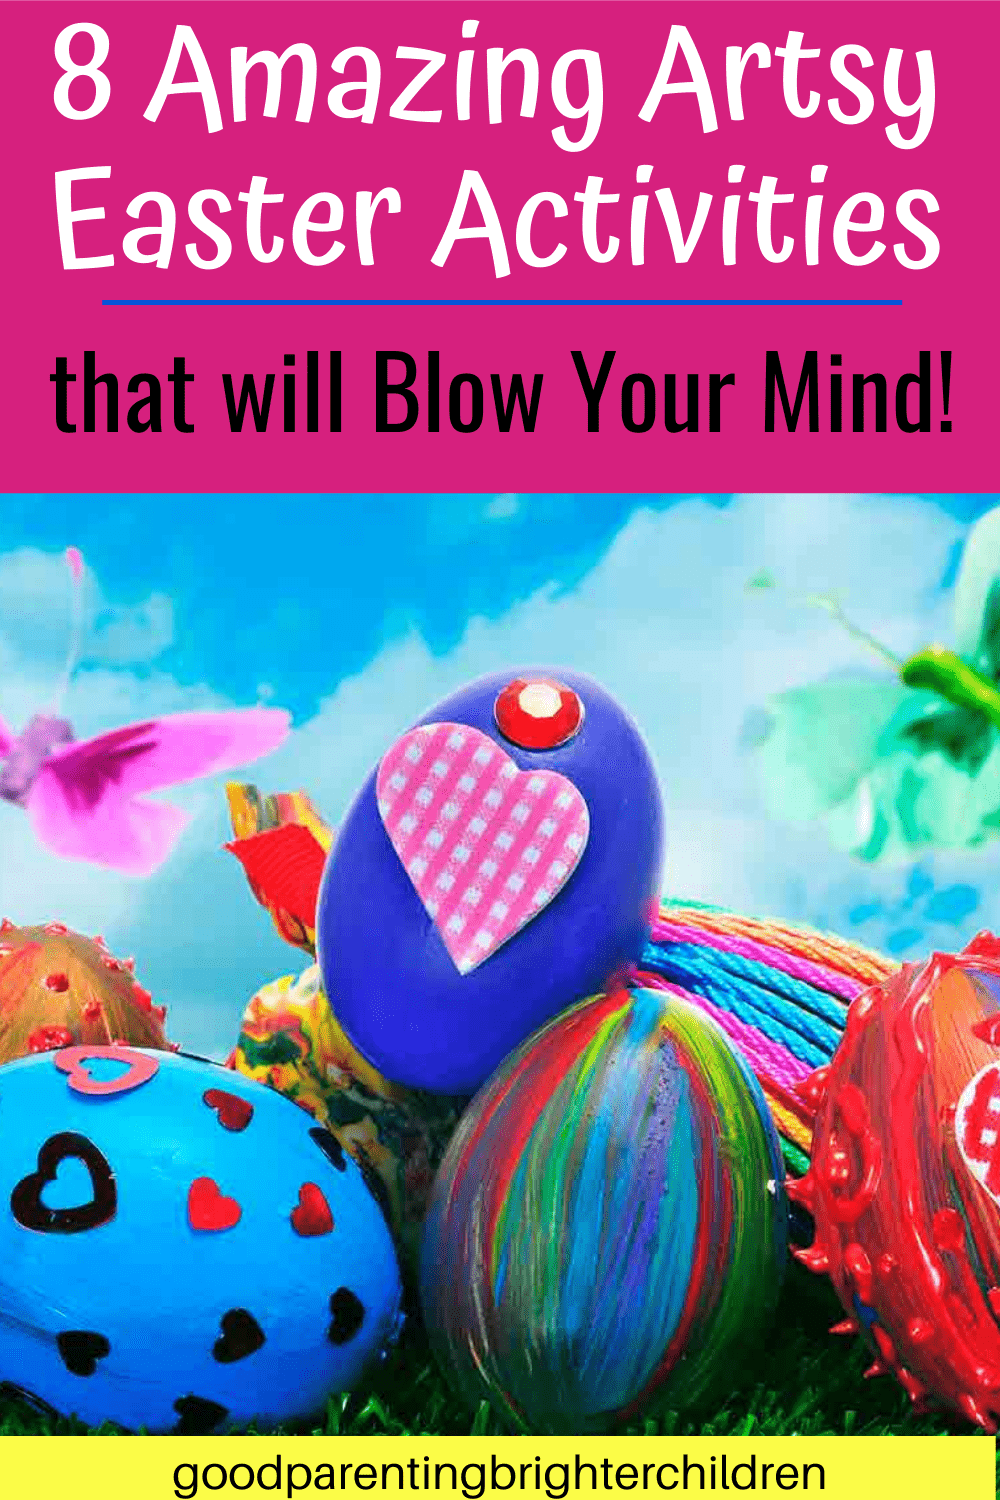
Inside: Here are 8 amazing artsy Easter activities for kids and grandkids. Creating bunnies in the style of famous artists! Super fun activities to stir imagination & enhance creativity!
Artsy Fun Easter Activities for Kids & Grandkids!
Easter! Such a beautiful, meaningful, and exciting holiday! And, it comes at the most gorgeous time of the year—Spring—a time of newness and rebirth of life.
Spring ushers in color, which makes Easter activities a holiday filled with creativity and imagination.
My undergrad degree (BFA) is in Art. I love perusing art museums. They are unique places for inspiration and creative thinking. (Check out my: “How to Make Art Museums the Best Places on Earth for Kids” for more info).
For these reasons—Easter, Spring, color, creativity, art, and imagination—we’re decorating bunnies in the style of different artists.
From Andy Warhol to Frida Kahlo, Jackson Pollock, Piet Mondrian, Pablo Picasso, Miriam Schapiro, and more—we created artsy bunnies celebrating fun Easter activities!
Each artist is an inspiration—a springboard for all our Easter activities—but not an exact copy of their work. For ease, we used 3 different bunny templates.
#1 Easter Activities: Andy Warhol Bunnies
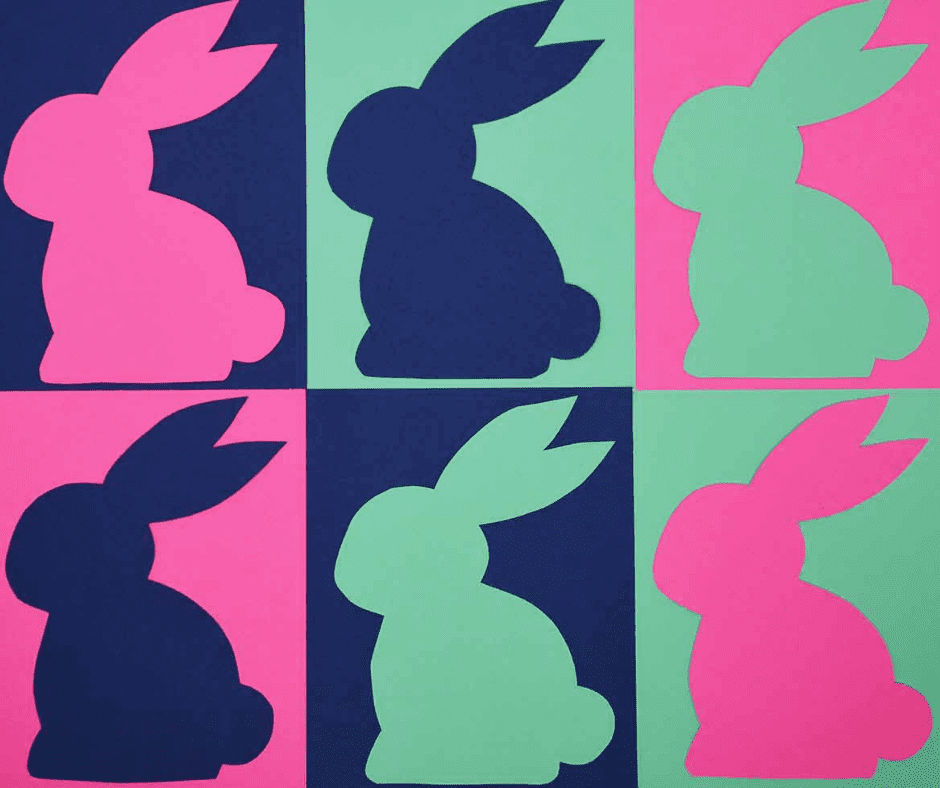
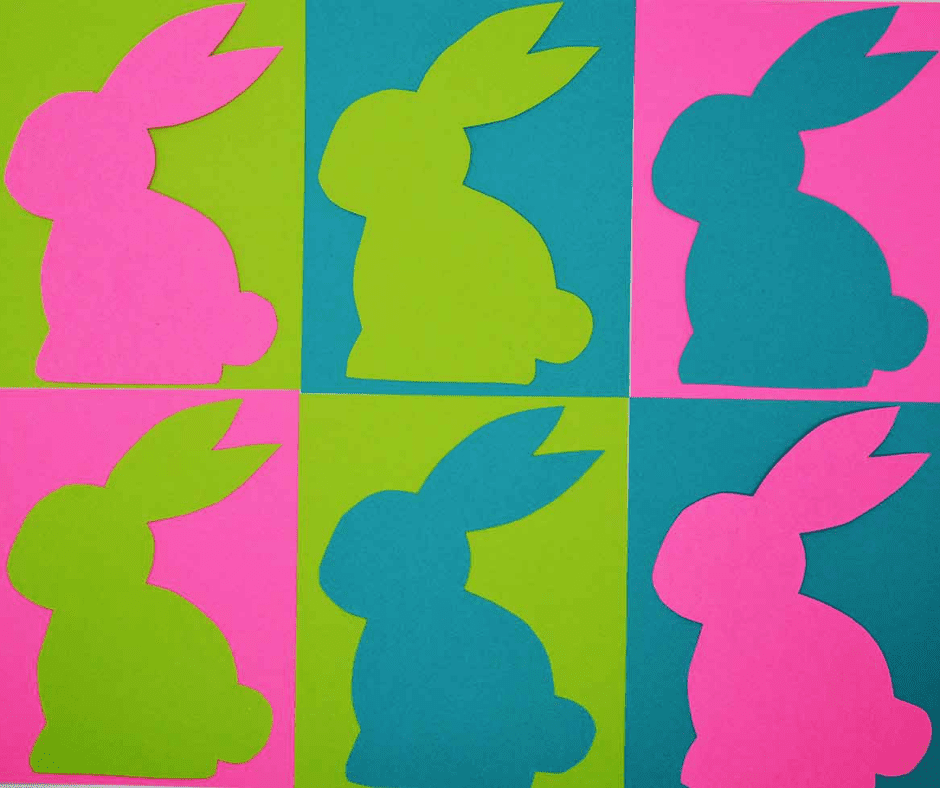
Andy Warhol was an American artist and a leading figure in the pop art movement. Best known for his silkscreen paintings of Campbell’s soup and Marilyn Monroe, he mainly used tertiary (primary & secondary colors mixed) or complementary colors because of their ability to “pop.”
Our bunnies are made of a combination of complementary and tertiary colors—lime green/turquoise/pink, navy blue/red/yellow, blue/pink/green, orange/turquoise/yellow, etc. They are repeated across the page in various colors to resemble Warhol’s famous shoe drawings.
Provide your kids/grandkids with lots of paper colors and encourage them to create super bright color combinations of rabbits.
Then arrange your colorful bunnies in typical repetition Warhol style.
Supplies
- Cardstock paper in a variety of complementary and tertiary colors (Michaels)
- Posterboard (Dollar Store)
- Bunny template
- Glue stick
- Scissors
Directions
- Have each child pick out 3 opposite; bright colors of cardstock
- On an 11×14 sheet of poster board, cut each cardstock color into 3 pieces of paper to fit on the poster board. Each piece will be about 5 ½” x 4 ½”—with a little leftover on the edge—cut that off. You will have enough room to glue on 6 pieces of cardstock
- Trace the bunny template onto the color cardstock. You need 2 bunnies of each color making a total of 6 bunnies
- Cut out bunnies
- Arrange on the poster board.
- Glue in place
Book: Andy Warhol by Maria Vegara. A book that is as colorful as Warhol is! Fun and informative for even the youngest child!
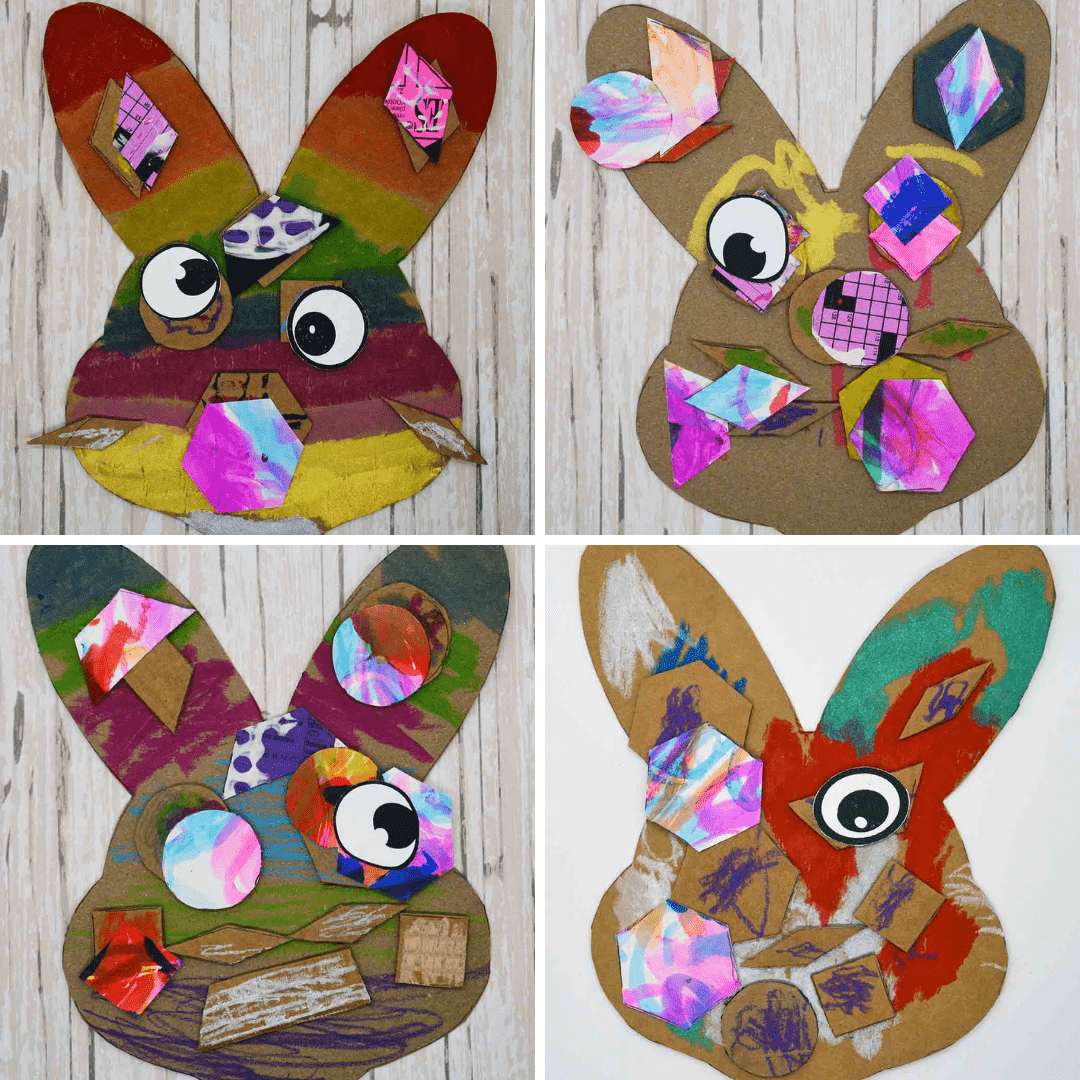
#2 Picasso Bunnies
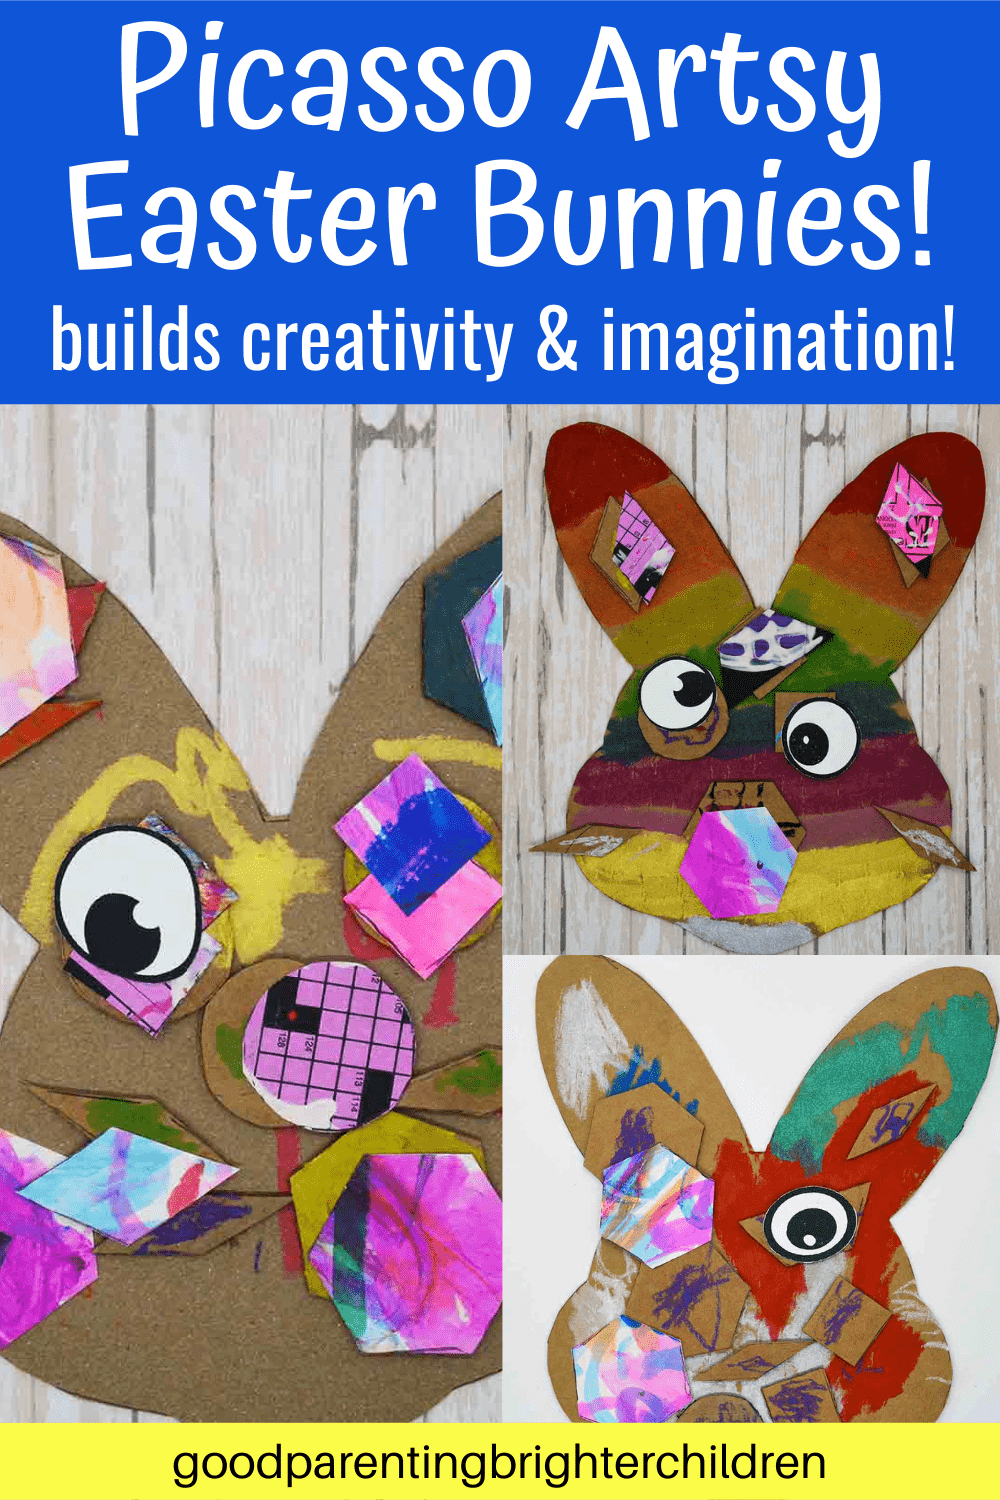
Spanish artist, Pablo Picasso was one of the greatest artists of the 20th century. A painter, sculptor, printmaker, and ceramist, Picasso co-founded the Cubist movement and collage.
Throughout his life, his approach to art changed and morphed into a wide variety of interesting styles.
His Cubism period included people who had eyes and noses in the wrong places.
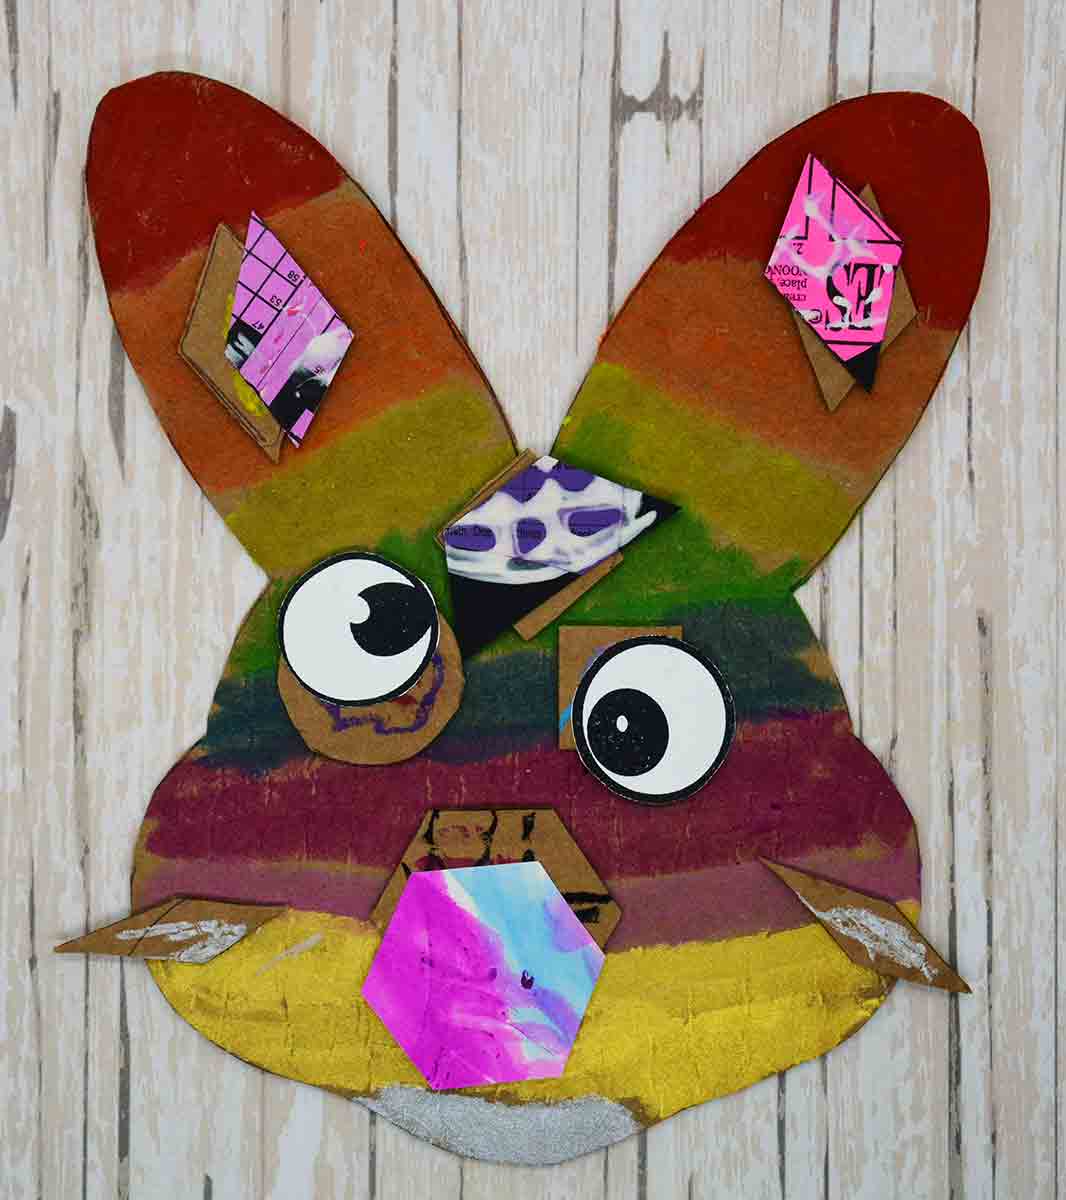
The grandkids had fun creating these Picasso bunnies. I told them to think “weird”—and to use colors and placement of eyes, ears, nose, etc., in different ways.
Not exactly what a bunny looks like—but oh such a fun Easter activity to create!
Book: Picasso by Mike Venezia. A great book to introduce your children to Picasso. Some of the illustrations are actual copies of his works and explain Picasso’s different styles and periods of painting.
Supplies
- Bunny head template
- Cardboard
- Pattern blocks
- Oil pastels
- Kwik Stix markers
- Glue stick
Directions
- Trace and cut out a bunny head on cardboard
- Using pattern blocks, trace different shapes on the cardboard and cut up and recycle old artwork.
- Give your children/grandchildren Kwik Stix markers and oil pastels to color the bunny and cardboard shapes.
- Arrange the pieces on your cardboard bunny—keeping in mind that Picasso did not use a conventional way of drawing faces and people. Put the noses, eyes, whiskers in different places and use contrasting shapes to create a Picasso-like bunny face
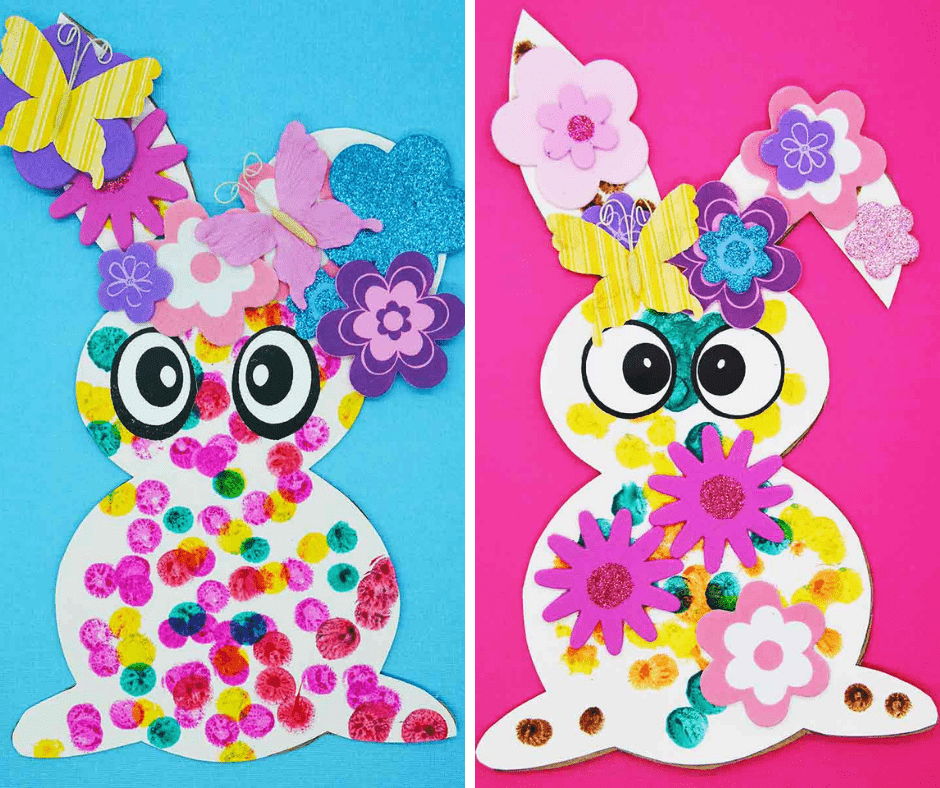
#3 Easter Activities: Frida Kahlo Bunnies
Frida Kahlo, a Surrealist Mexican painter, is known for her self-portraits and works inspired by nature. Her life was not easy. She contracted polio at age 7 and was in a horrible accident at age 18 that left her in constant pain throughout her life. However, she remains an example of tenacity, strength, and courage to other artists striving to succeed under difficult circumstances.
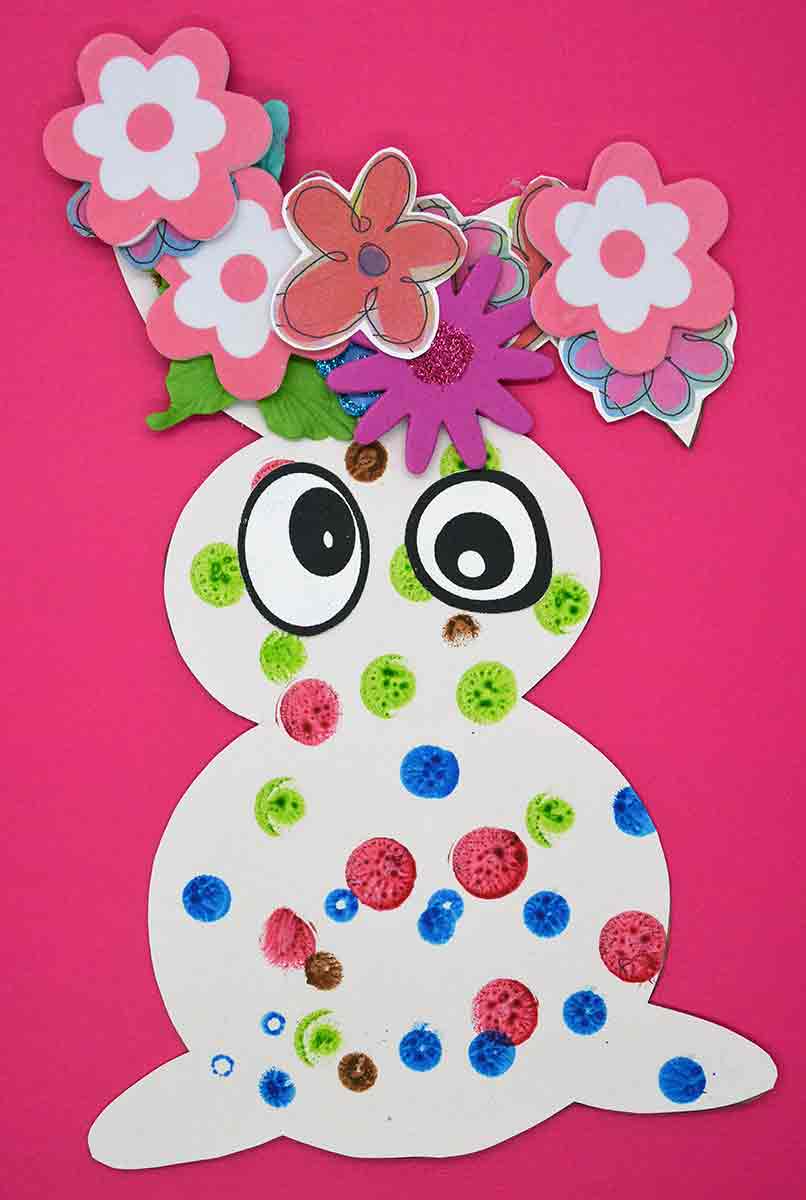
We combined Kahlo’s love of nature and her self-portraits of flowers in her hair to create these festive, colorful bunnies
A wonderful children’s book about the life and art of Frida Kahlo is: Frida by Jonah Winter
Supplies
- Googly eyes printed on white cardstock
- Bunny template
- Posterboard
- Cardboard
- Small fake flower heads
- Foam sticker flowers
- Dot markers
- Glue
Directions
- Cut out a bunny template on posterboard and another one on cardboard—glue the two together
- Using dot markers—create a dot-filled bunny
- Using flower stickers; small artificial flowers/butterflies, etc., create an Easter flower-filled bonnet
- Glue on big googly eyes (Frida had beautiful large eyes)
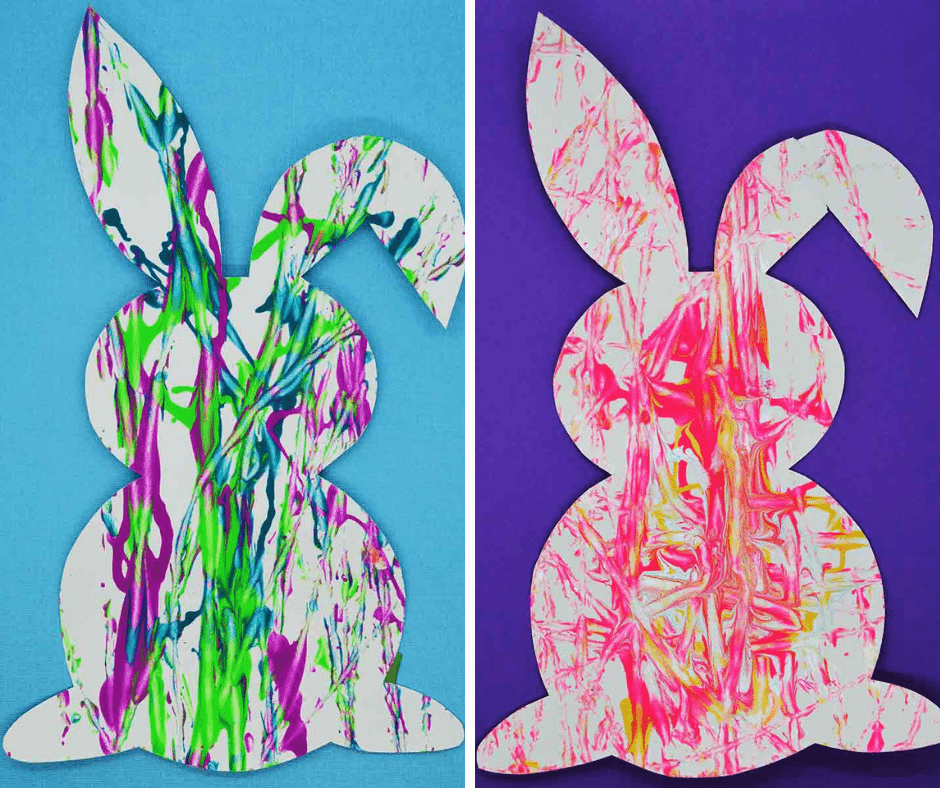
#4 Jackson Pollock Bunnies
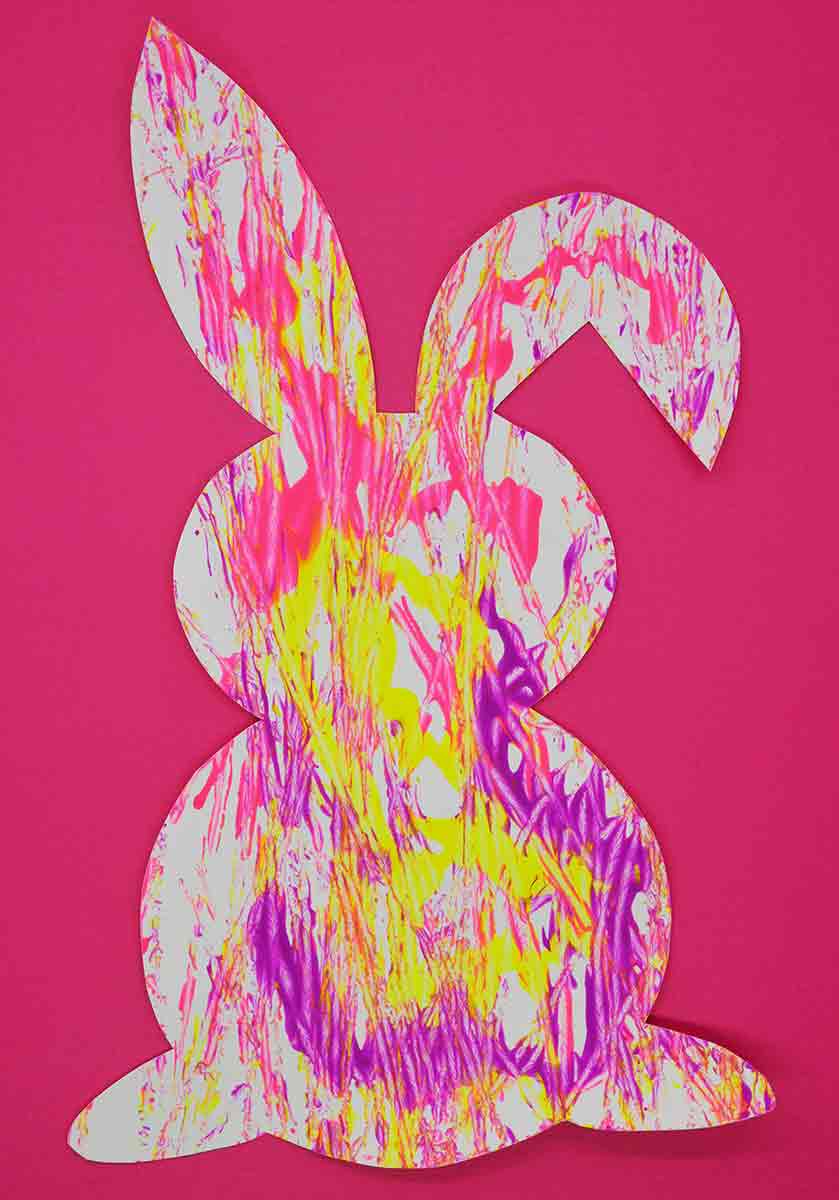
When people think of drip painting the first person to come to mind is American artist, Jackson Pollock—best known for his action paintings and Abstract Expressionist works.
However, the dripping technique was also used by Canadian artist, Jean-Paul Riopelle who painted in Lyrical Abstraction (related to abstract expressionism). Check out his “Untitled” oil on canvas, 1951—and you’ll see the similarities between Riopelle and Pollock.
To copycat both these artists, we used marbles and paint to create this “drip” effect.
Easy to do—just need a shallow pan, some marbles, and either tempera or acrylic paints and you’re good to create.
Move over Pollock and Riopelle—here’s another tailormade technique for kids—of “dripping” paint on paper!
Supplies
- 9×13 shallow pans
- Acrylic neon paints (IKEA)
- Bunny Template
- Posterboard
- Marbles
Directions
- Trace and cut out the bunny template on heavy poster board
- Tape bunny to the bottom of a shallow pan
- Squirt 3 different colors of neon paint on the bunny
- Place 3-4 marbles in the pan and move the pan back and forth; allowing the marbles to spread the paint over the bunny.
Book: When introducing artists to children—keep it simple and relatable. Olivia by Ian Falconer is perfect for introducing children to Jackson Pollack. Olivia’s mother takes her to an art museum where she sees a Jackson Pollack painting. Unimpressed, she says to her mother, “I could do that in about five minutes.” And as soon as she gets home—she gives it a try on her bedroom wall–to her mother’s dismay!
#5 Calico Bunnies Inspired by Textile Artist, Miriam Schapiro
Canadian Miriam Schapiro, a leader of the Pattern and Decoration art movement, was a painter, printmaker, collage, and textile artist. This movement, in part, focused on repeated patterns found in art, fabrics, crafting, and collaging.
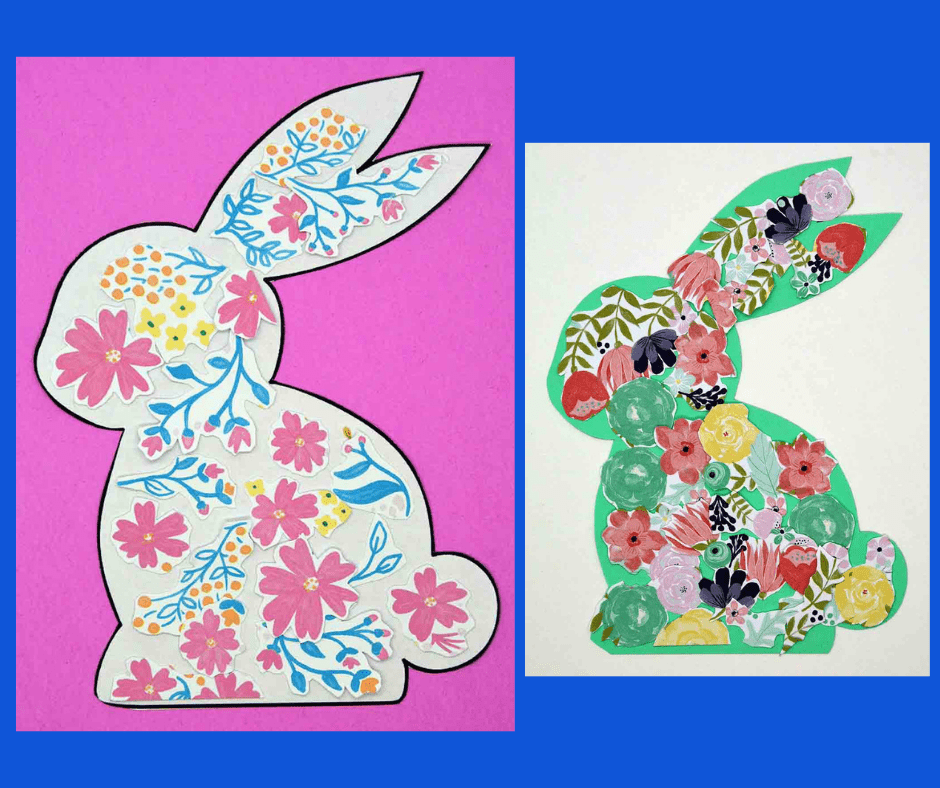
Inspired by Schapiro’s collaging, we made collage calico bunnies.
Calico has a long history but is basically an unbleached cotton fabric. Over the years, it developed into a fabric featuring repeated floral designs.
When I think of calico fabric, I think of a small repeated floral design. You can read about women in the 1800s wearing calico floral-print dresses. (Little House on the Prairie by Laura Ingalls Wilder)
Using printed paper instead of fabric, the grandkids made these collage calico bunnies—decorated in Spring flowers and colors!
Supplies
- Bunny template
- Cardstock paper
- Floral papers (Hobby Lobby)
- Glue stick
Directions
- Using the bunny template, trace and cut out different colored bunnies
- Take the floral paper and cut out the flowers—creating different shapes and sizes
- Arrange the floral cut-outs on the bunny.
- Glue in place
#6 Piet Mondrian: Tape Resistant Art Bunnies
Sometimes you look at art; get inspired, and then change things up a bit.
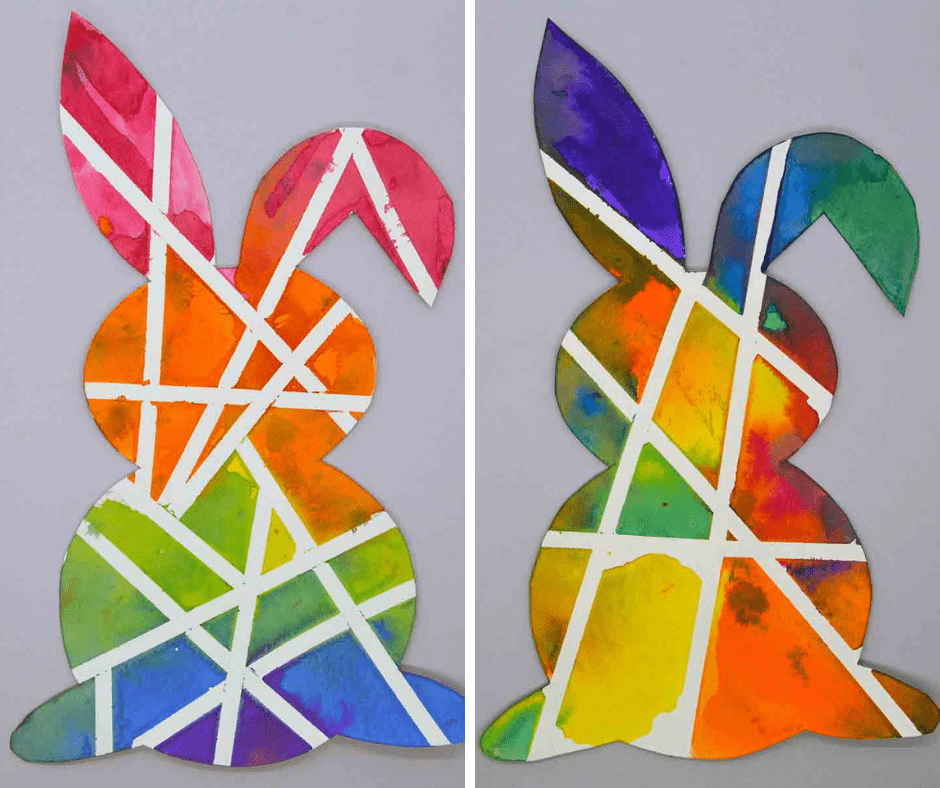
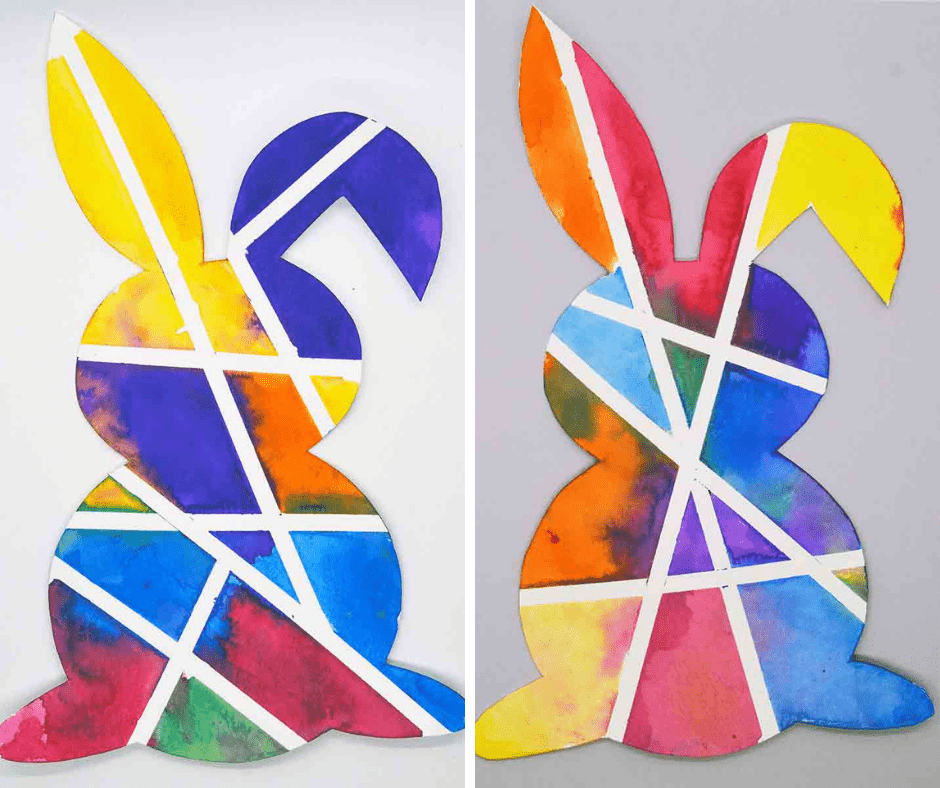
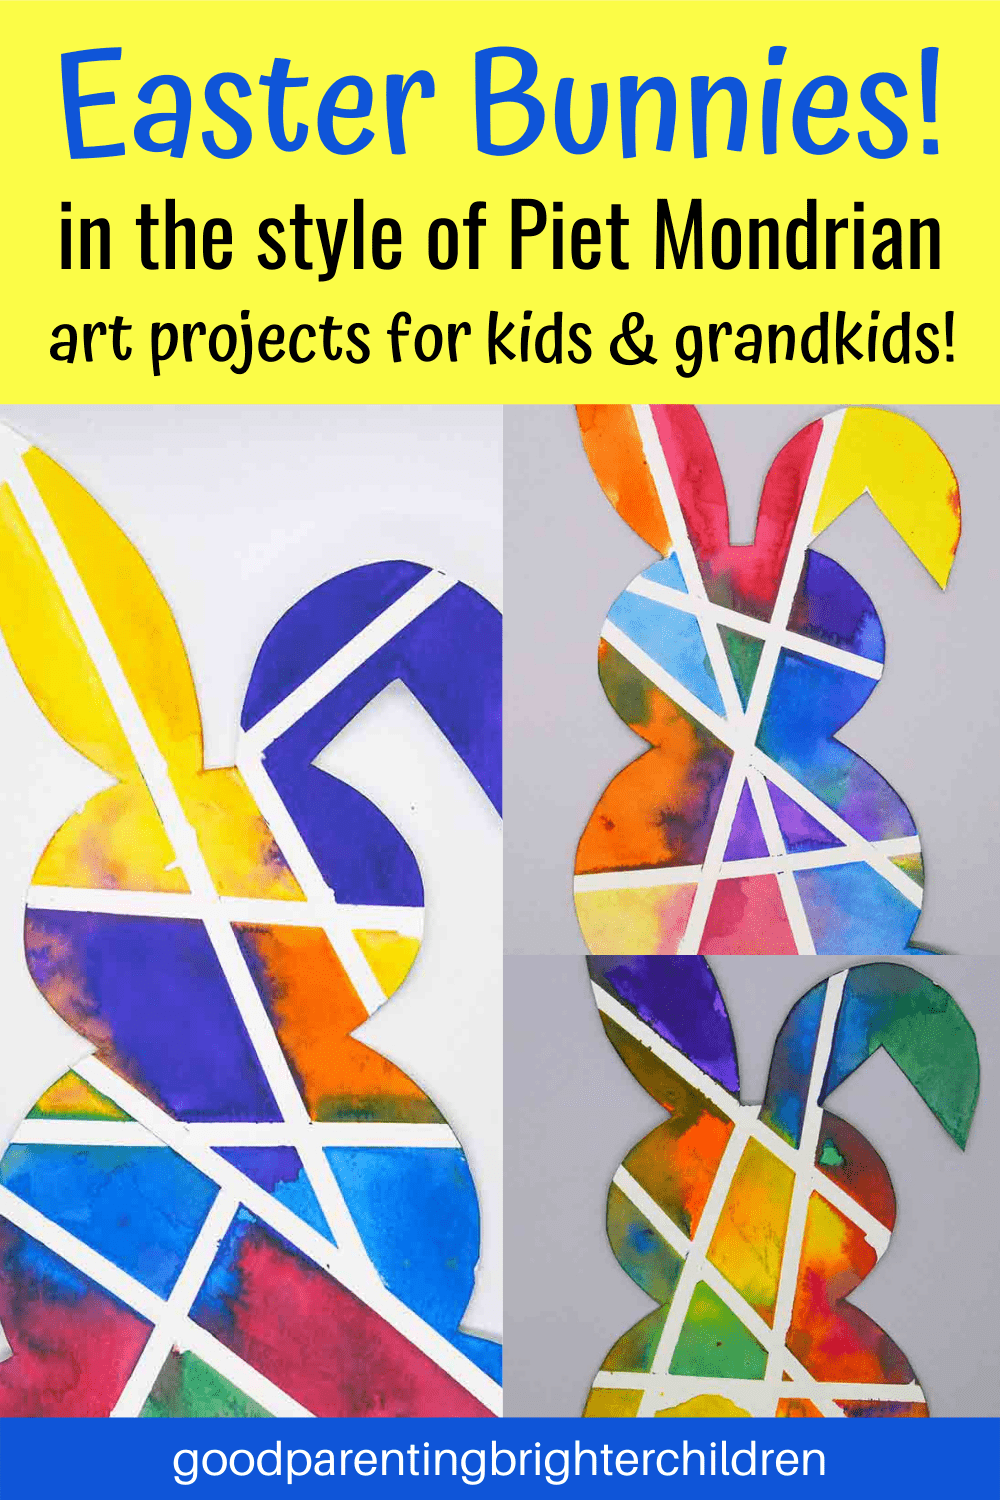
That’s what happened with these tape-resistant bunnies inspired by the work of Dutch artist, Piet Mondrian—a painter and important leader in the development of modern abstract art.
Mondrian is best known for abstract paintings made from vertical and horizontal lines, squares, and rectangles. However, we changed things up a bit and used diagonal lines to create these tape-resistant bunnies.
Supplies
Directions
- Trace and cut out a bunny template on watercolor paper
- Using 1/4” painters’ tape, tape different diagonal lines around the bunny creating different sections
- Paint each section with different colors of watercolors
- Let dry
- Gently take off the tape to reveal a beautiful Easter bunny!
Book: Piet Mondrian: Activities for Kids by Marisa Boan. A fun book filled with all kinds of learning activities about Mondrian—matching words, writing about how they feel about a particular artwork, character traits, vocabulary, etc.
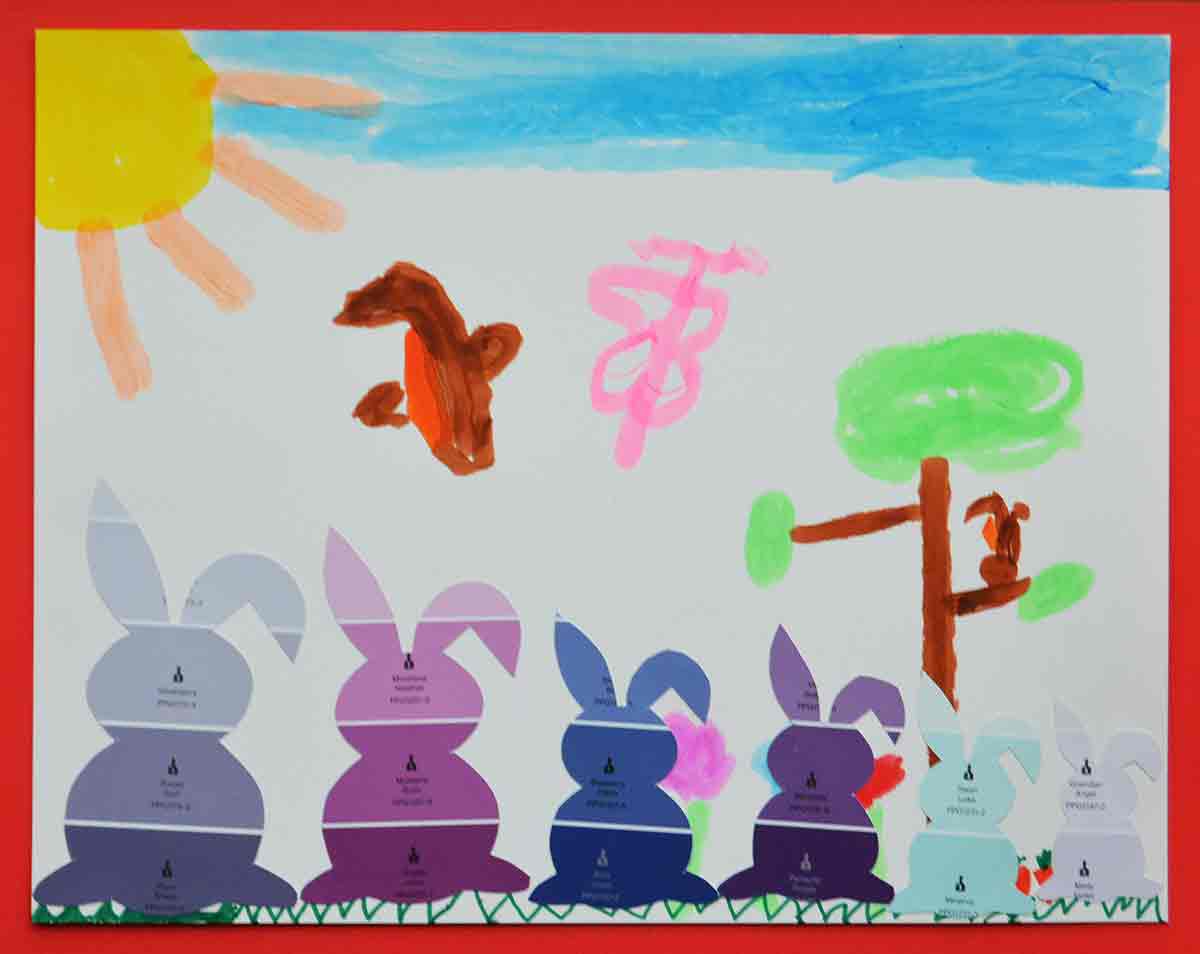
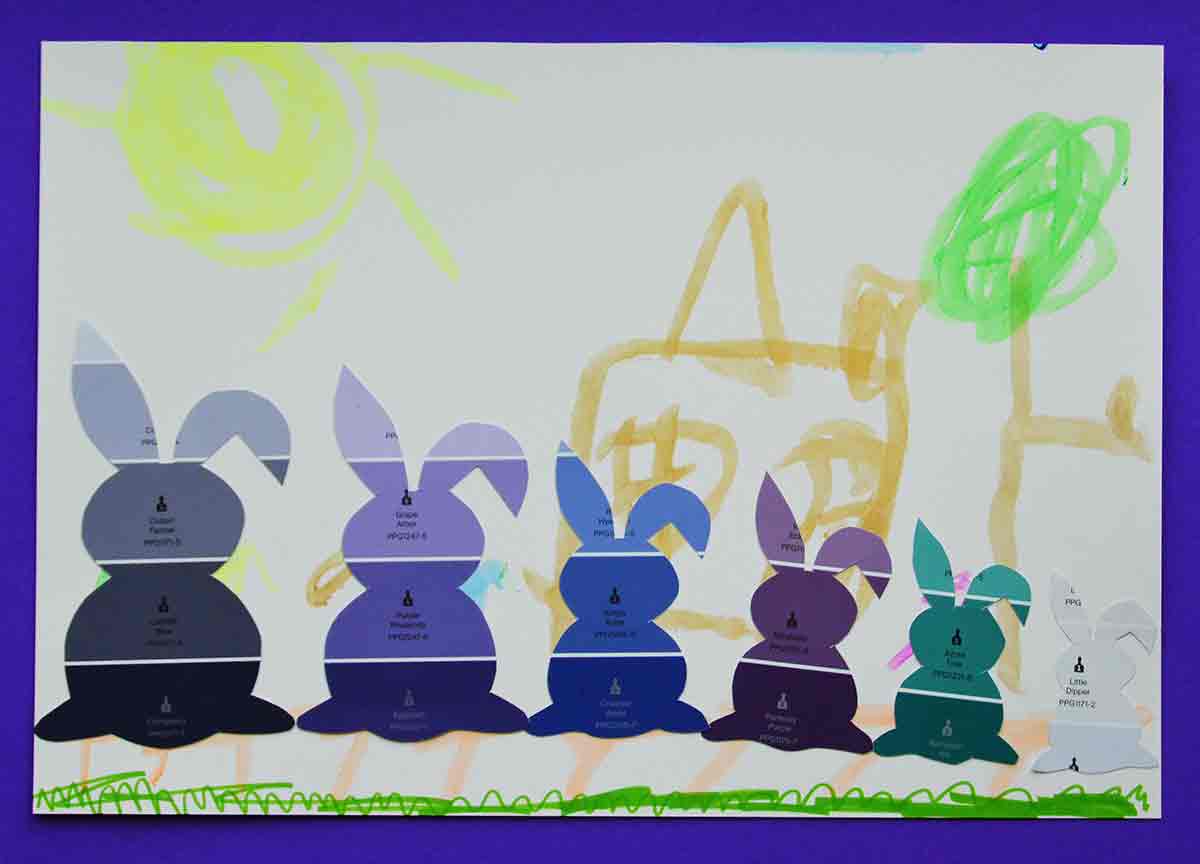
#7 Paint Swatch Bunnies
These bunnies were not inspired by any great artist–they are just fun to make!
A few weeks ago, we made homes created from paint swatches and the grandkids wanted to create something else from paint swatches.
So—we made bunny families—outside enjoying nature in the Springtime.
Supplies
- 11×14 poster board
- Bunny template
- Paint swatches in different colors
- Kwik Stix markers
- Oil pastels
- Glue stick
Directions
- On the poster board, have your kids/grandkids draw something that reminds them of Spring and Easter—flowers, trees, sun, rainbows, grass, etc.
- Using the paint swatches; trace and cut out different sizes of the bunny
- Arrange your bunny family on the poster board; glue in place
#8 Easter Activities: Making Bunny Popcorn
No holiday is ever complete without making something yummy in the kitchen!
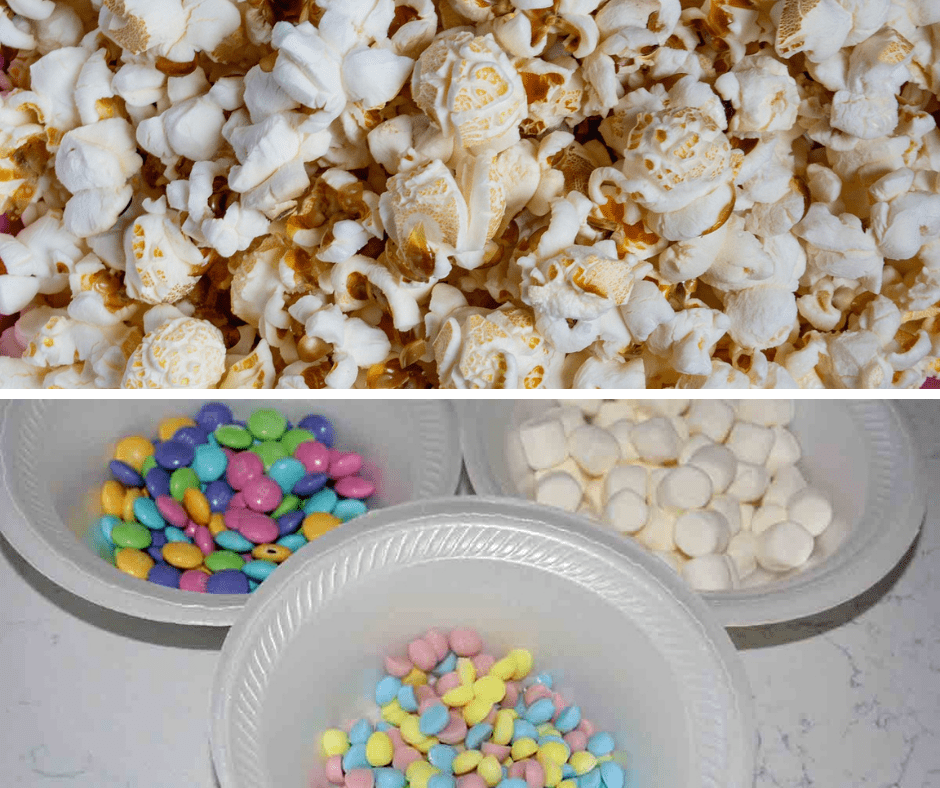
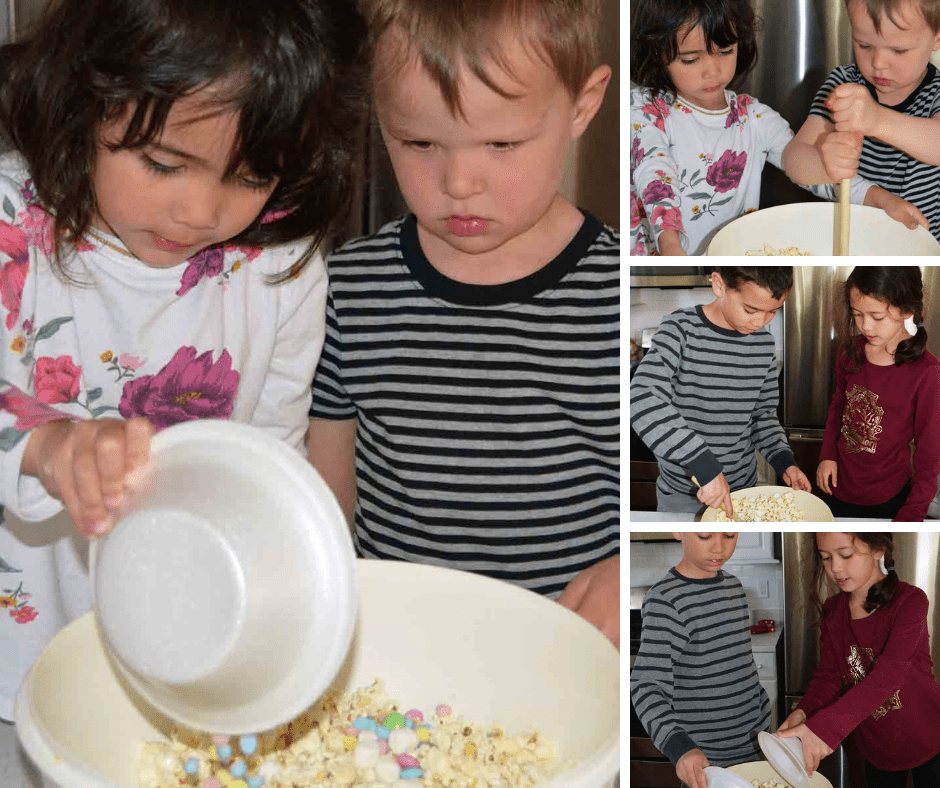
To celebrate Easter and bunnies, the grandkids made, “Bunny Popcorn”—a recipe given to me by my sister Talana over 10 years ago.
After all, who doesn’t like popcorn!?
This is a super easy recipe; tastes great and is fun to make!
- ½ cup un-popped popcorn or 16 cups of popped popcorn
- 4 squares White chocolate almond bark
- 1 cup Easter M&M’s
- 1 ½ cup miniature marshmallows
- ½ cup Hershey’s Egg-shaped White Crème Chips
- Place popped popcorn in a large bowl
- Melt 4 squares of white chocolate almond bark either in the microwave or double-boiler
- Pour the melted chocolate over the popcorn. Stir. This is a light coat. You don’t want too much chocolate or the popcorn will get soggy
- Add the M&Ms, marshmallows, and crème chips
- Let the popcorn cool in the refrigerator until the chocolate hardens
- Put in zip lock bags for storage
What Easter activities do you do as a family to create a wonderful holiday for your children and grandchildren? Please comment in the section below.
Want to remember this post? Post “8 Amazing Artsy Easter Activities to Blow Your Mind!” to your favorite Pinterest Board!




Leave a Reply