Inside: Here’s how to make homemade musical instruments while teaching your grandkids/kids about the science of vibrations—or the reason why these percussion instruments make sounds. Easy to make. Fun to play. Grab your grandkids & kids for a fun-filled music day!
Homemade Musical Instruments
Kids and music make a perfect duet. There is something that speaks to the heart of a child when they hear familiar refrains of a song that causes them to tap their feet, clap their hands, and move their bodies.
If you’ve followed the blogs in my music category—you also know that music builds the brain as nothing else can. And learning a musical instrument is the most powerful brain-builder of all!
This week, we created homemade musical instruments with the grandkids—shakers, bell sticks, tambourines, sand blocks, and more. We also taught them that all these things make music because of a simple science phenomenon called vibrations!
Here’s what we made and how you can build a mini-orchestra with your grandkids and kids by making homemade musical instruments and then creating music together.
These are considered percussion instruments or rhythm instruments because you bang, clang, and hit the instrument to create musical sounds.
Before making the instruments—explain to your grandkids/kids about vibrations.
#1: Using Balloons to Feel Musical Vibrations
One of the books I read to my grandchildren to introduce our theme this week was, Moses Goes to a Concert by Isaac Millman. It’s a charming story about a little deaf boy whose teacher takes the whole class (all the children are deaf in the class) to a musical concert.
In order to “hear” the music, each child is given a blown-up balloon so they can feel the vibrations of the music coming through the balloon.
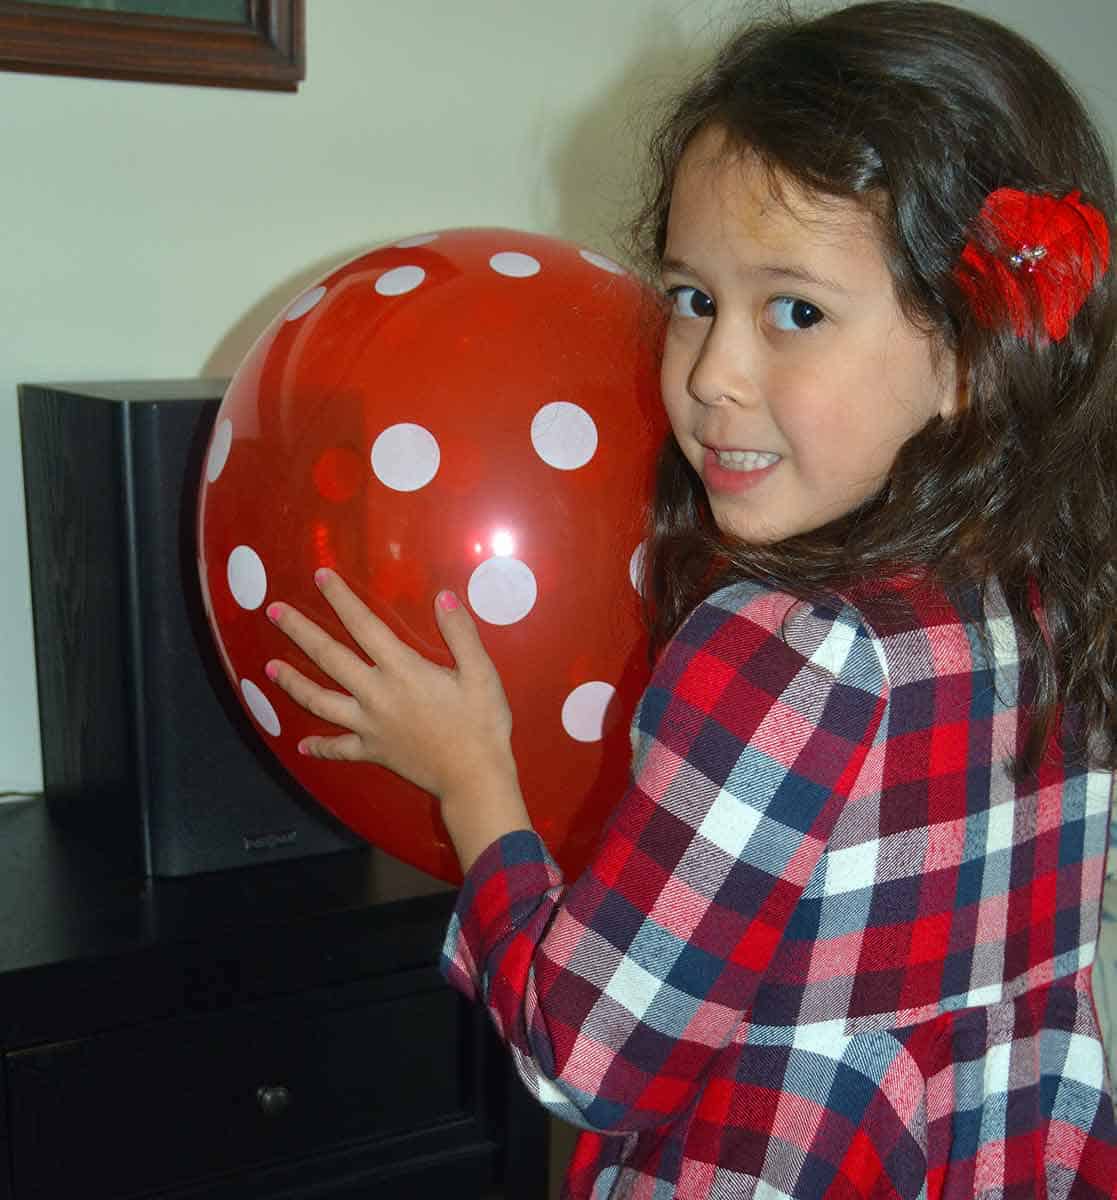
We gave each of our grandkids a balloon; turned on the music and had each of them hold their balloon up to the stereo speaker to feel the vibrations.
I also explained this about sound and vibrations:
- A vibration is a rapid movement that repeats itself.
- When anything vibrates—such as a bell, a stereo speaker, or even your vocal cords—it causes movement in the air particles
- These particles bump into more air particles and the movement produces sound
- Slow vibrations make low sounds, fast vibrations make high sounds
- And if you hold onto your vocal cords and hum or sing, you can feel vibrations
All these homemade musical instruments made sounds because as we struck them, they created vibrations.
We also talked about animals in nature that make sounds from vibrations. Click here to read more vibrations and how different animals produce sounds and music in nature.
Here are the homemade musical instruments we made and the vibrations we created when we pounded, clanged, banged, and tapped on them.
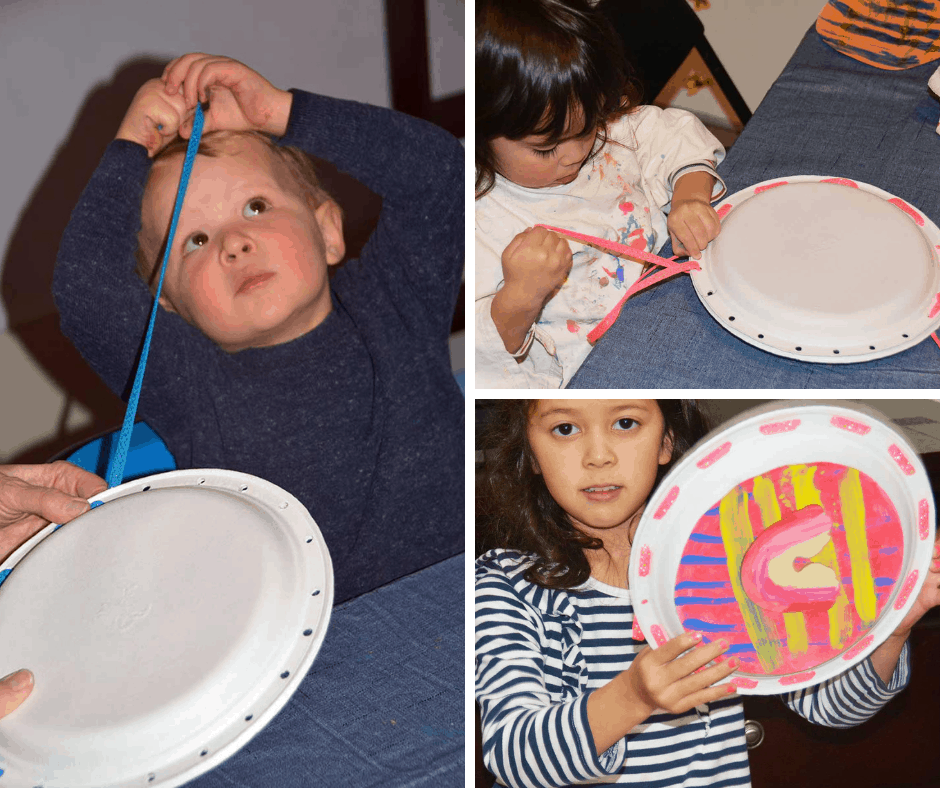
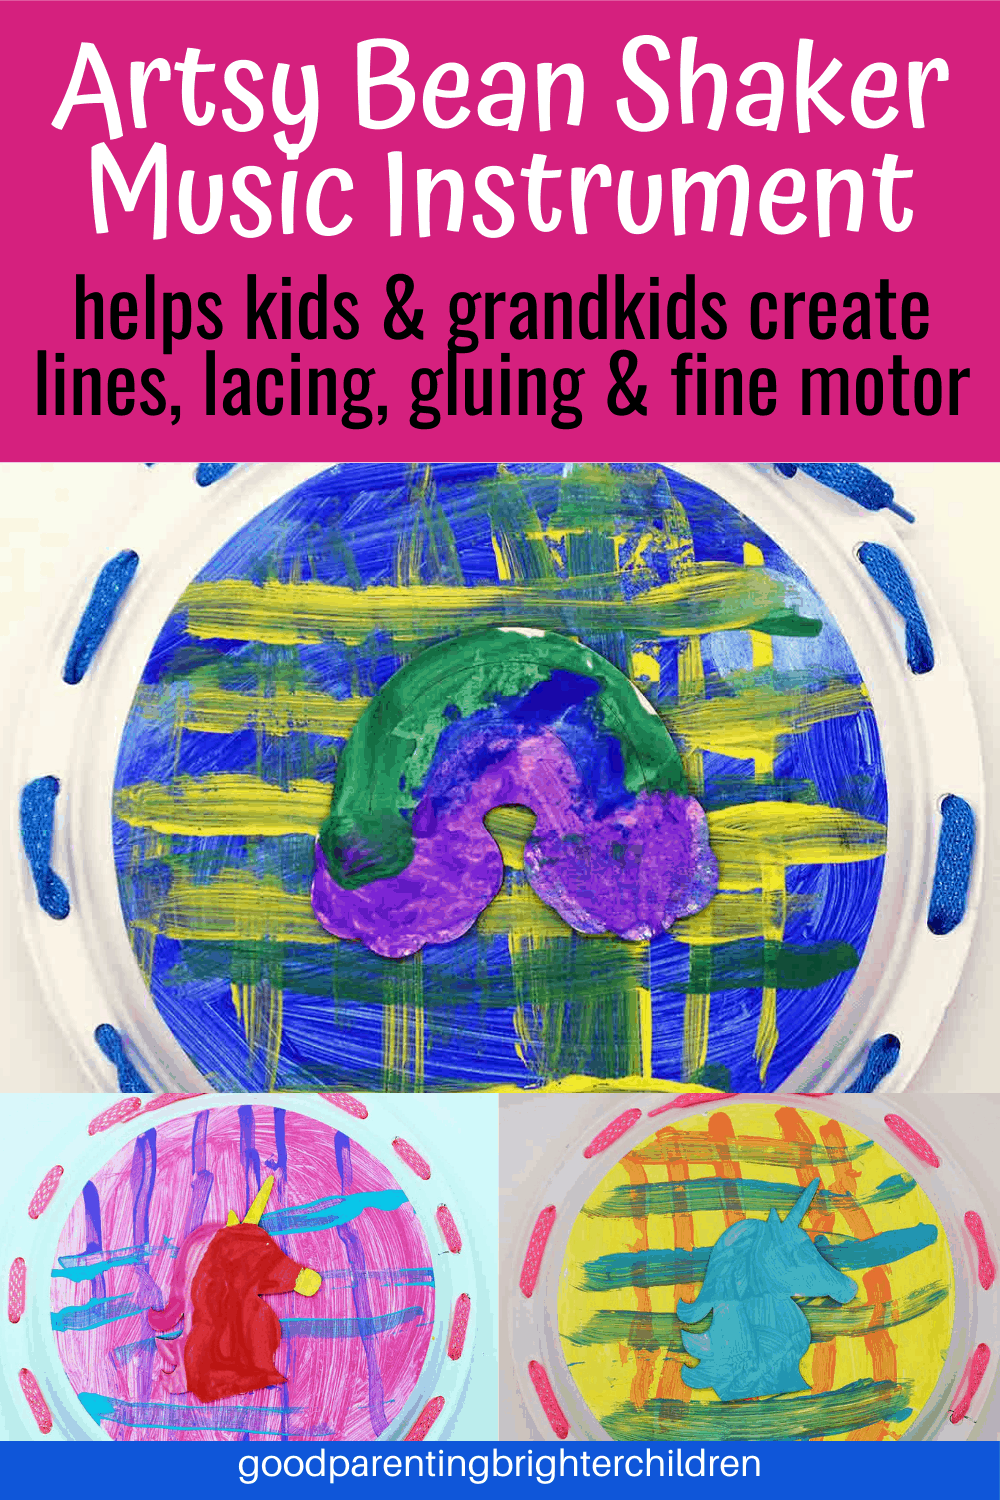
#2 Homemade Musical Instruments: Colorful Paper Plate Bean Shakers
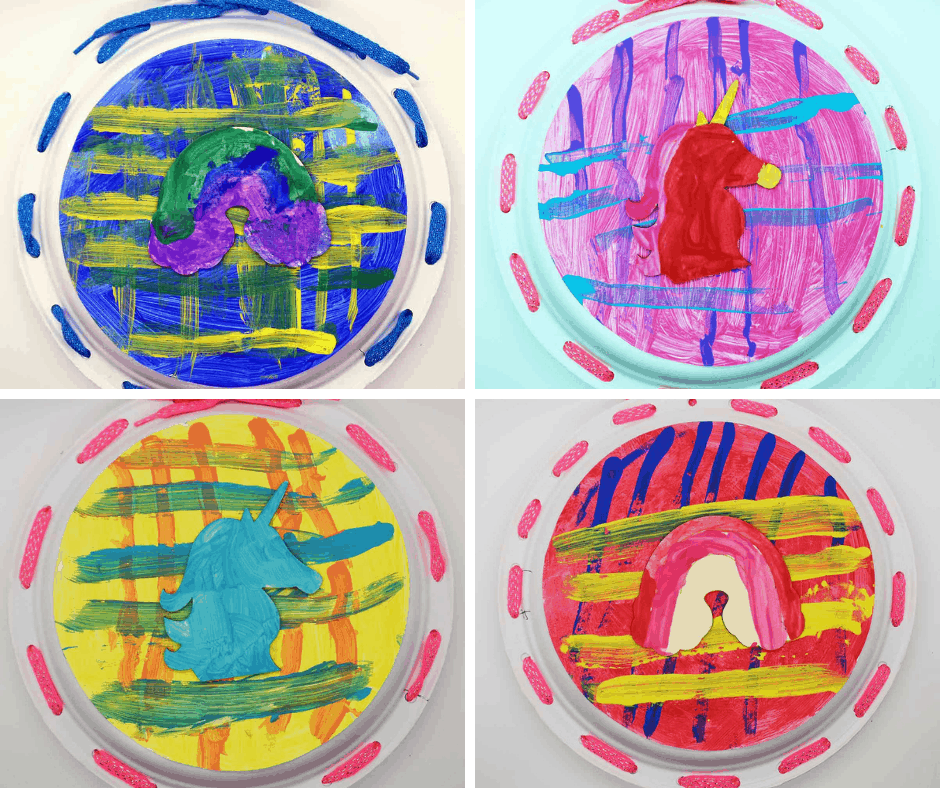
Making paper plate bean shakers is a lot of fun. If you’re looking to make them colorful and interesting, it requires several steps and lots of learning.
Turn it into an art project where many skills are developed such as:
- Fine motor: cutting, hole punching, gluing, painting horizontal and vertical lines, lacing with shoelaces
- Bilateral coordination: hold the paper plate with one hand and lace with the other hand.
- Gross motor as you march around the room shaking your bean shaker to the beat of the music.
Here are supplies and directions
Supplies
- 2 white paper plates—strong ones 10 3/8″ wide
- Dried beans—we used pinto beans—about ½ cup per project
- Bright shoelaces—at least 45”
- Hole punch
- White cardstock paper
- Tempera paints—various colors (Prang brand—Dollar Store)
- Wood figures—rainbows, unicorns, etc. (Dollar Store)
- Glue gun
Directions
- Punch holes in each of the 2 paper plates about 1-1 ½ inch apart. Make certain when you put the paper plates together, the holes line up
- Pour about ½ cup of dried beans on the plate, cover with the other paper plate
- With a hot glue gun (adult help), glue the two paper plates together forming a shaker.
- Cut two round circles out of the cardstock paper to fit either side of the paper plate
- Paint each circle ONE different color. Let dry
- Paint horizontal and vertical lines over each circle. This is a great activity for kids to practice painting lines.
- Let dry
- Glue the painted circles onto each side of the paper plates
- Paint the wood figures. Let dry and glue onto the top of the plaid design
- With a shoelace, lace around the paper plate
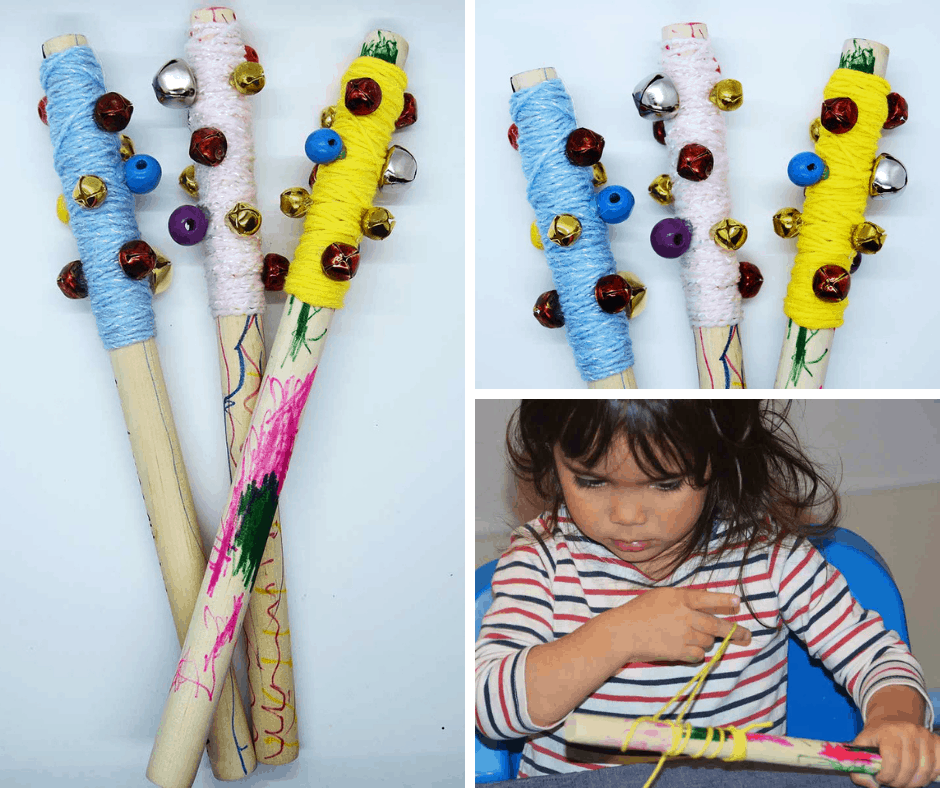
#3 Bell Sticks
Making bell sticks is fun and easy and teaches bilateral coordination as the child holds the stick with one hand and winds the yarn with the other hand. You shake the stick to create a sound. One suggestion—if you can find larger bells, they will make a bigger sound.
Supplies
- Wood dowels: 12″ in length (Walmart)
- Colored markers
- Bells
- Different colored beads
- Yarn
- Hot glue gun
Directions
- Draw lines, designs, or scribbles on the wooden dowel
- Wrap yarn around the top 1/3 of the dowel
- Hot glue the bells and beads in place around the yarn
Turn on marching music and march around the room, shaking your bell sticks.
Inspiration: @ecocraftkids
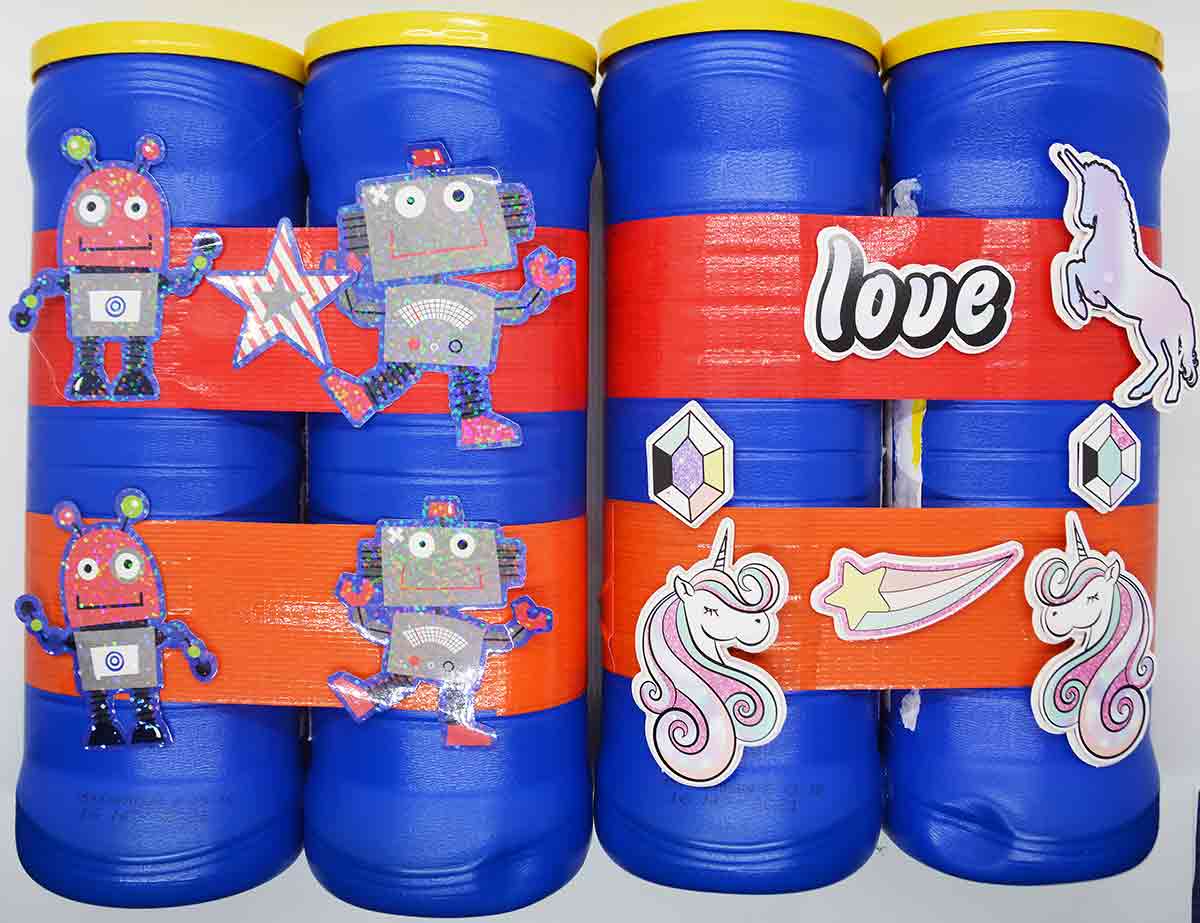
#4 Bongo Drums from Potato Chip Cartons
Have you ever made bongo-drums from potato chip cartons? Instead of using oatmeal boxes—try this fun twist on an old homemade musical instrument.
Supplies
- 2 Lay’s Potato Chip containers (Dollar Store–blue with a yellow cap)
- Colored duct tape (Dollar Store)
- A variety of stickers for each child
- Hot glue gun
- A wooden dowel or spoon to hit your drums
Directions
- Remove all the potato chips from the carton.
- Using a hot glue gun, glue the sides of the cartons together. You will only be able to glue at certain points. Make certain your bongo drums sit evenly on a table before gluing
- Wrap different colors of duct tape completely around the chip containers
- Decorate your bongo drums with bright stickers
Play music with a strong beat and march and pound your bongo drums to the beat of the music
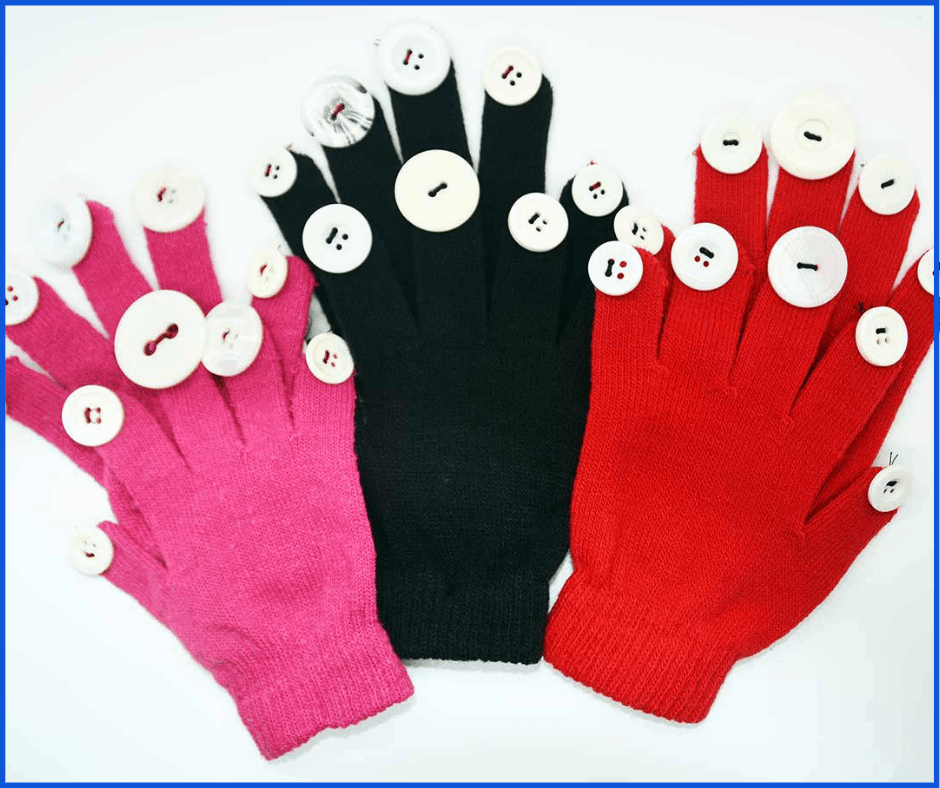
#5 Button Gloves for Click-Clacking
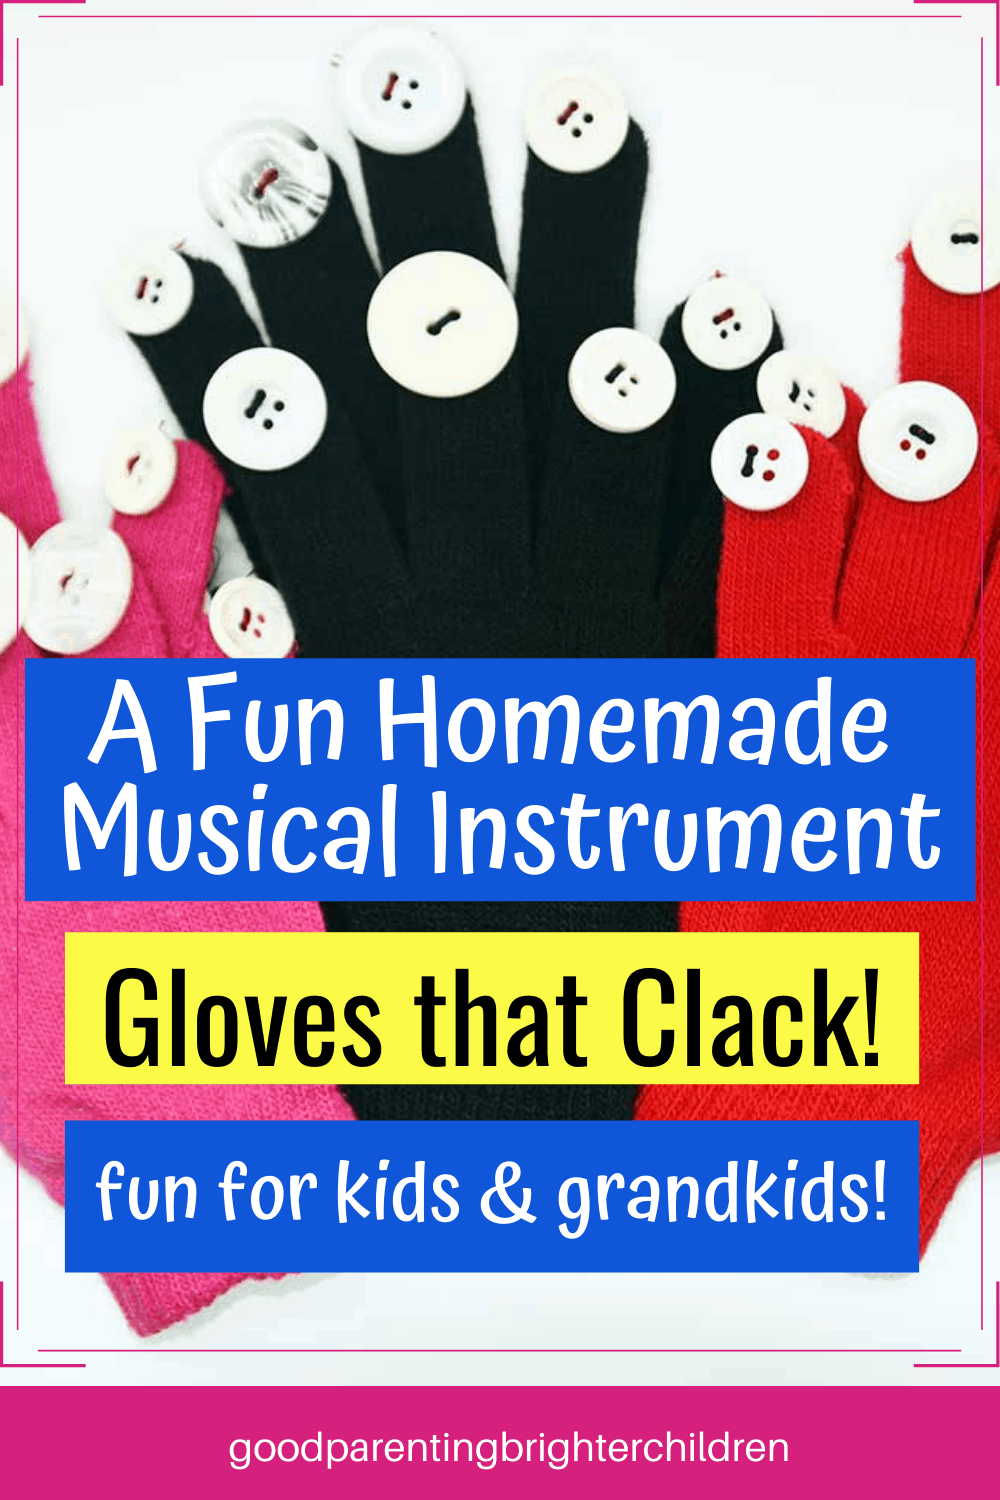
Ever hear of using buttons to create a clacking musical sound? Here is a fun way to take an old pair of gloves and some buttons and create little homemade musical instruments. I found something similar to this in the book, Rubber Band Banjos and a Java Jive Bass (which is an amazing book but unfortunately out of print)
If your grandkids/kids are little and have never used a needle and thread—they will need adult help.
Supplies
- Pair of knit gloves for each child
- 10 different-sized buttons for each child
- Needle & thread
Directions
- With adult help, sew a button onto each finger of the glove. You will be sewing on 10 buttons per set of gloves
Have the grandkids/kids put on their gloves and clack, clack, clack to the beat of the music! And if you want 2-instruments in one, attach a square piece of sandpaper to the inside palm of the glove.
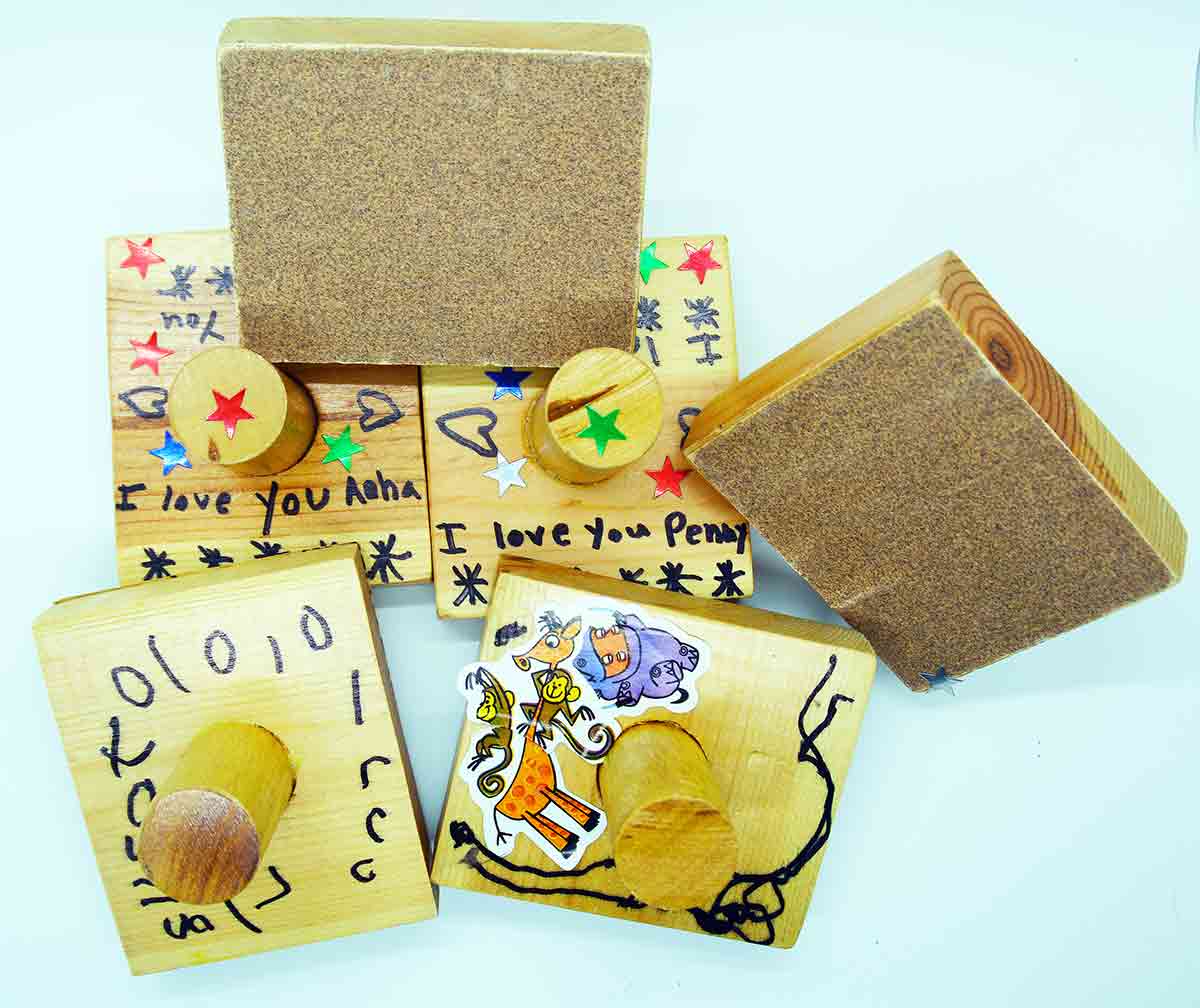
#6 Colorful Sandpaper Blocks
Can you remember as a child using sandpaper blocks in music class? Most kids love the scratchy sound they make when rubbed together.
They’re easy to make and go together quickly. Give your grandkids/kids some colored markers and stickers to decorate the tops of their sand blocks.
Supplies
- Blocks of wood: 4-5” square
- Wood dowels for handles (about 1“diameter)
- Sandpaper—fine
- Wood glue
- Colored markers and stickers to decorate the sand blocks
- Hot glue
Directions
- Make certain all sides of the blocks are smooth
- Attach the dowel in the middle of the block using hot glue
- Using wood glue or hot glue, glue the sandpaper to the bottom of the sand block
- Decorate with markers, stickers, etc.
Turn on Leroy Anderson’s “Sandpaper Ballet” and get ready with your sand blocks to join in the fun each time you hear the sand blocks playing.
#7 Tambourines made from Microwave Covers
I tried making a sample of a tambourine from a pie tin but when I punched the holes to attach the bells, the hole was somewhat sharp and I worried that my grandkids may cut their fingers on the holes.
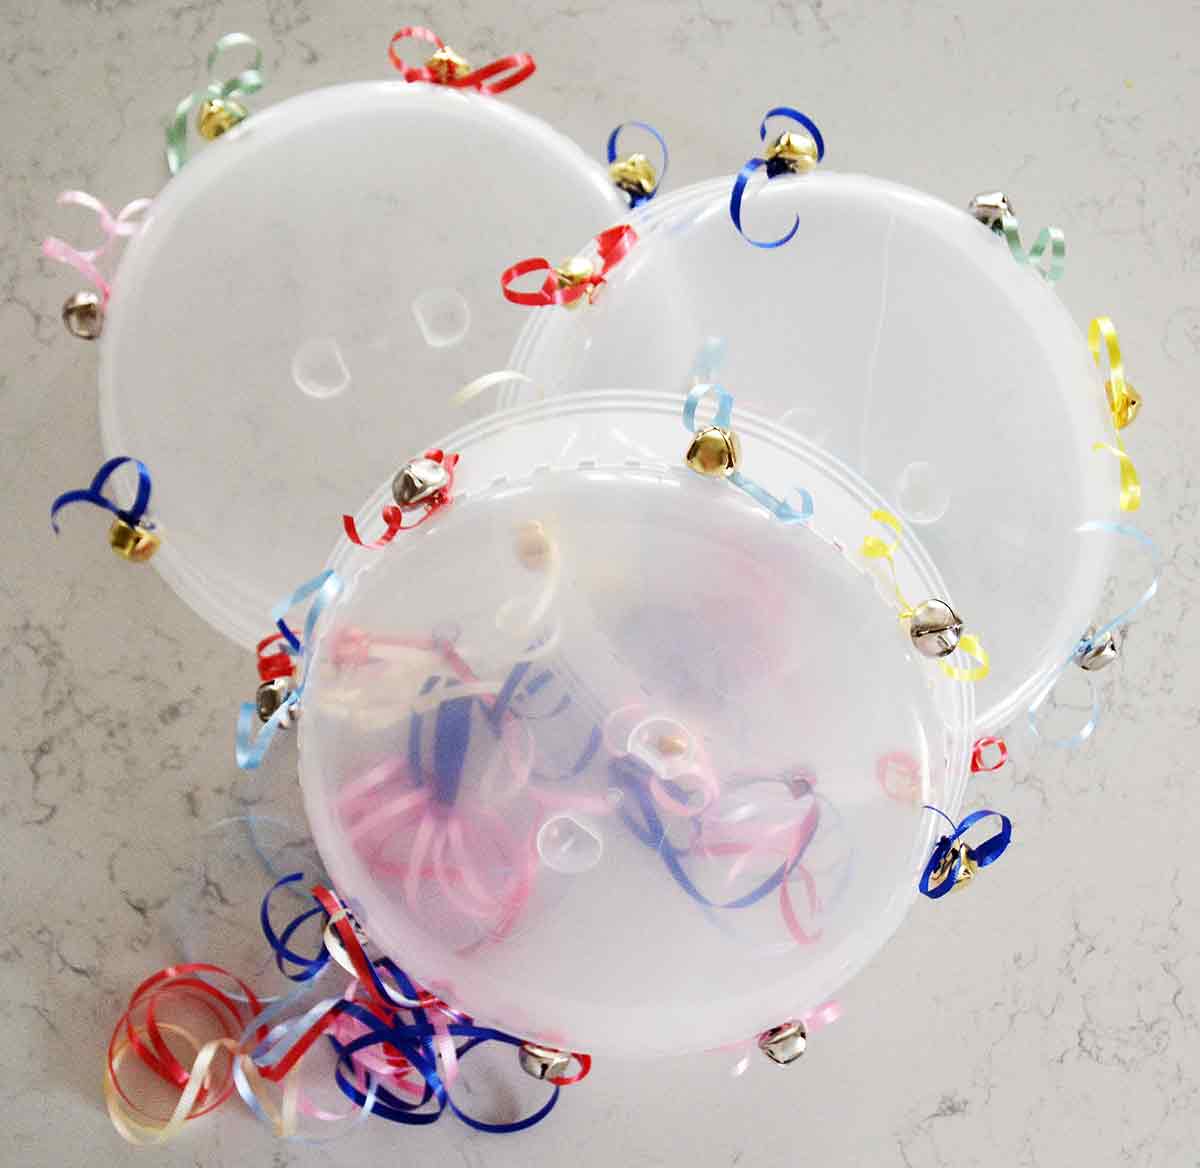
So, I wandered around the Dollar Store looking for an appropriate substitution. And, I found plastic microwave covers with little holes around the edges—perfect for a homemade musical instrument—the tambourine!
Supplies
- Clear plastic microwave covers (Dollar Store)
- Bells
- Curled ribbon in various colors
Directions
- Using curled ribbon, attach 1 bell every 4 holes around the entire circumference of the microwave cover
- Measure out about 3-feet of different ribbons; slightly curl and attach them to one side of your tambourine
Turn on some classical music with a strong beat such as Vivaldi’s Mandolin Concerto RV 425—Allegro and start dancing away!
#8: Snappy Music to Play While Playing Your Homemade Musical Instruments
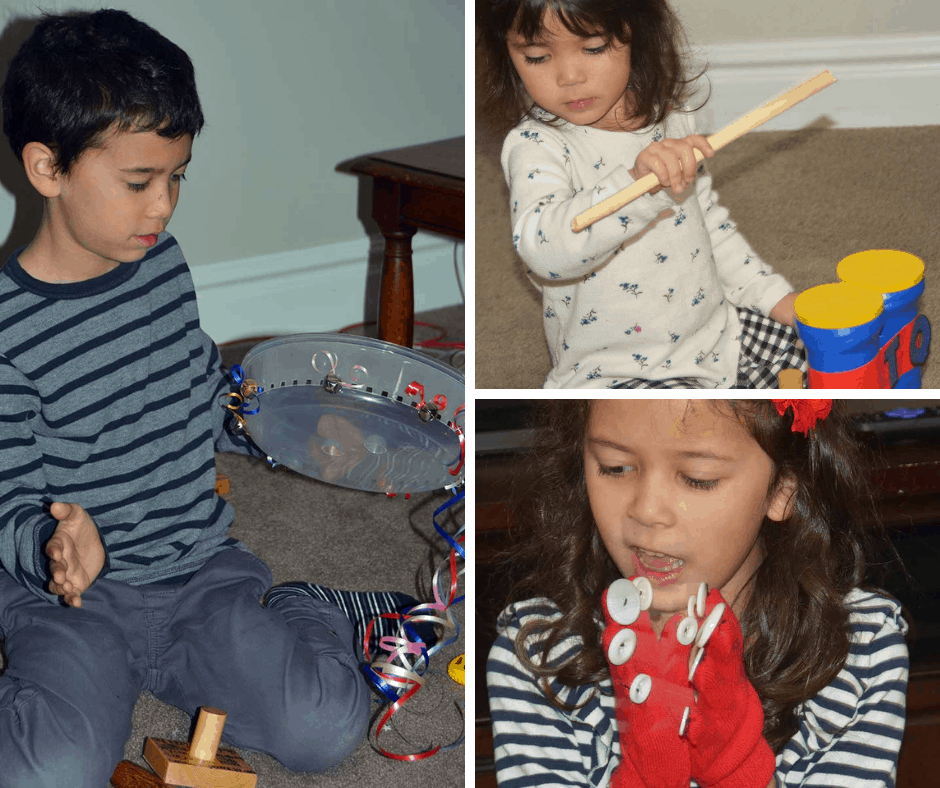
The grandkids trying out their homemade musical instruments. We played the CDs listed below while they banged and clanged their instruments to the beat of the music.
After you have finished making your homemade musical instruments, you will need some music for your grandkids/kids to sing, dance, and play along with their instruments. Here is a list of CDs that will work perfectly for this activity.
NOTE: Baby Dance is filled with exciting classical music and is a good way to introduce classical music to kids.
- Baby Dance
- Kids’ Dance Party
- 100 Singalong Songs for Kids
- Disney Silly Songs: 20 Simply Super Singable Silly Songs
Want more information about kids and music? Check out these blogs below:
- Be a Sleuth: Here’s How to Find Animal Music in the World
- 4 Insanely Awesome Ways Music Helps Kids Who Struggle
- 6 Powerful Music Programs that Will Build Your Brain
What are your experiences with music and grandkids and kids? Please comment below.
Want to remember this post? Post, “Here’s How to Make Super Fun Homemade Musical Instruments” to your favorite Pinterest board.





The glove idea is genius!! As are the tambourines made out of microwave covers. You’re so creative I can’t get over it! Which one did you find was the favorite instrument amongst the grandkids? I’m curious if they had a similar favorite or if each child liked a different one.
Thanks, Tiffany! They loved the tambourines–in fact so much so that one of the plastic microwave lids cracked so we had to make it again. But what do you expect for $1? They also liked the gloves because they had never seen anything like them before. When I played the “Sandpaper Ballet” for them–they loved listening for the sand blocks so they could join in. Like your son, Zach–they love music!